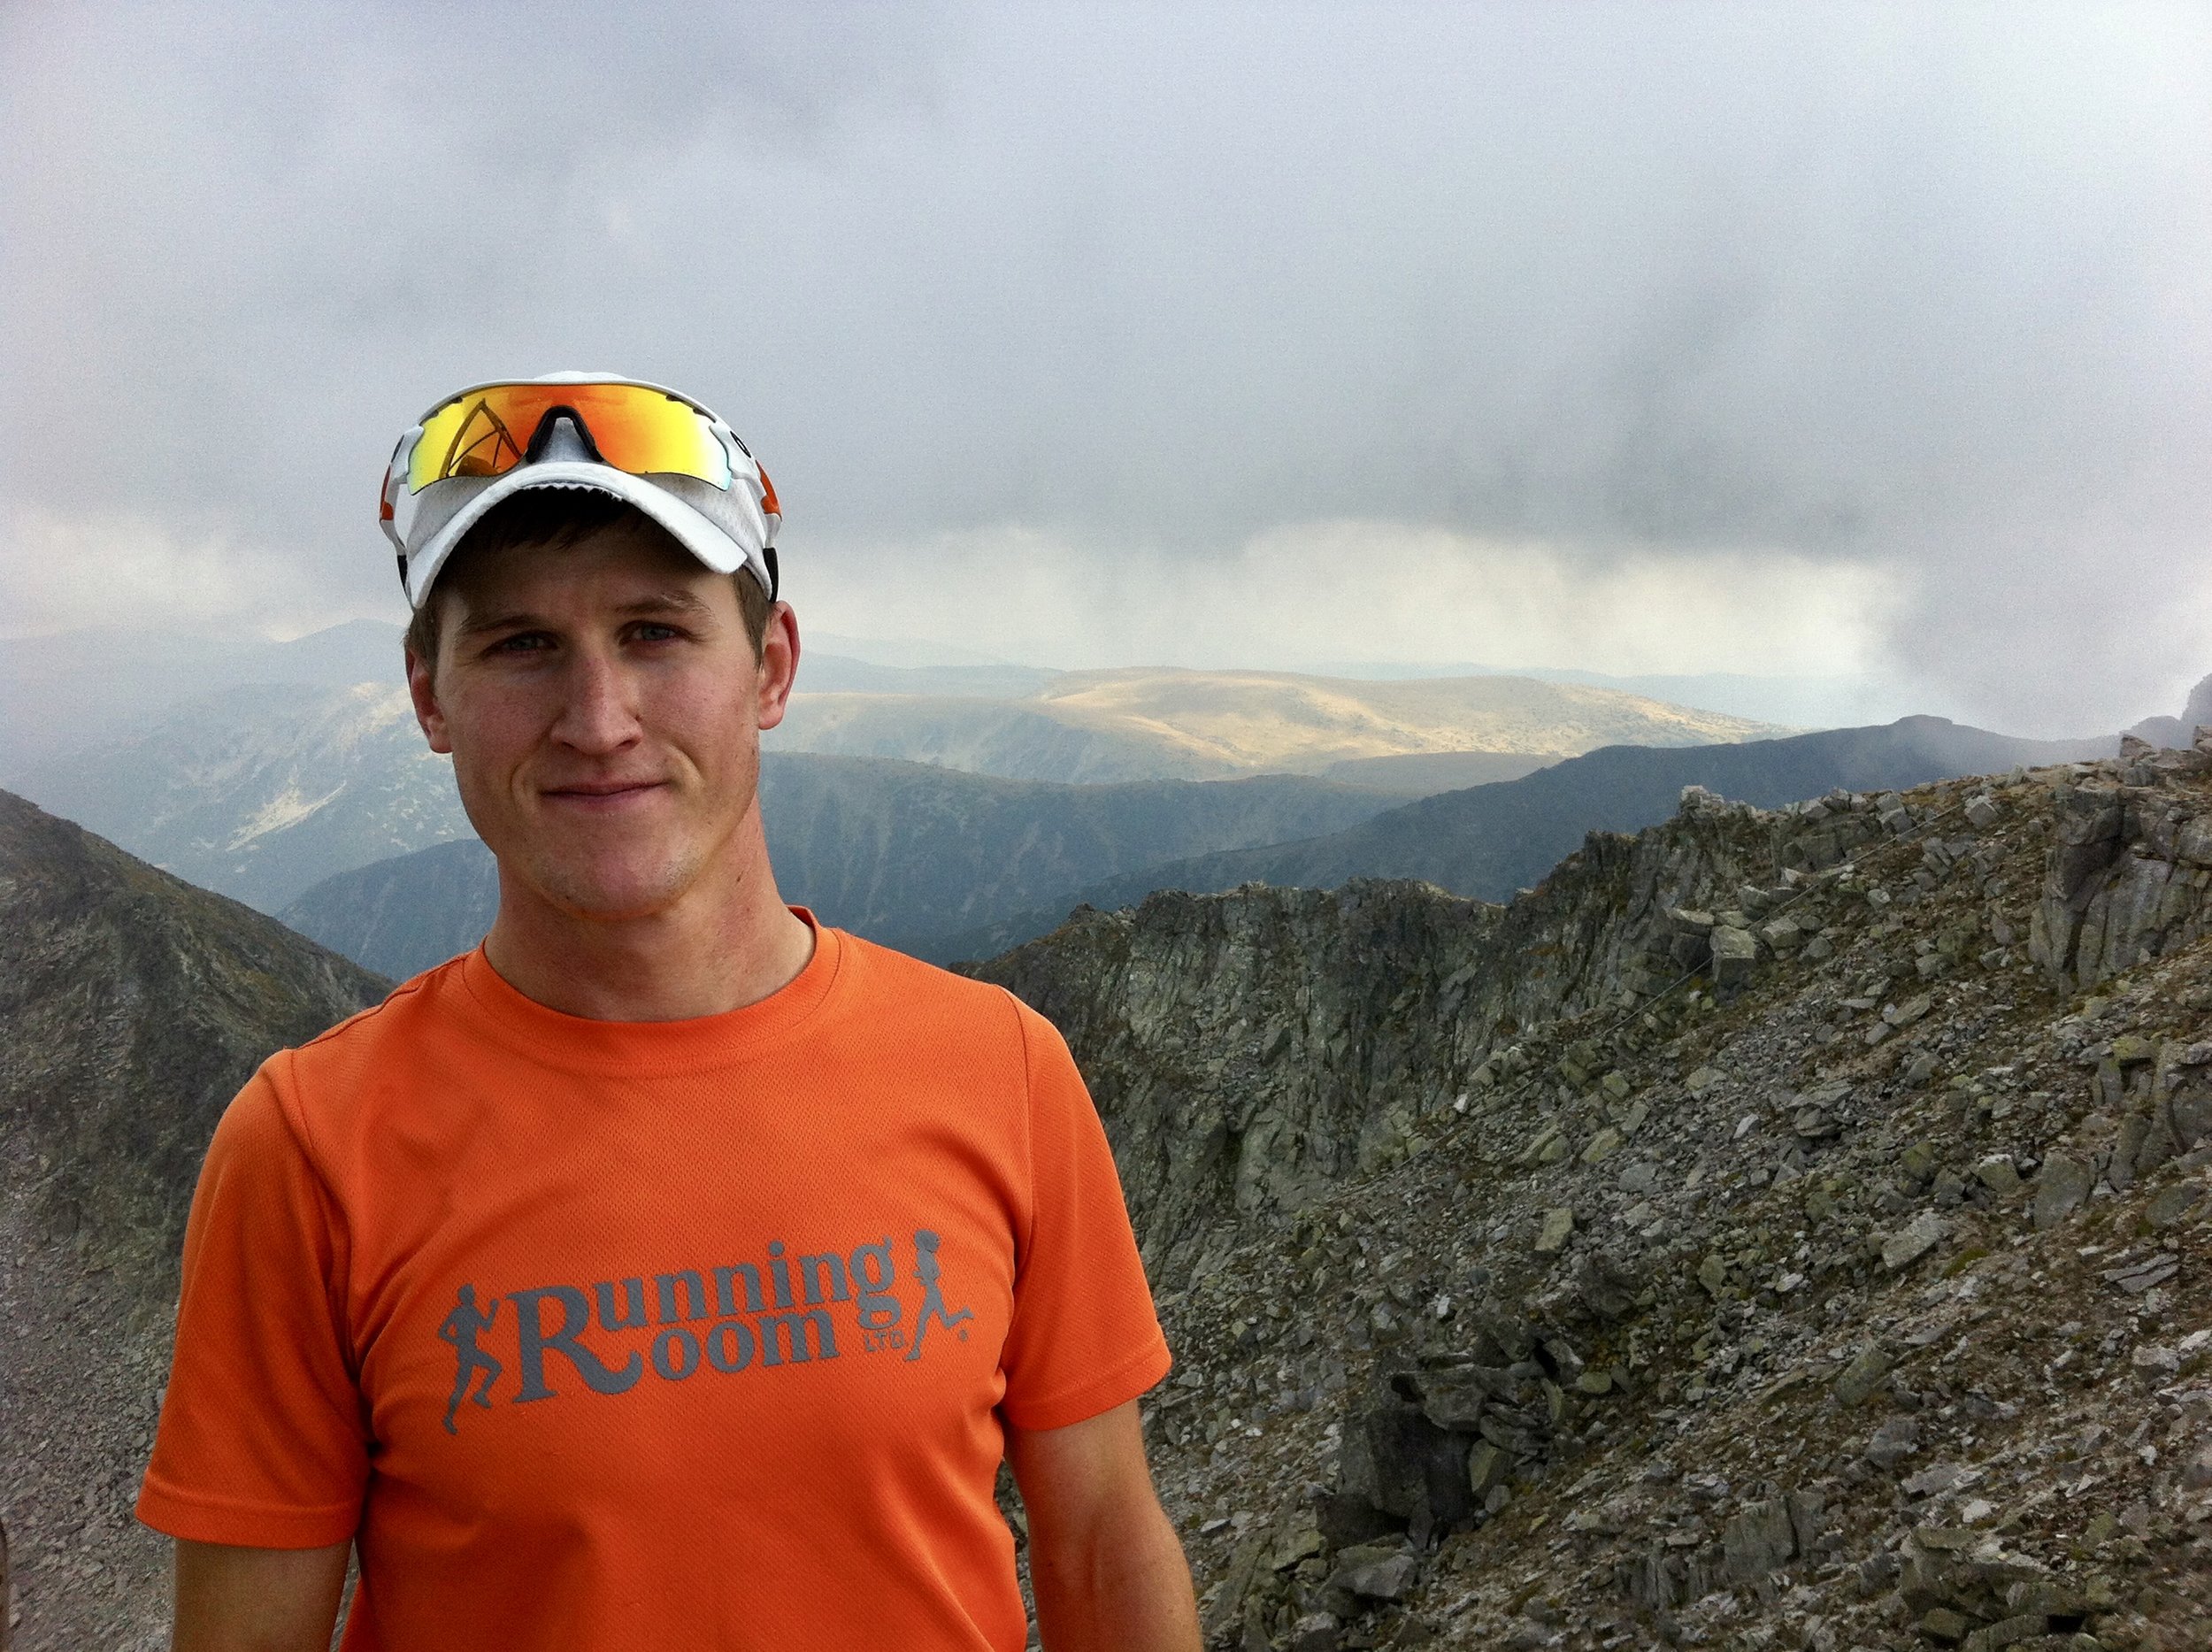
Running in Font Romeu, France

Running in Font Romeu, France

By: Matt Setlack

This article will outline Emily and I’s experience of training in Font Romeu, France in preparation for the World Mountain Running Championships in Andorra in mid-September 2018. We trained in Font Romeu for a week from 30 August 2018 to 06 September 2018.

Accommodations

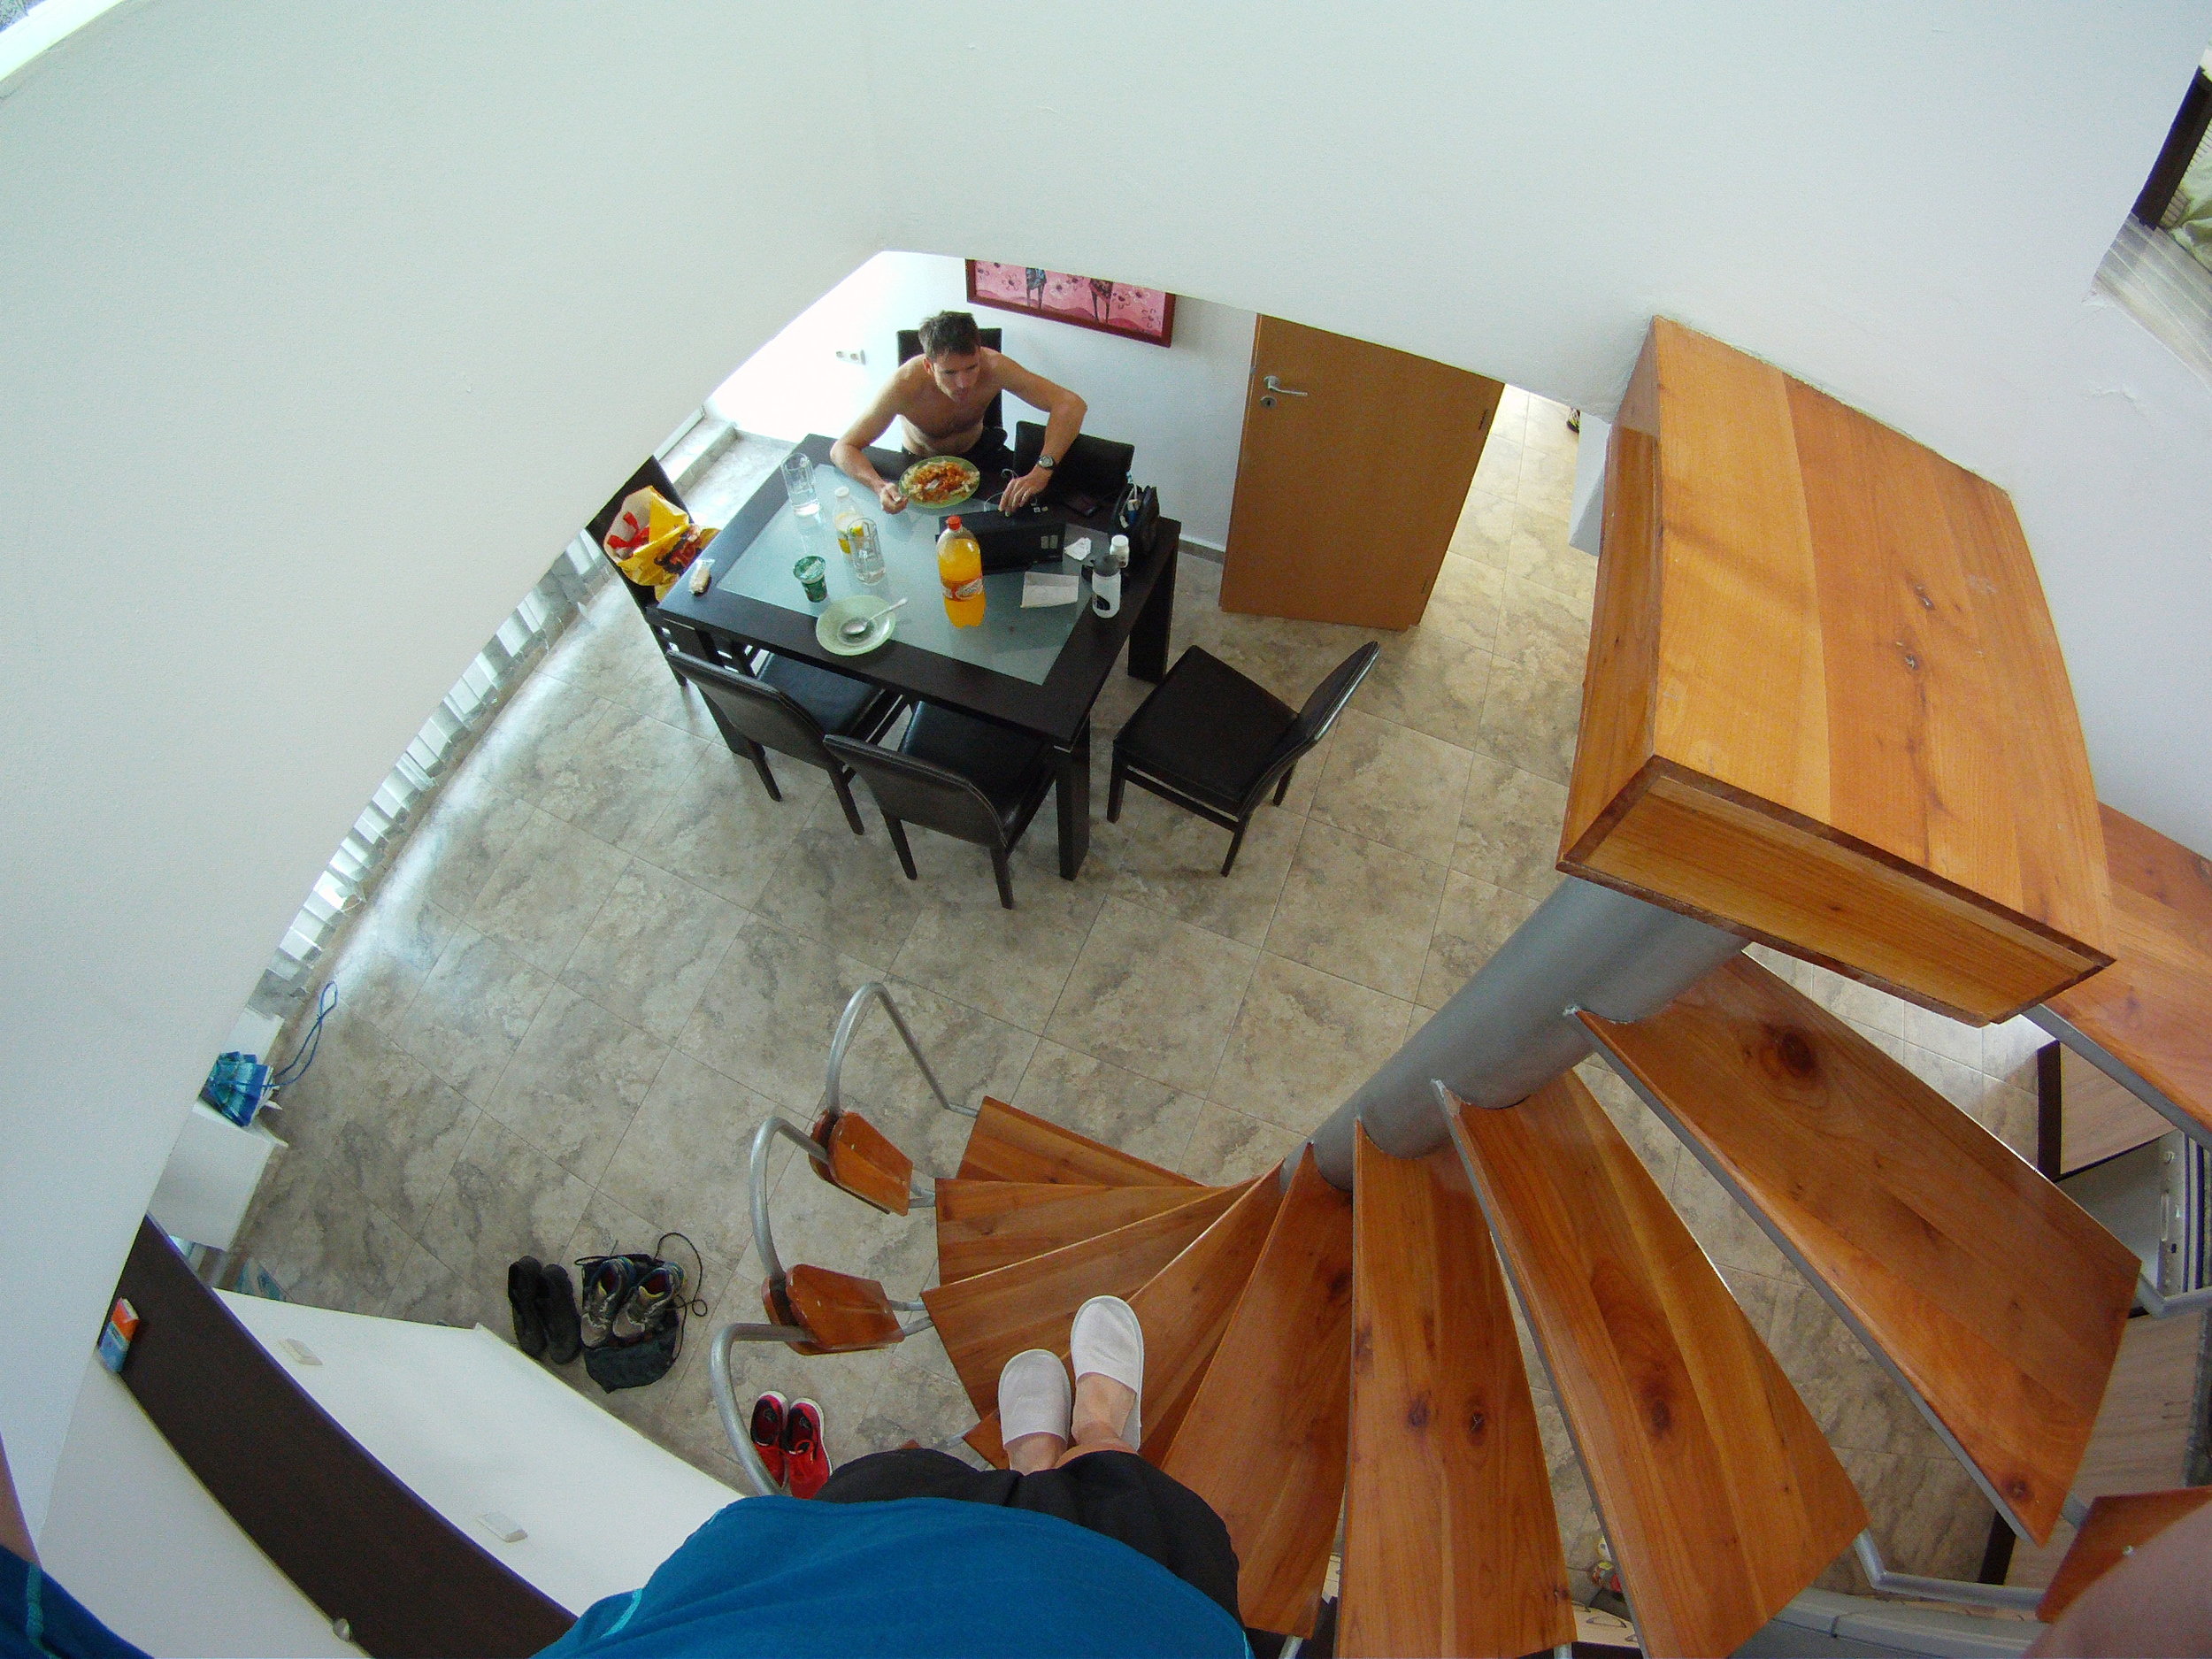
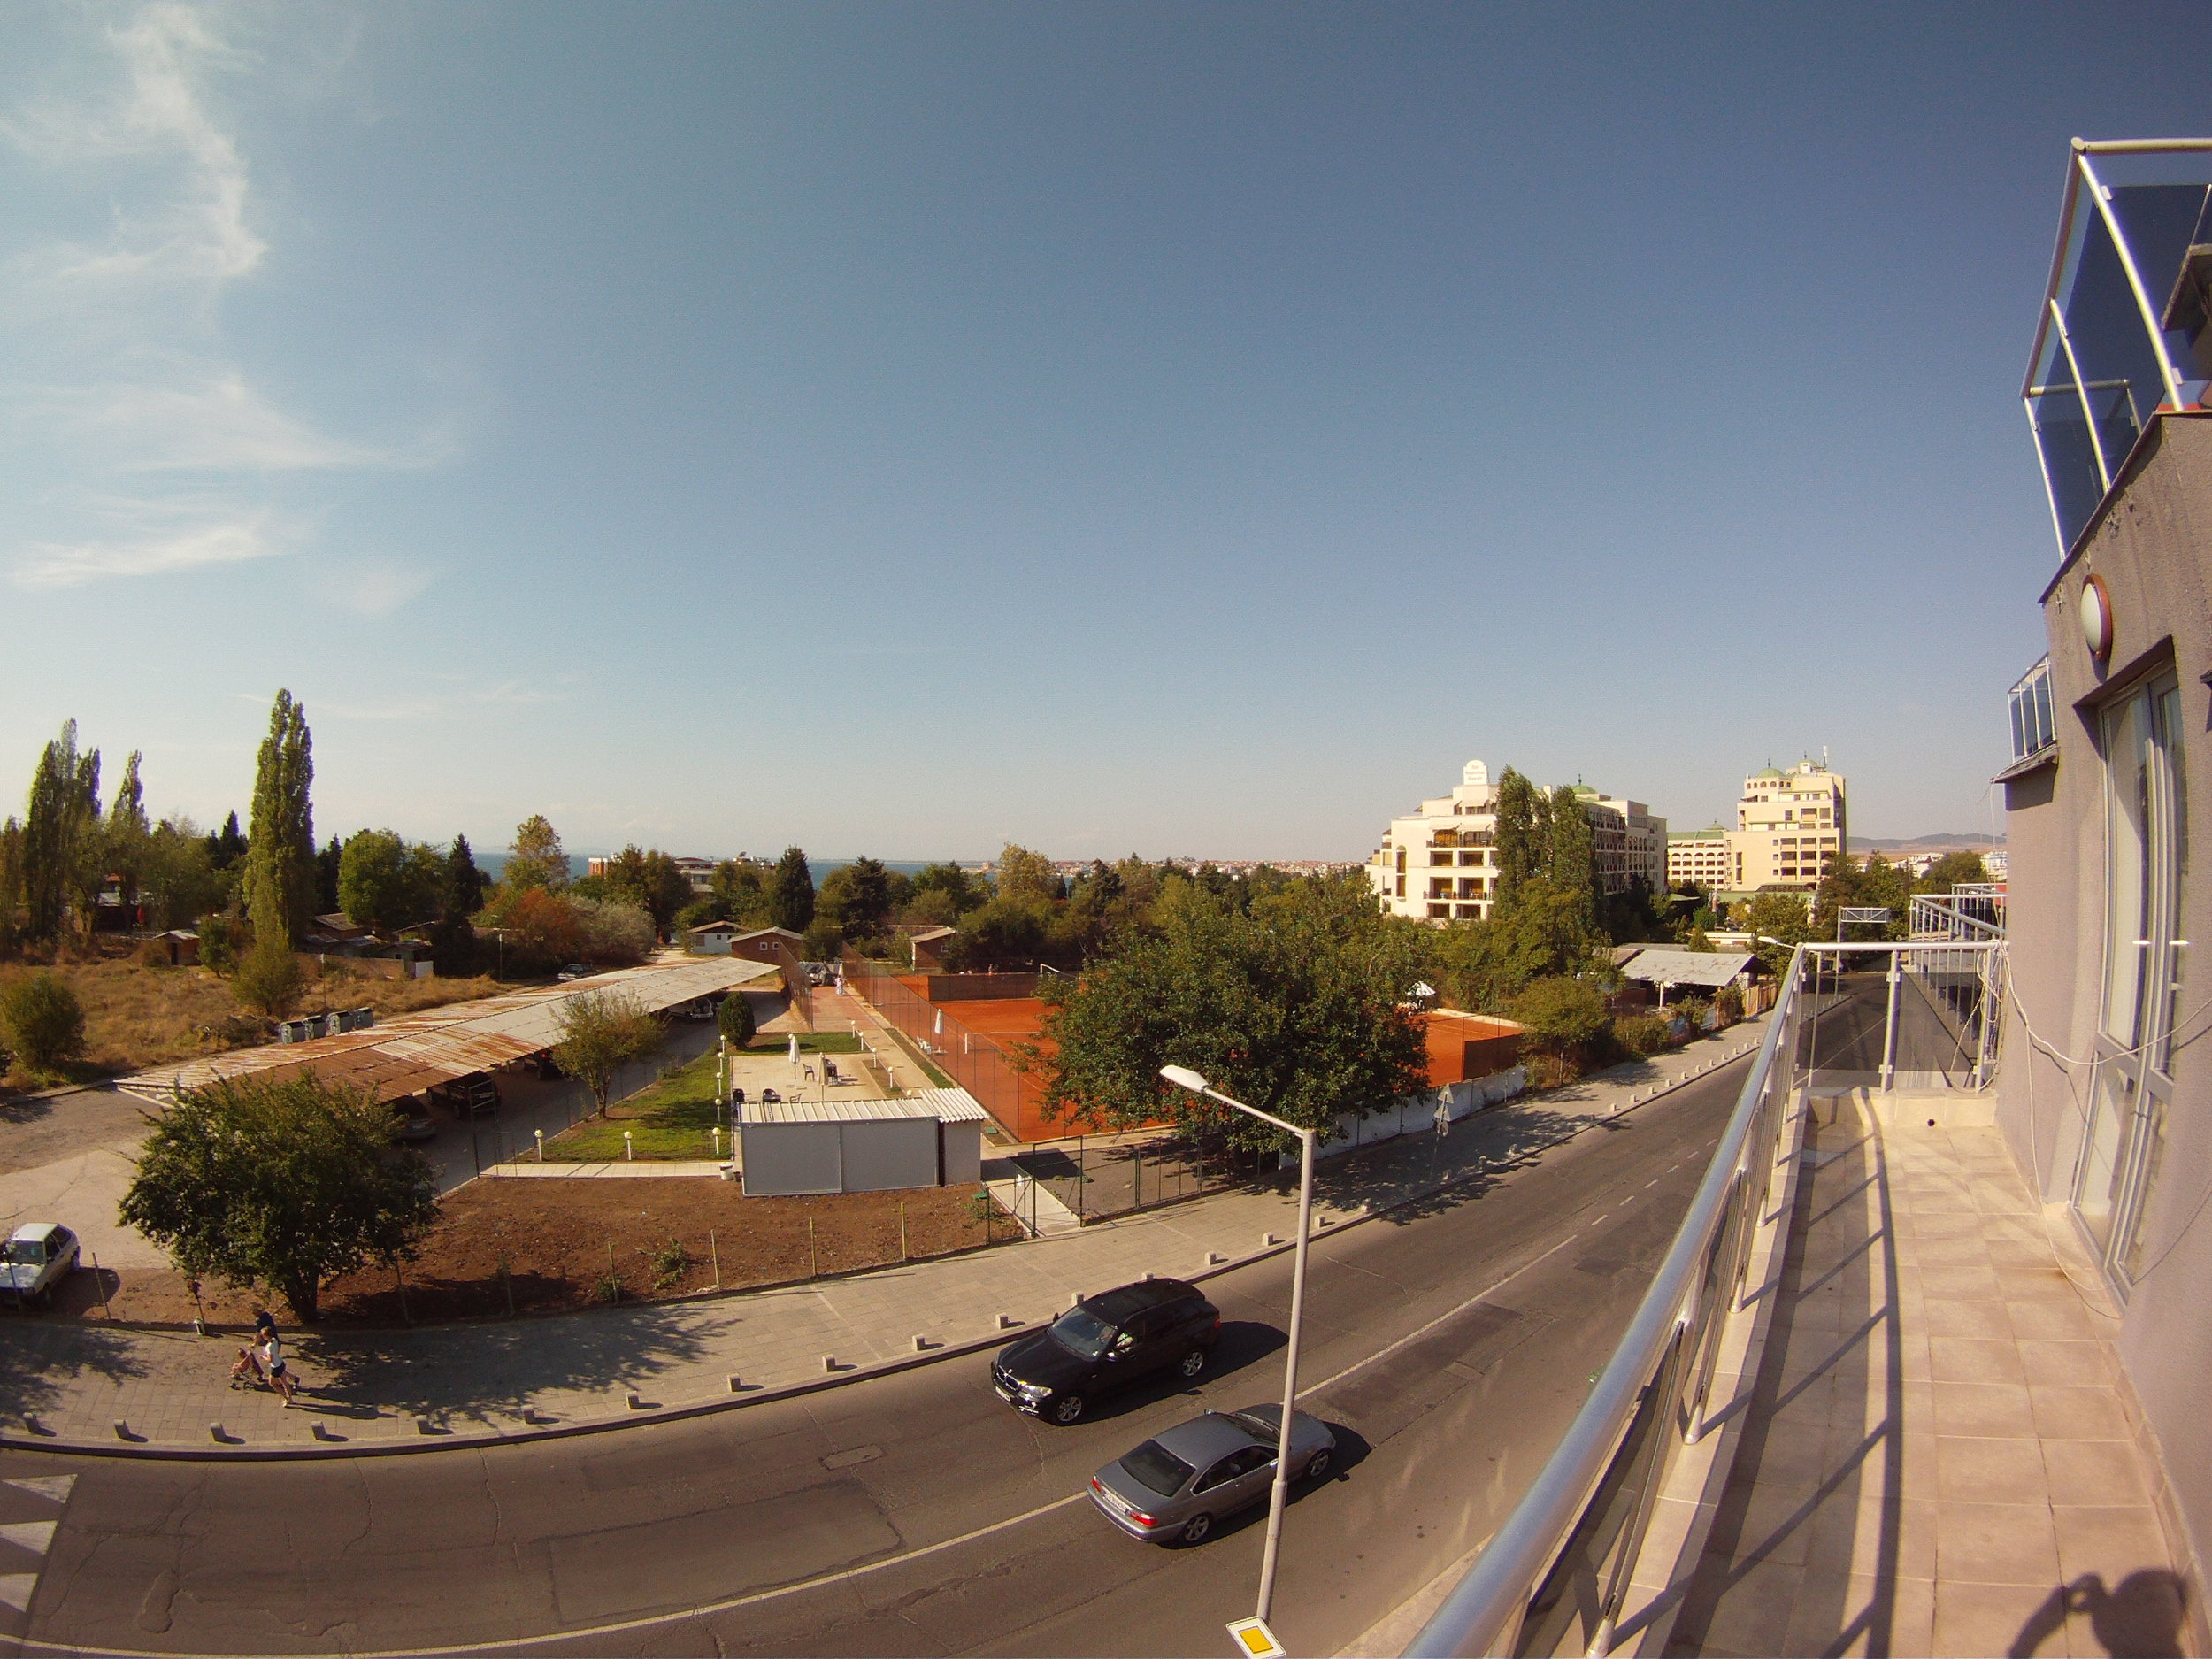
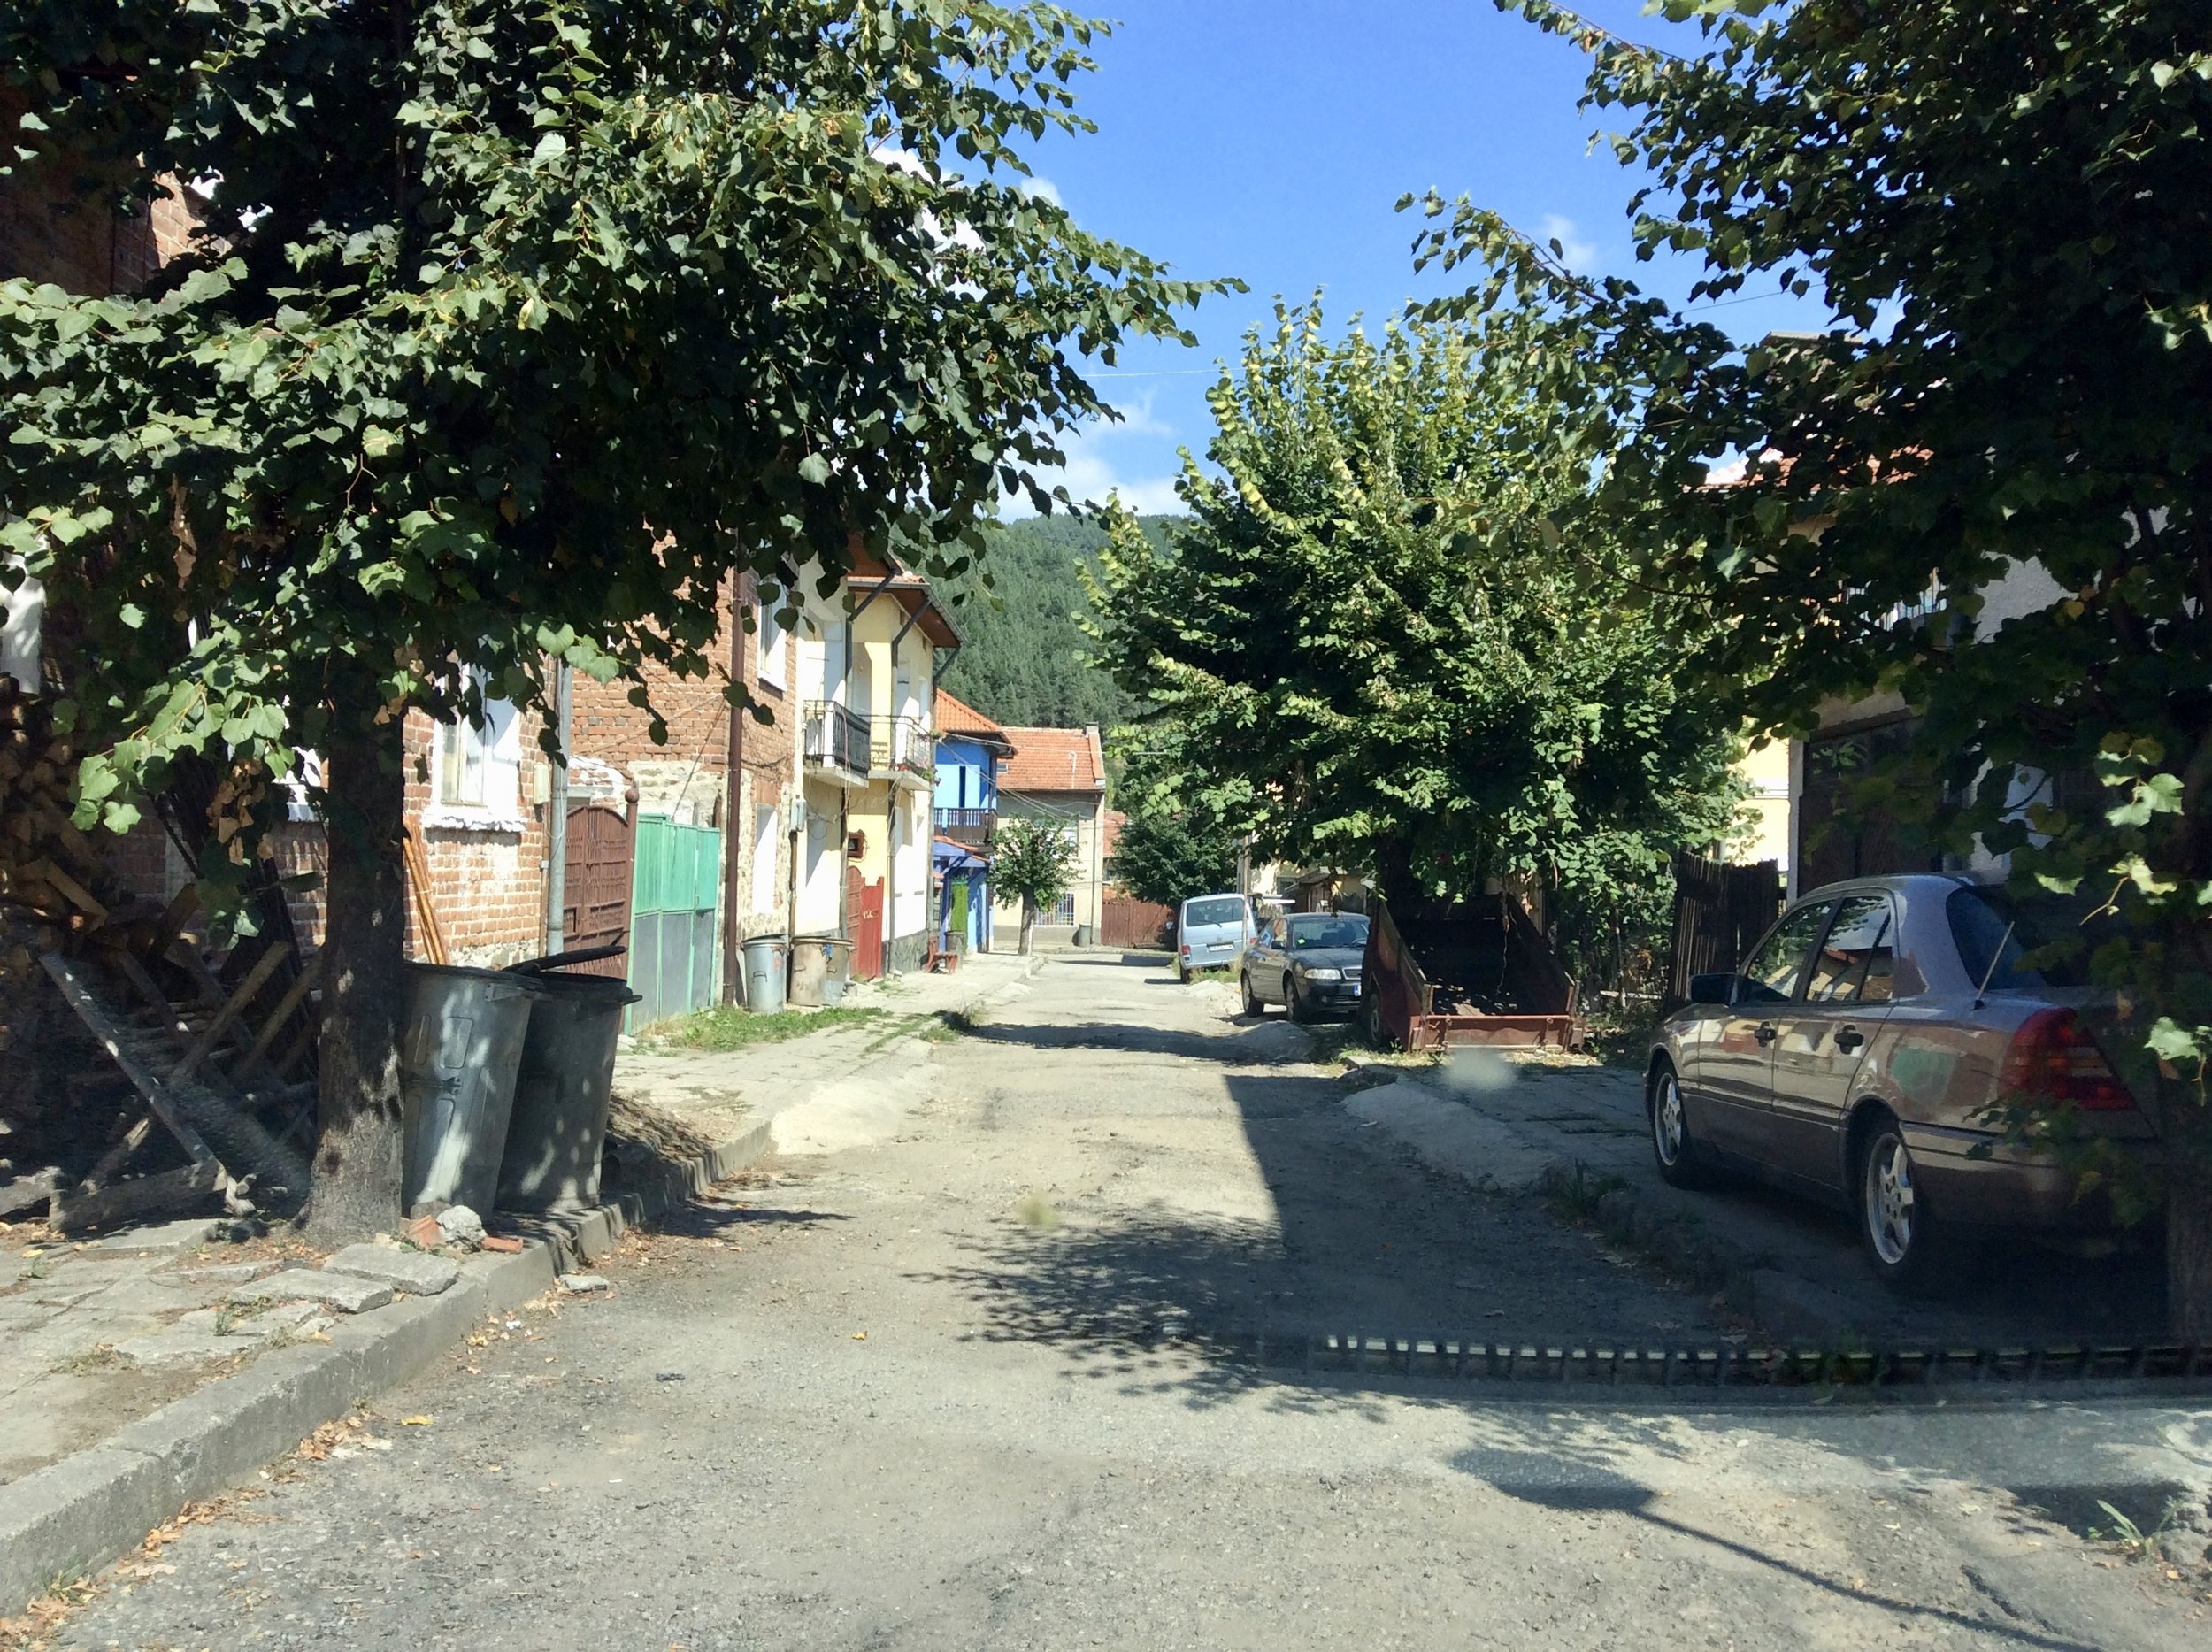
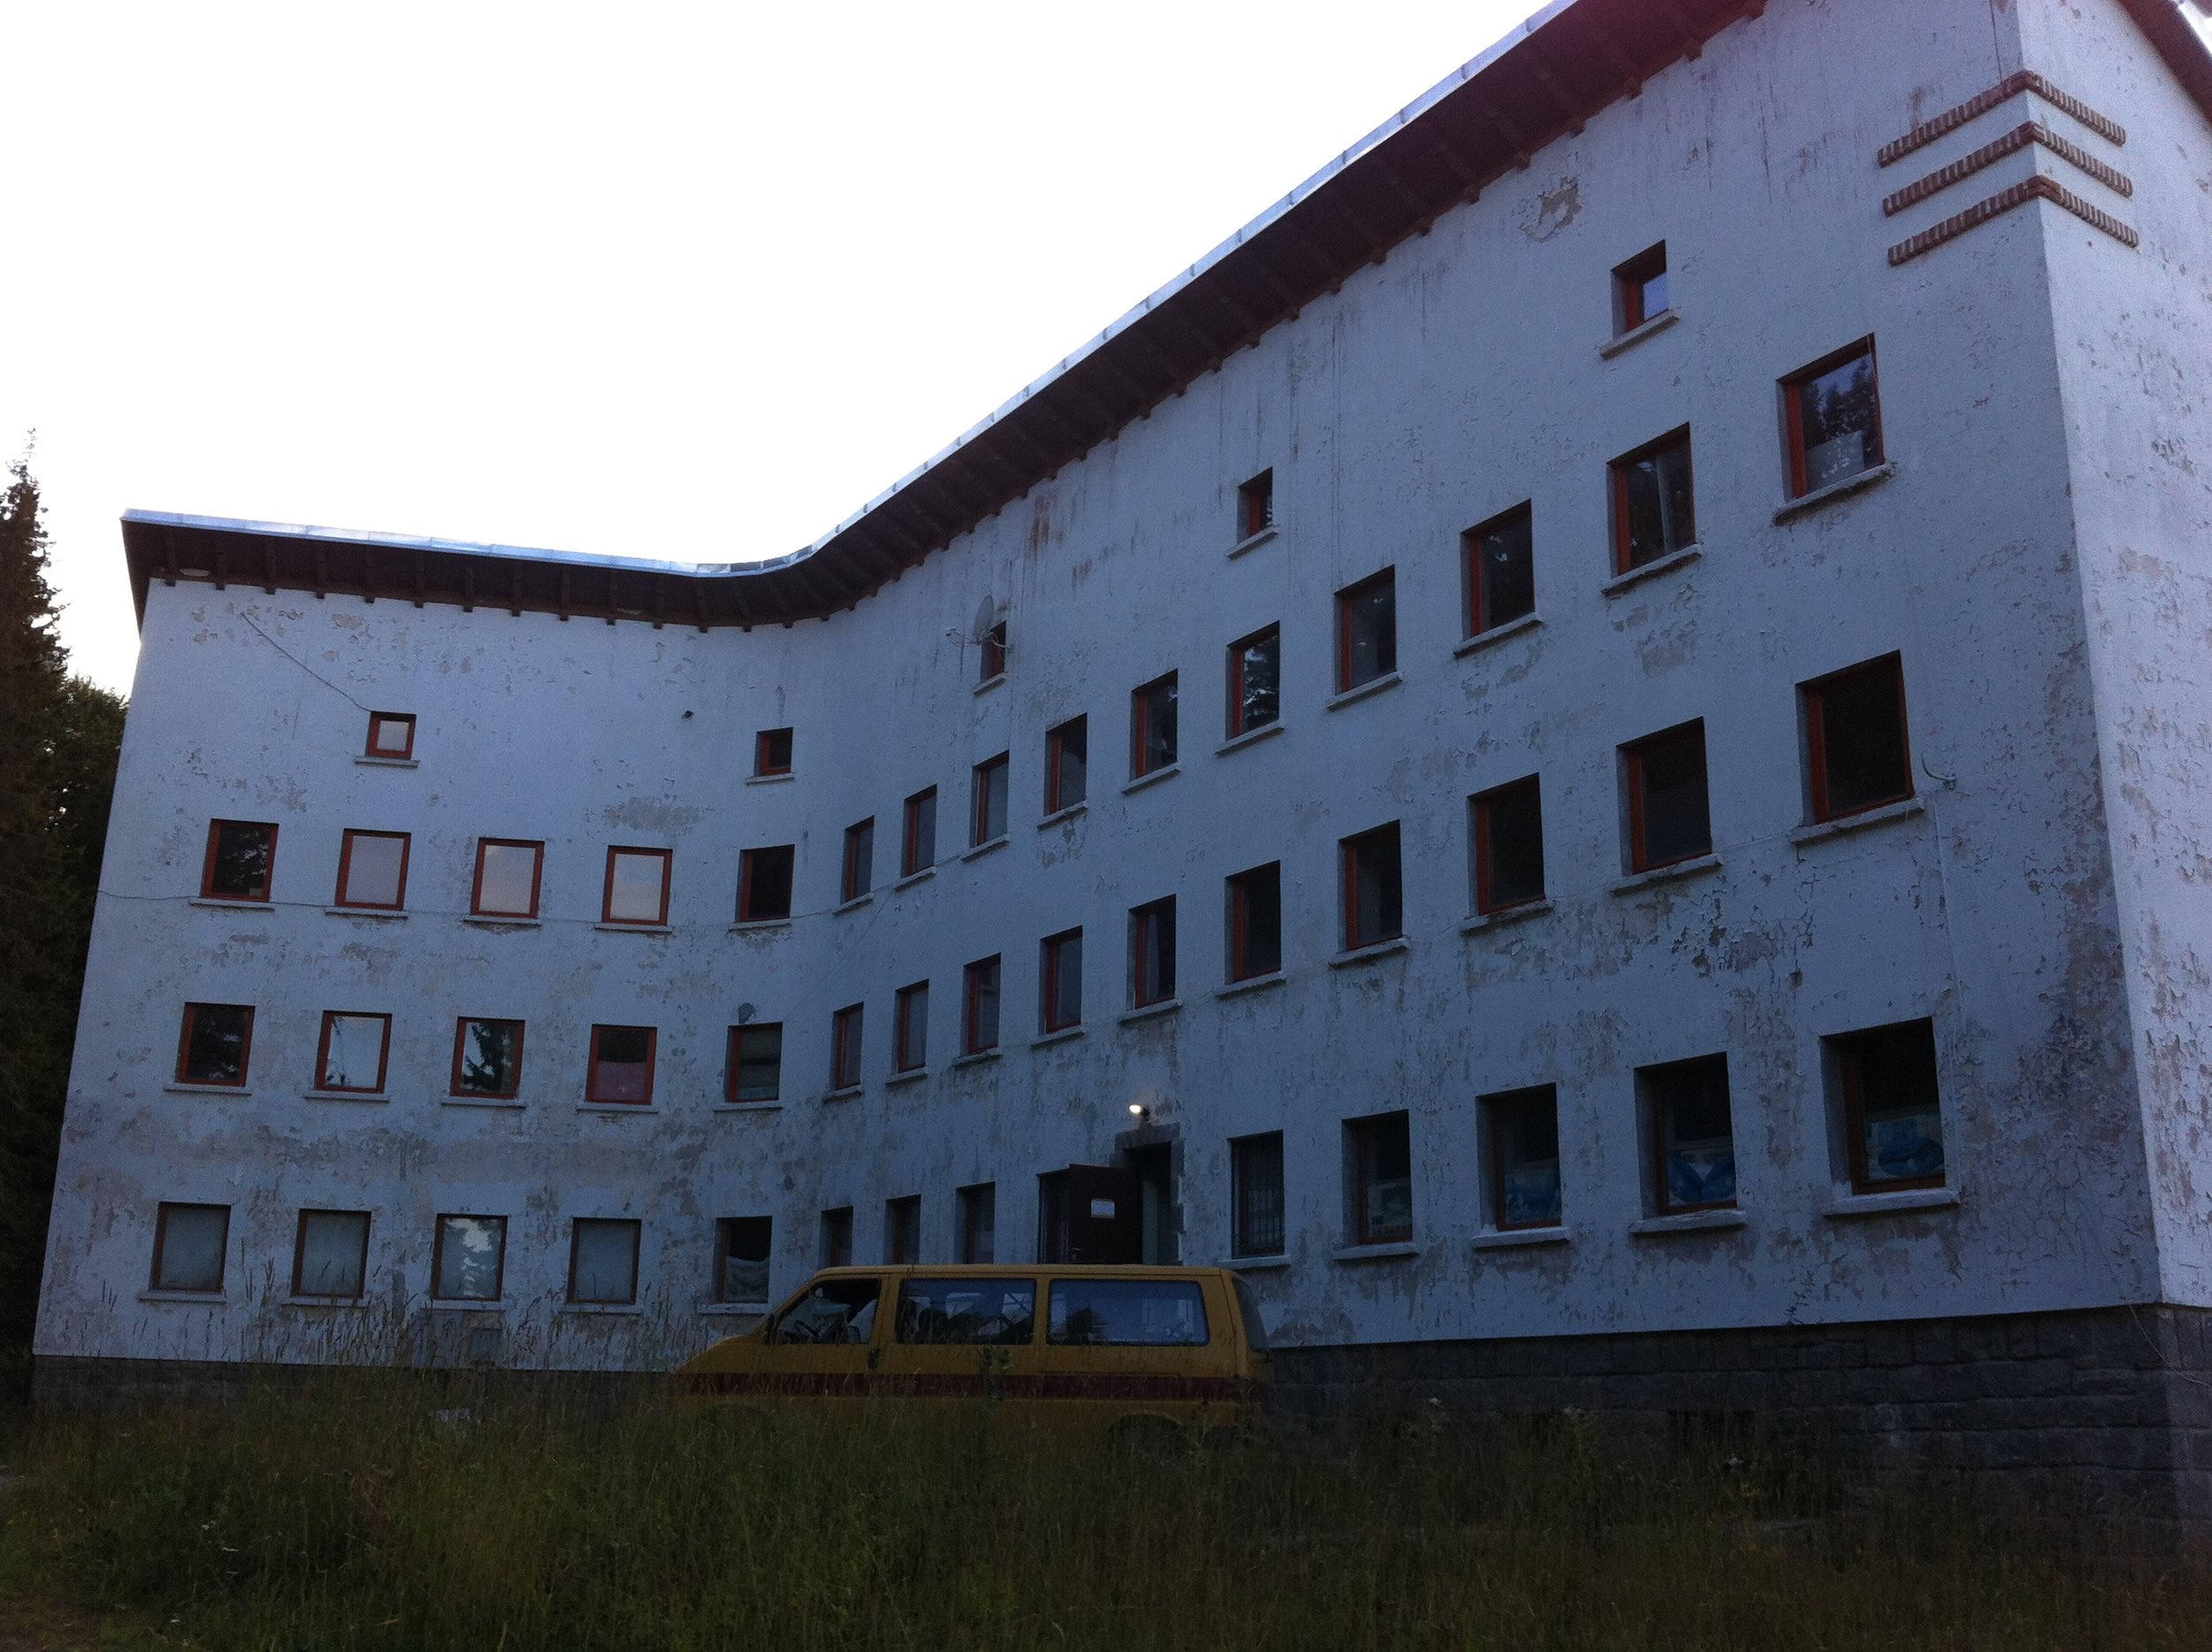
We stayed in an apartment called Apart-Hotel Le Pic de L’Ours. It was right across the street from the Font Romeu Tourist Information Centre. It had a full kitchen for us to cook our own meals, a laverie (coin washer and dryer) in the basement and cost about $430 CAD for 7 nights ($62 CAD per night).

Font Romeu Balcony.jpg

My recommendations:

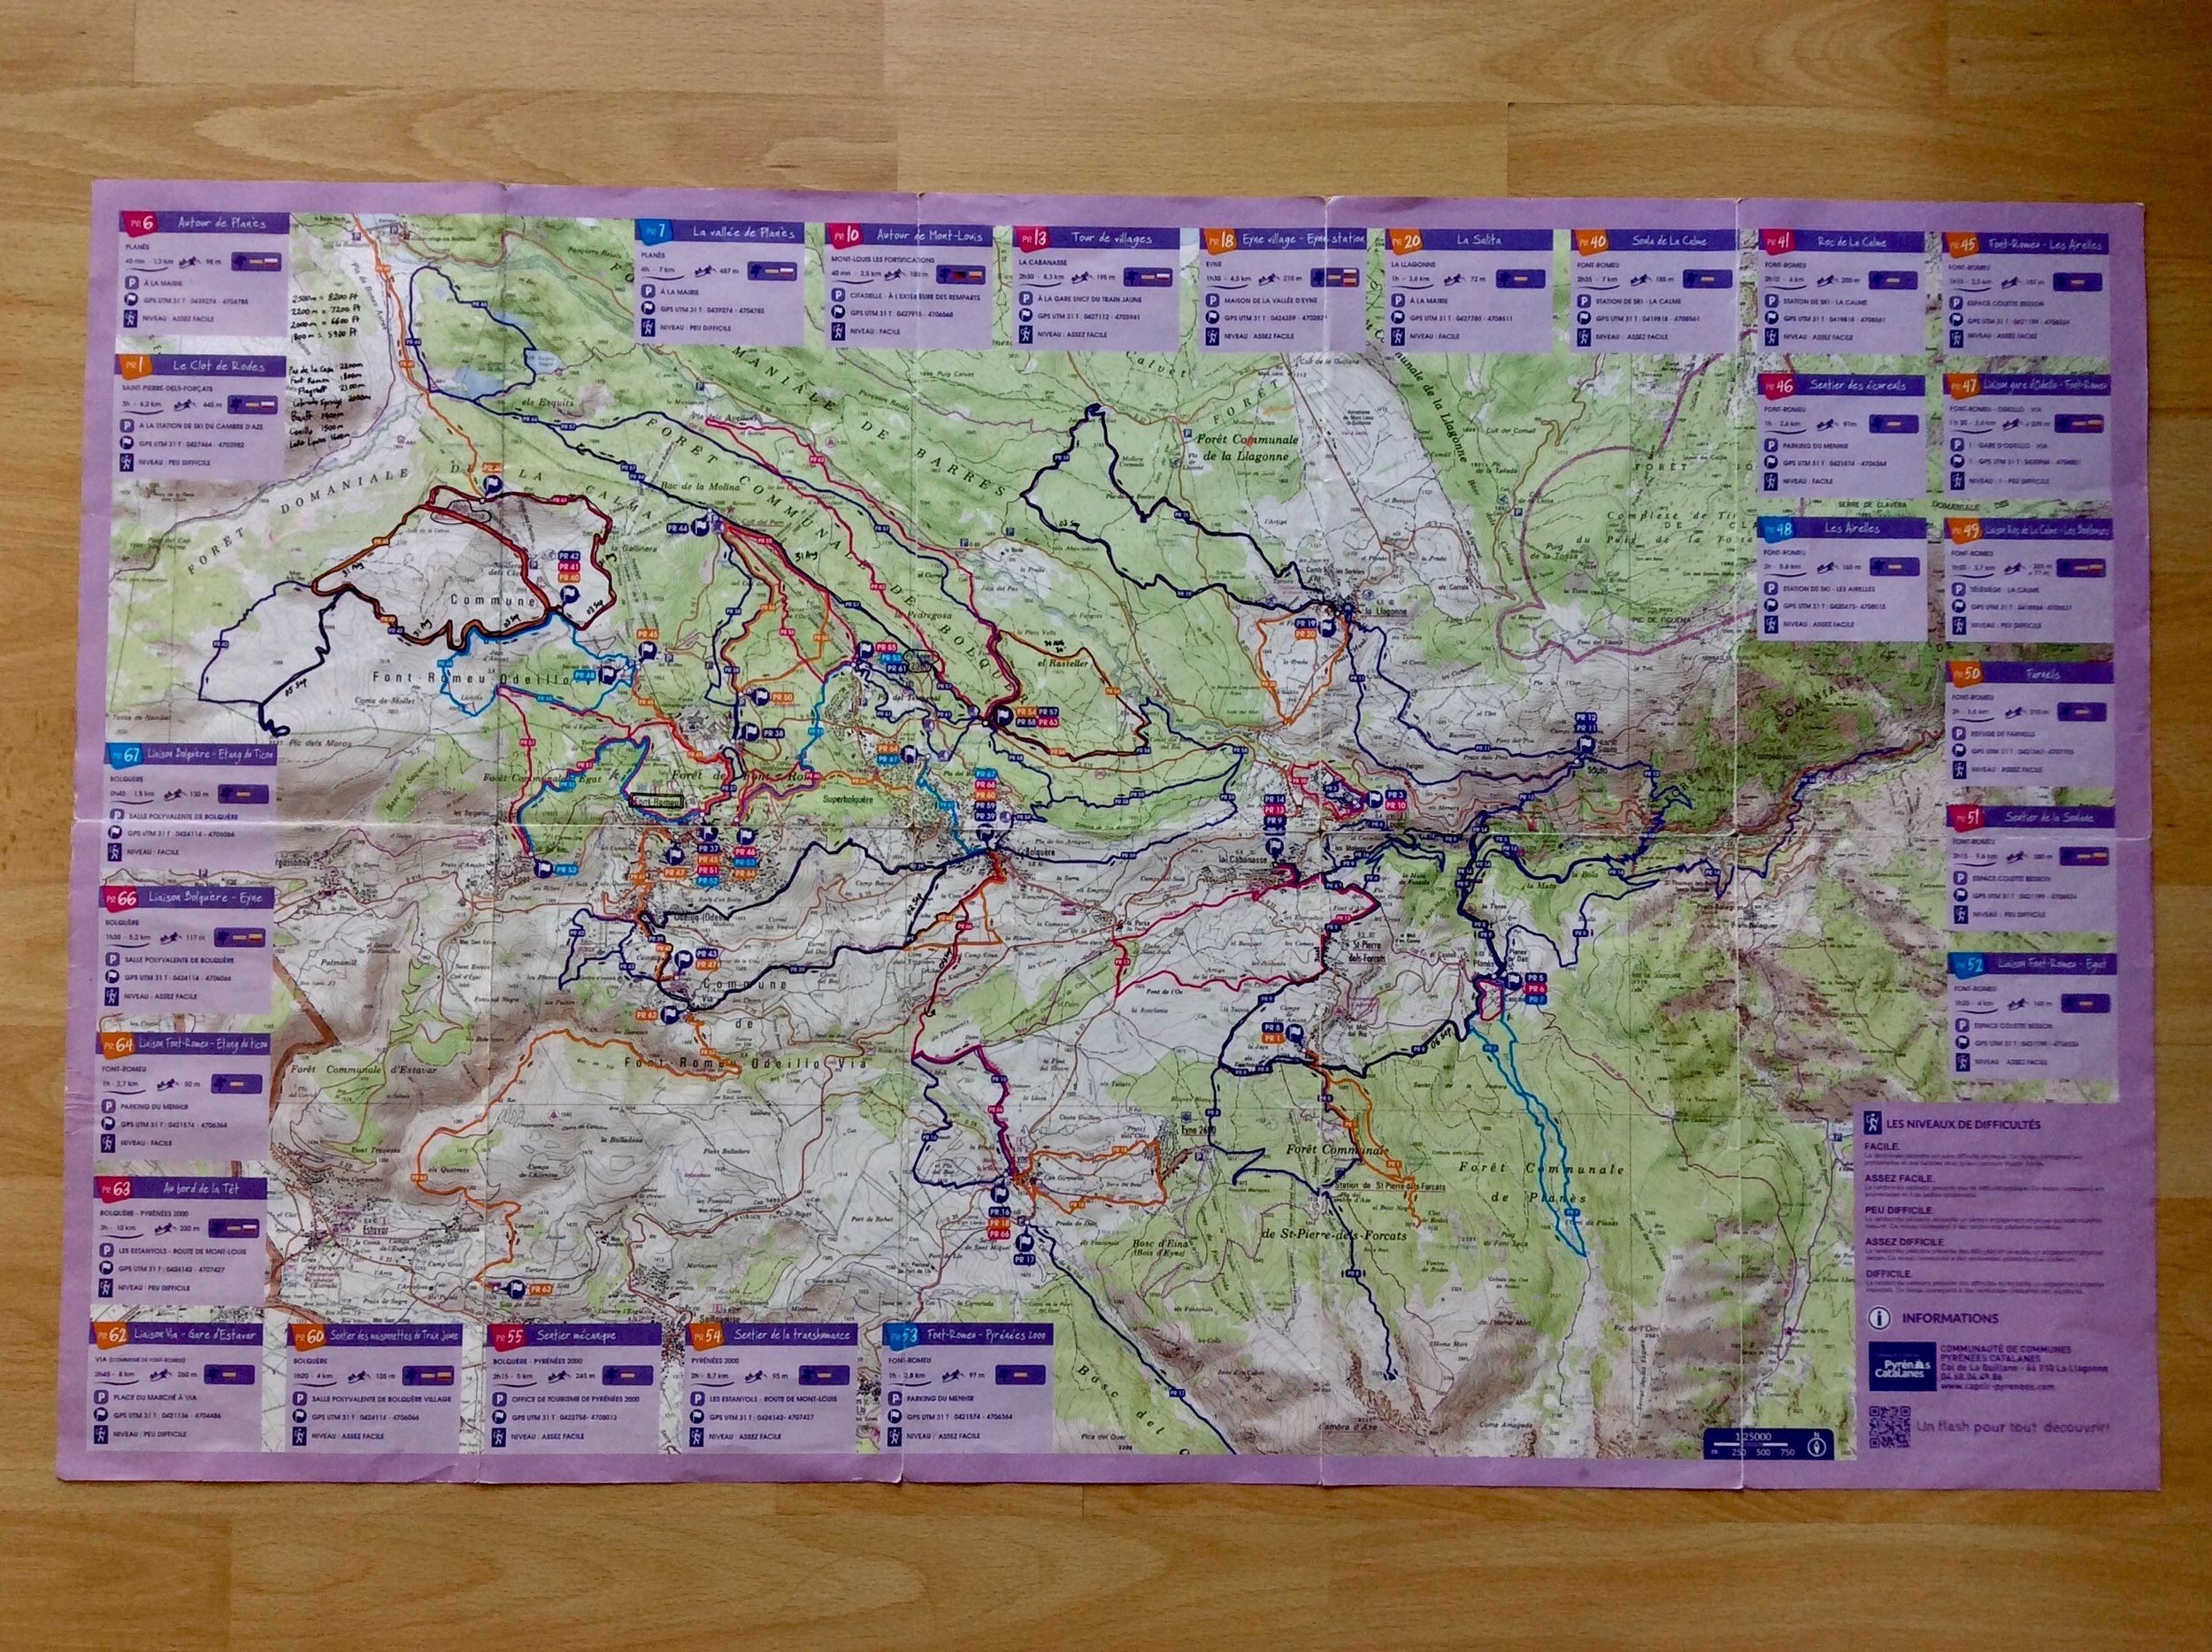
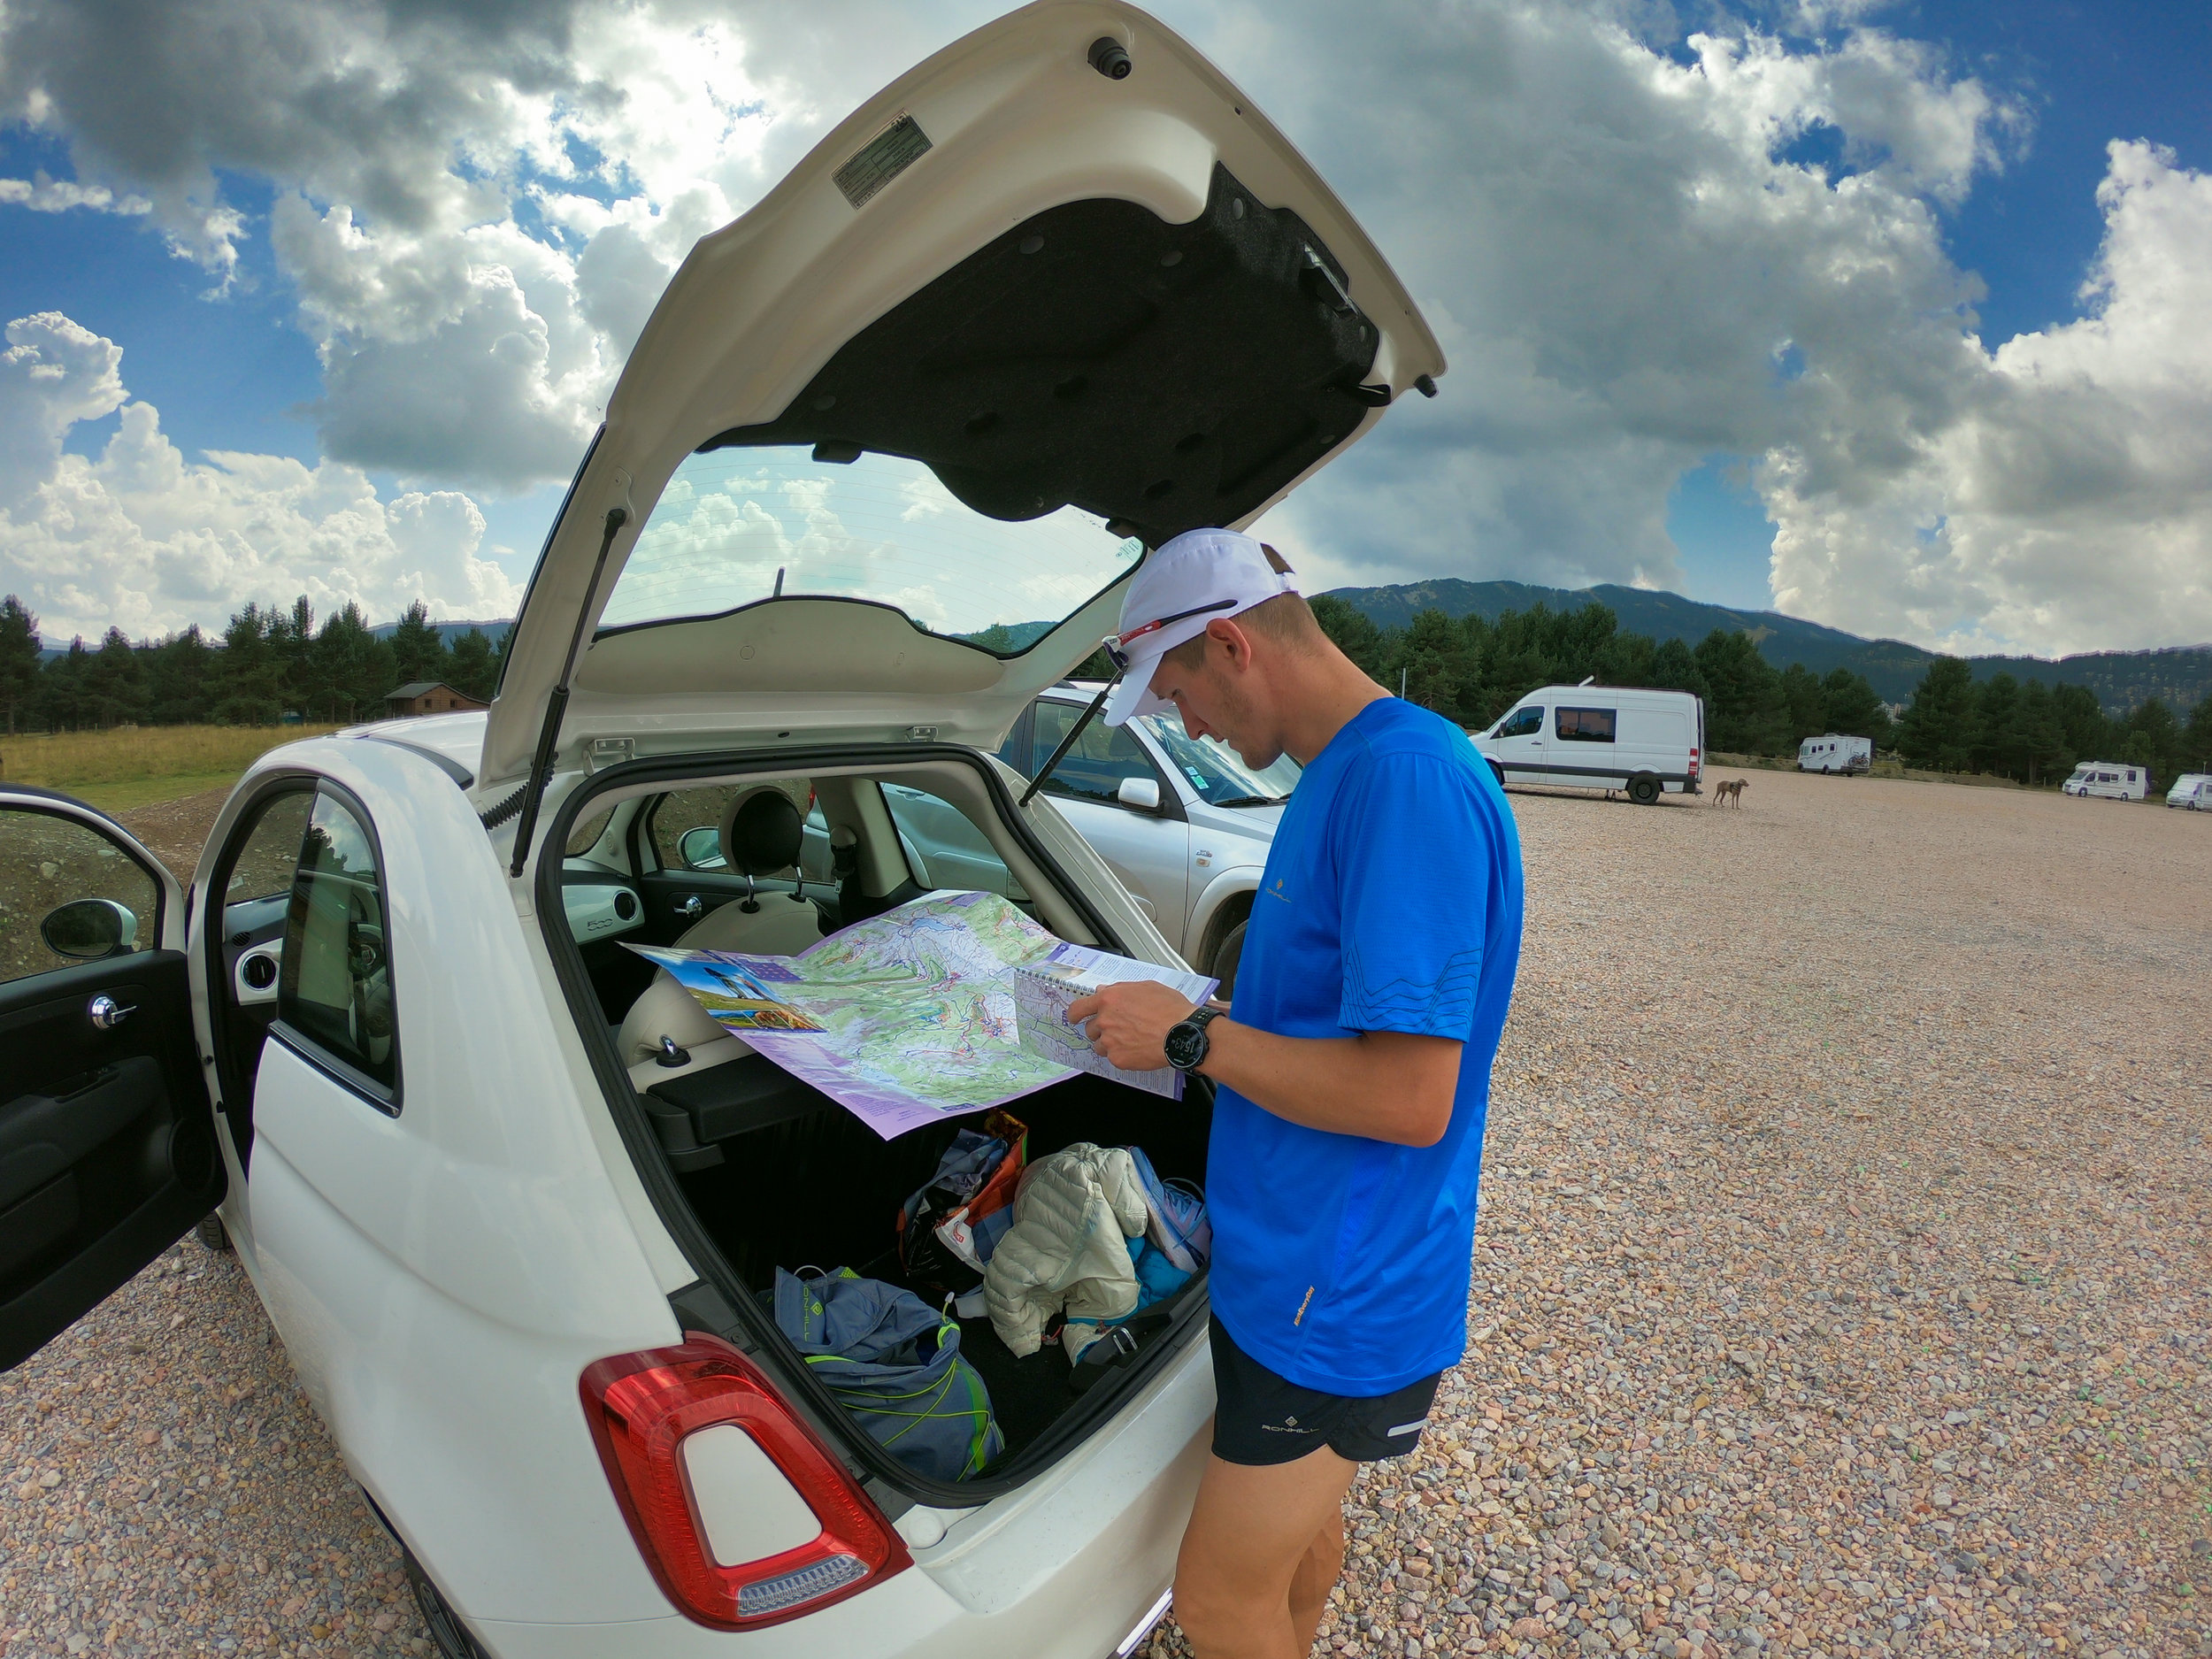
  1. As soon as you get to Font Romeu, go to the Tourist Info Centre and buy a map of the area for 5 euros (see photos of this map below). It outlines 77 of the local trails and also includes a booklet with trail text descriptions of 35 trails. It is an extremely good map and extremely good value. Highly recommended. We made the mistake of also buying a second trail map for 3 euros. Kilian Jornet was on the cover and we mistakenly assumed it would be a good map. We were wrong. I would not recommend the map with Kilan on the front as the Pyrenees Catalanes map (photo below) is far superior.

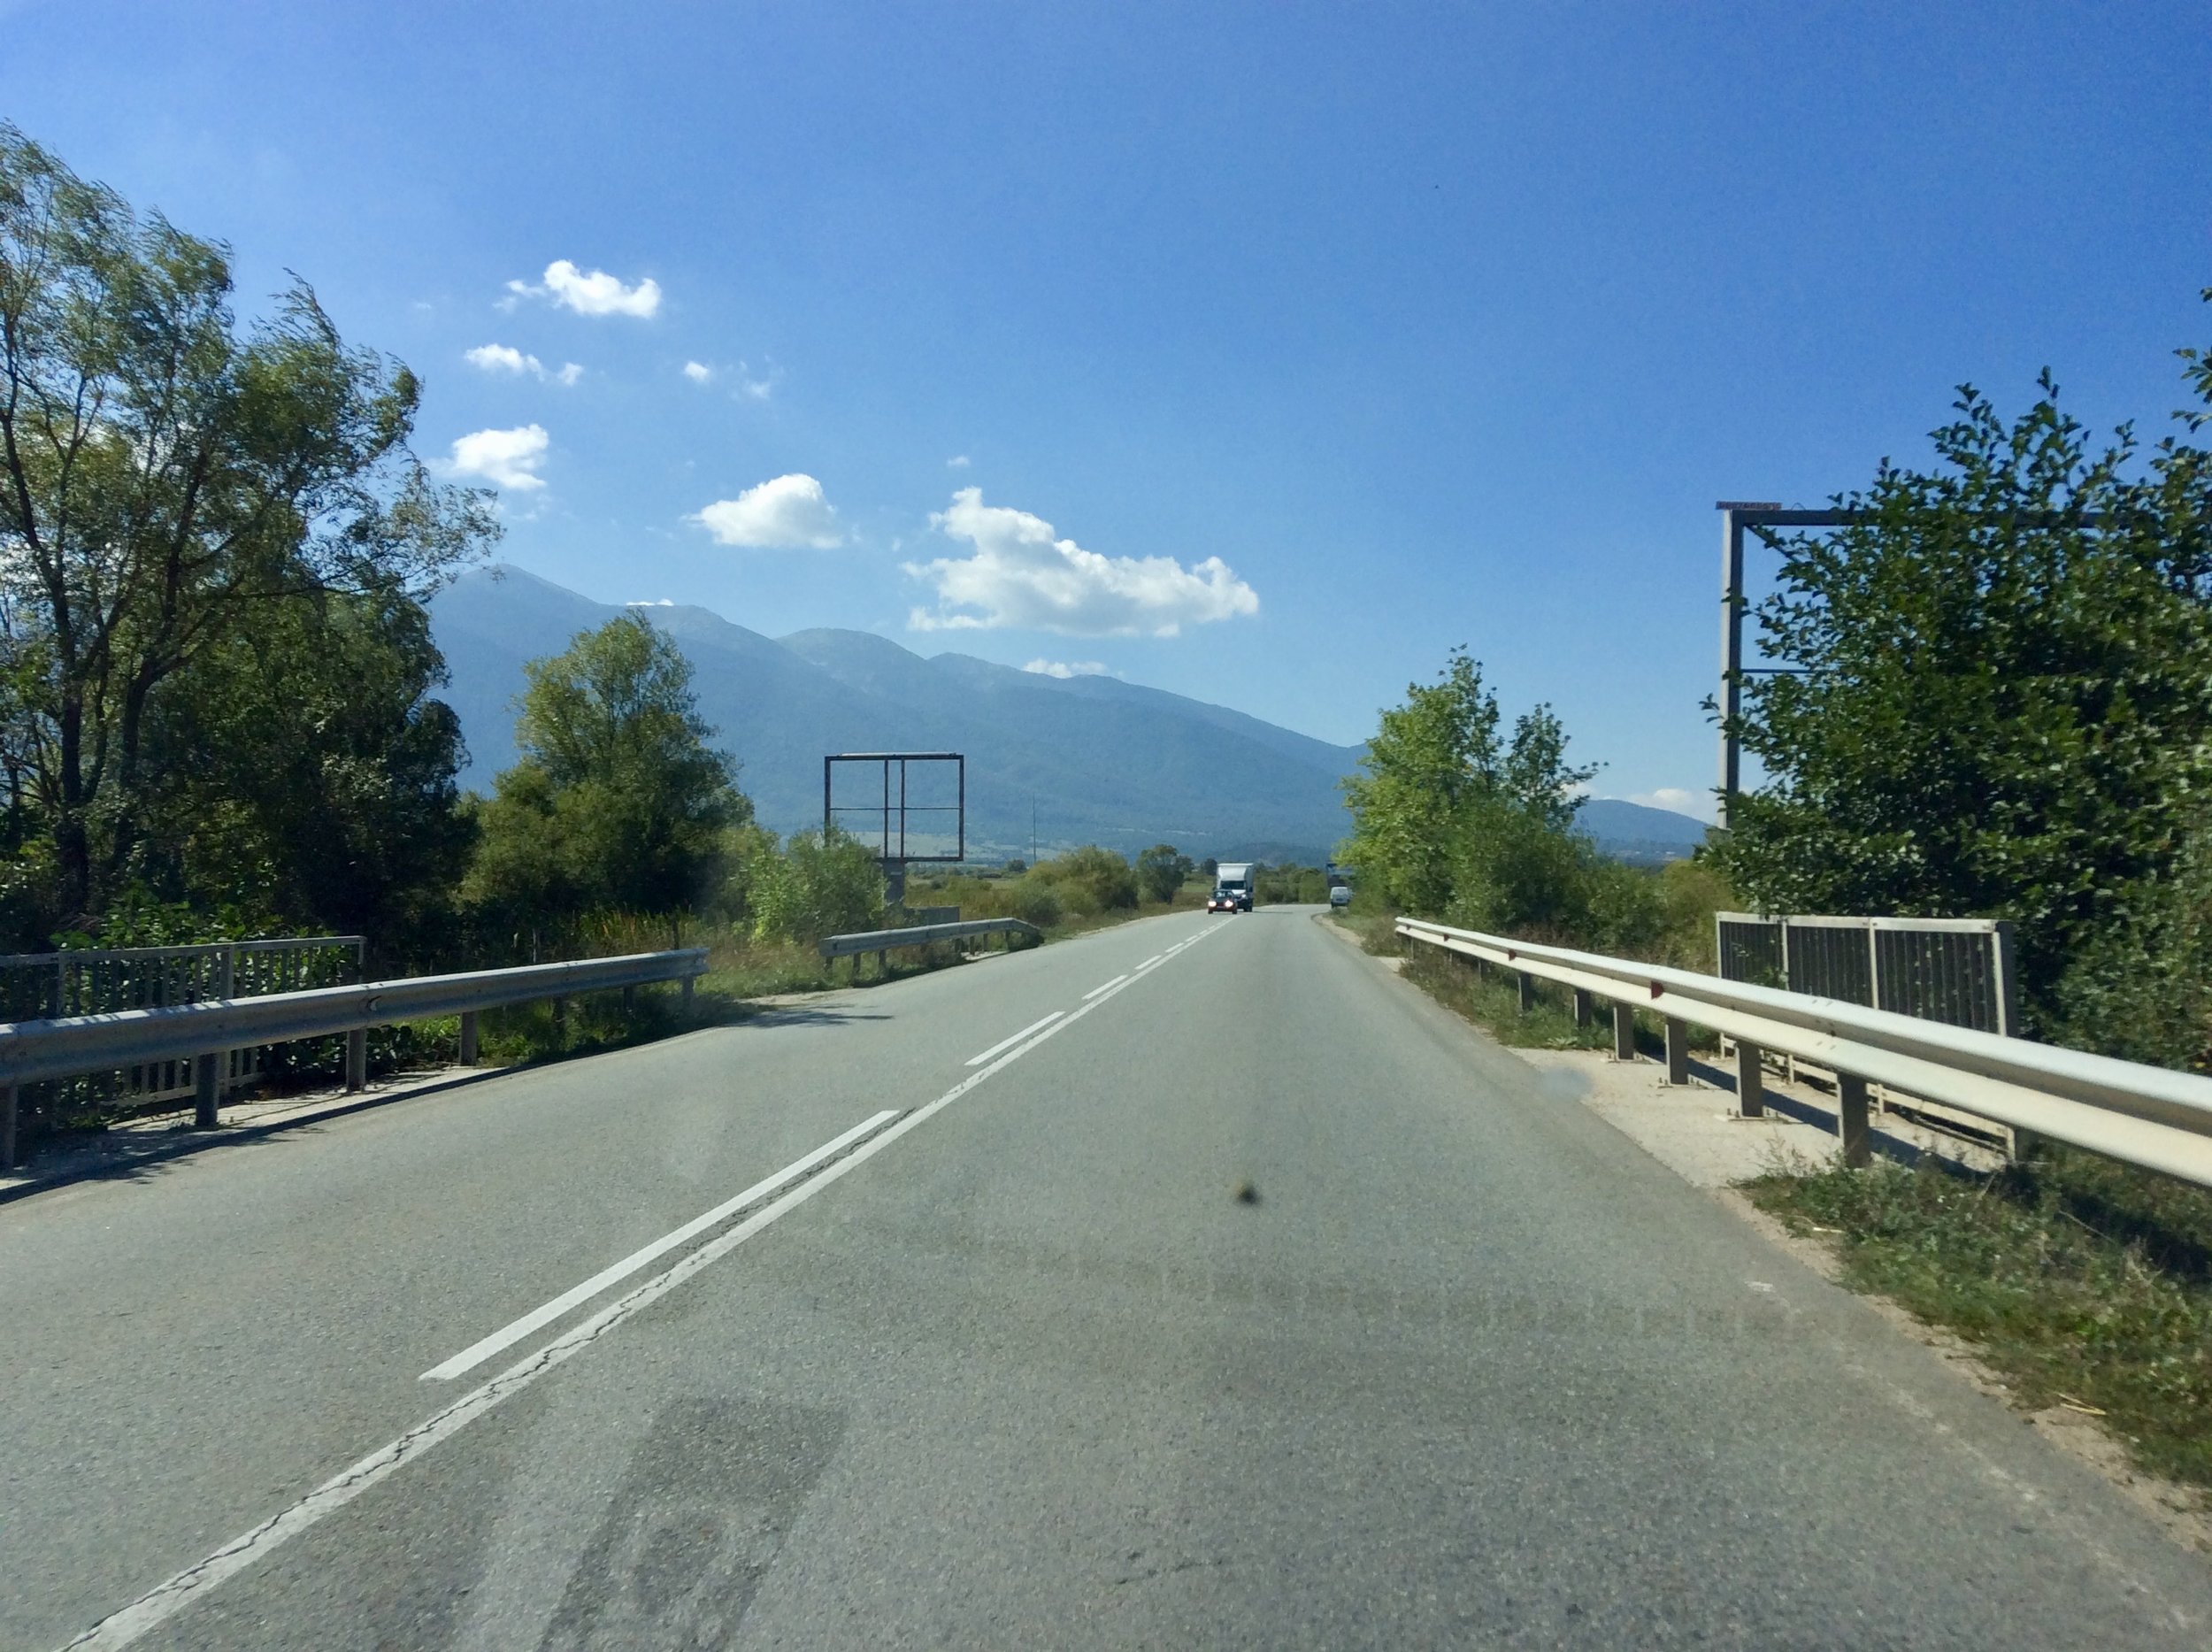
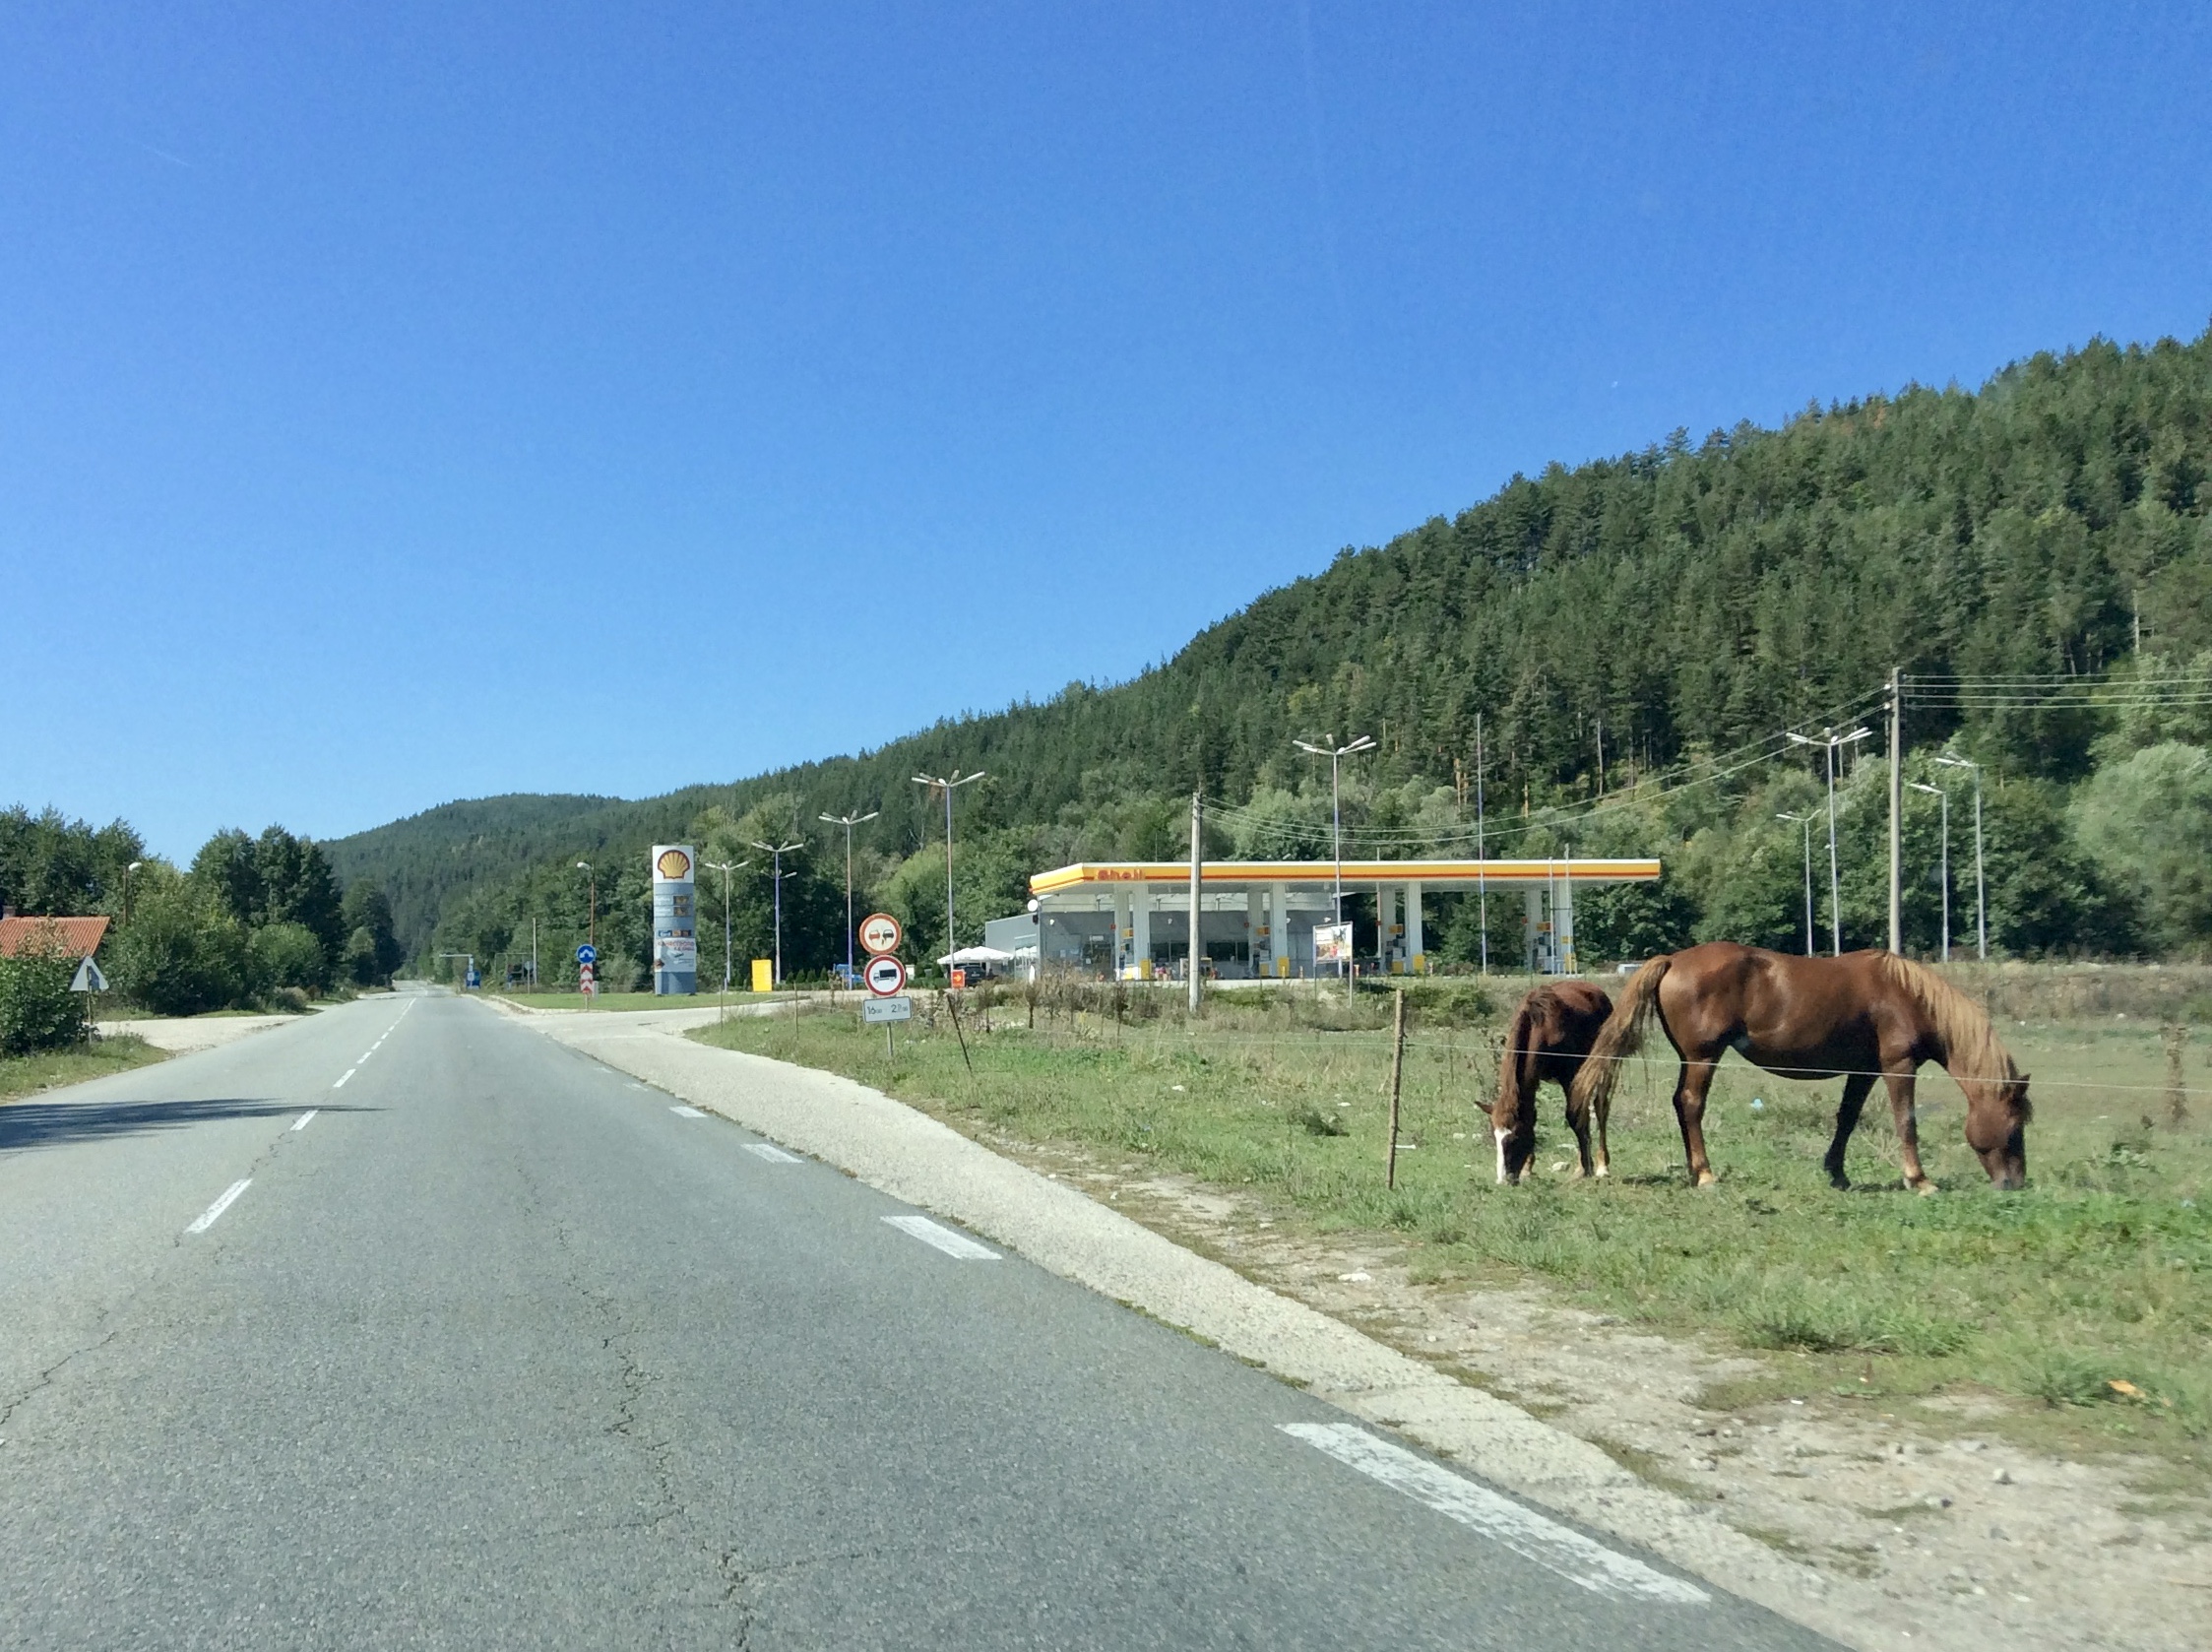
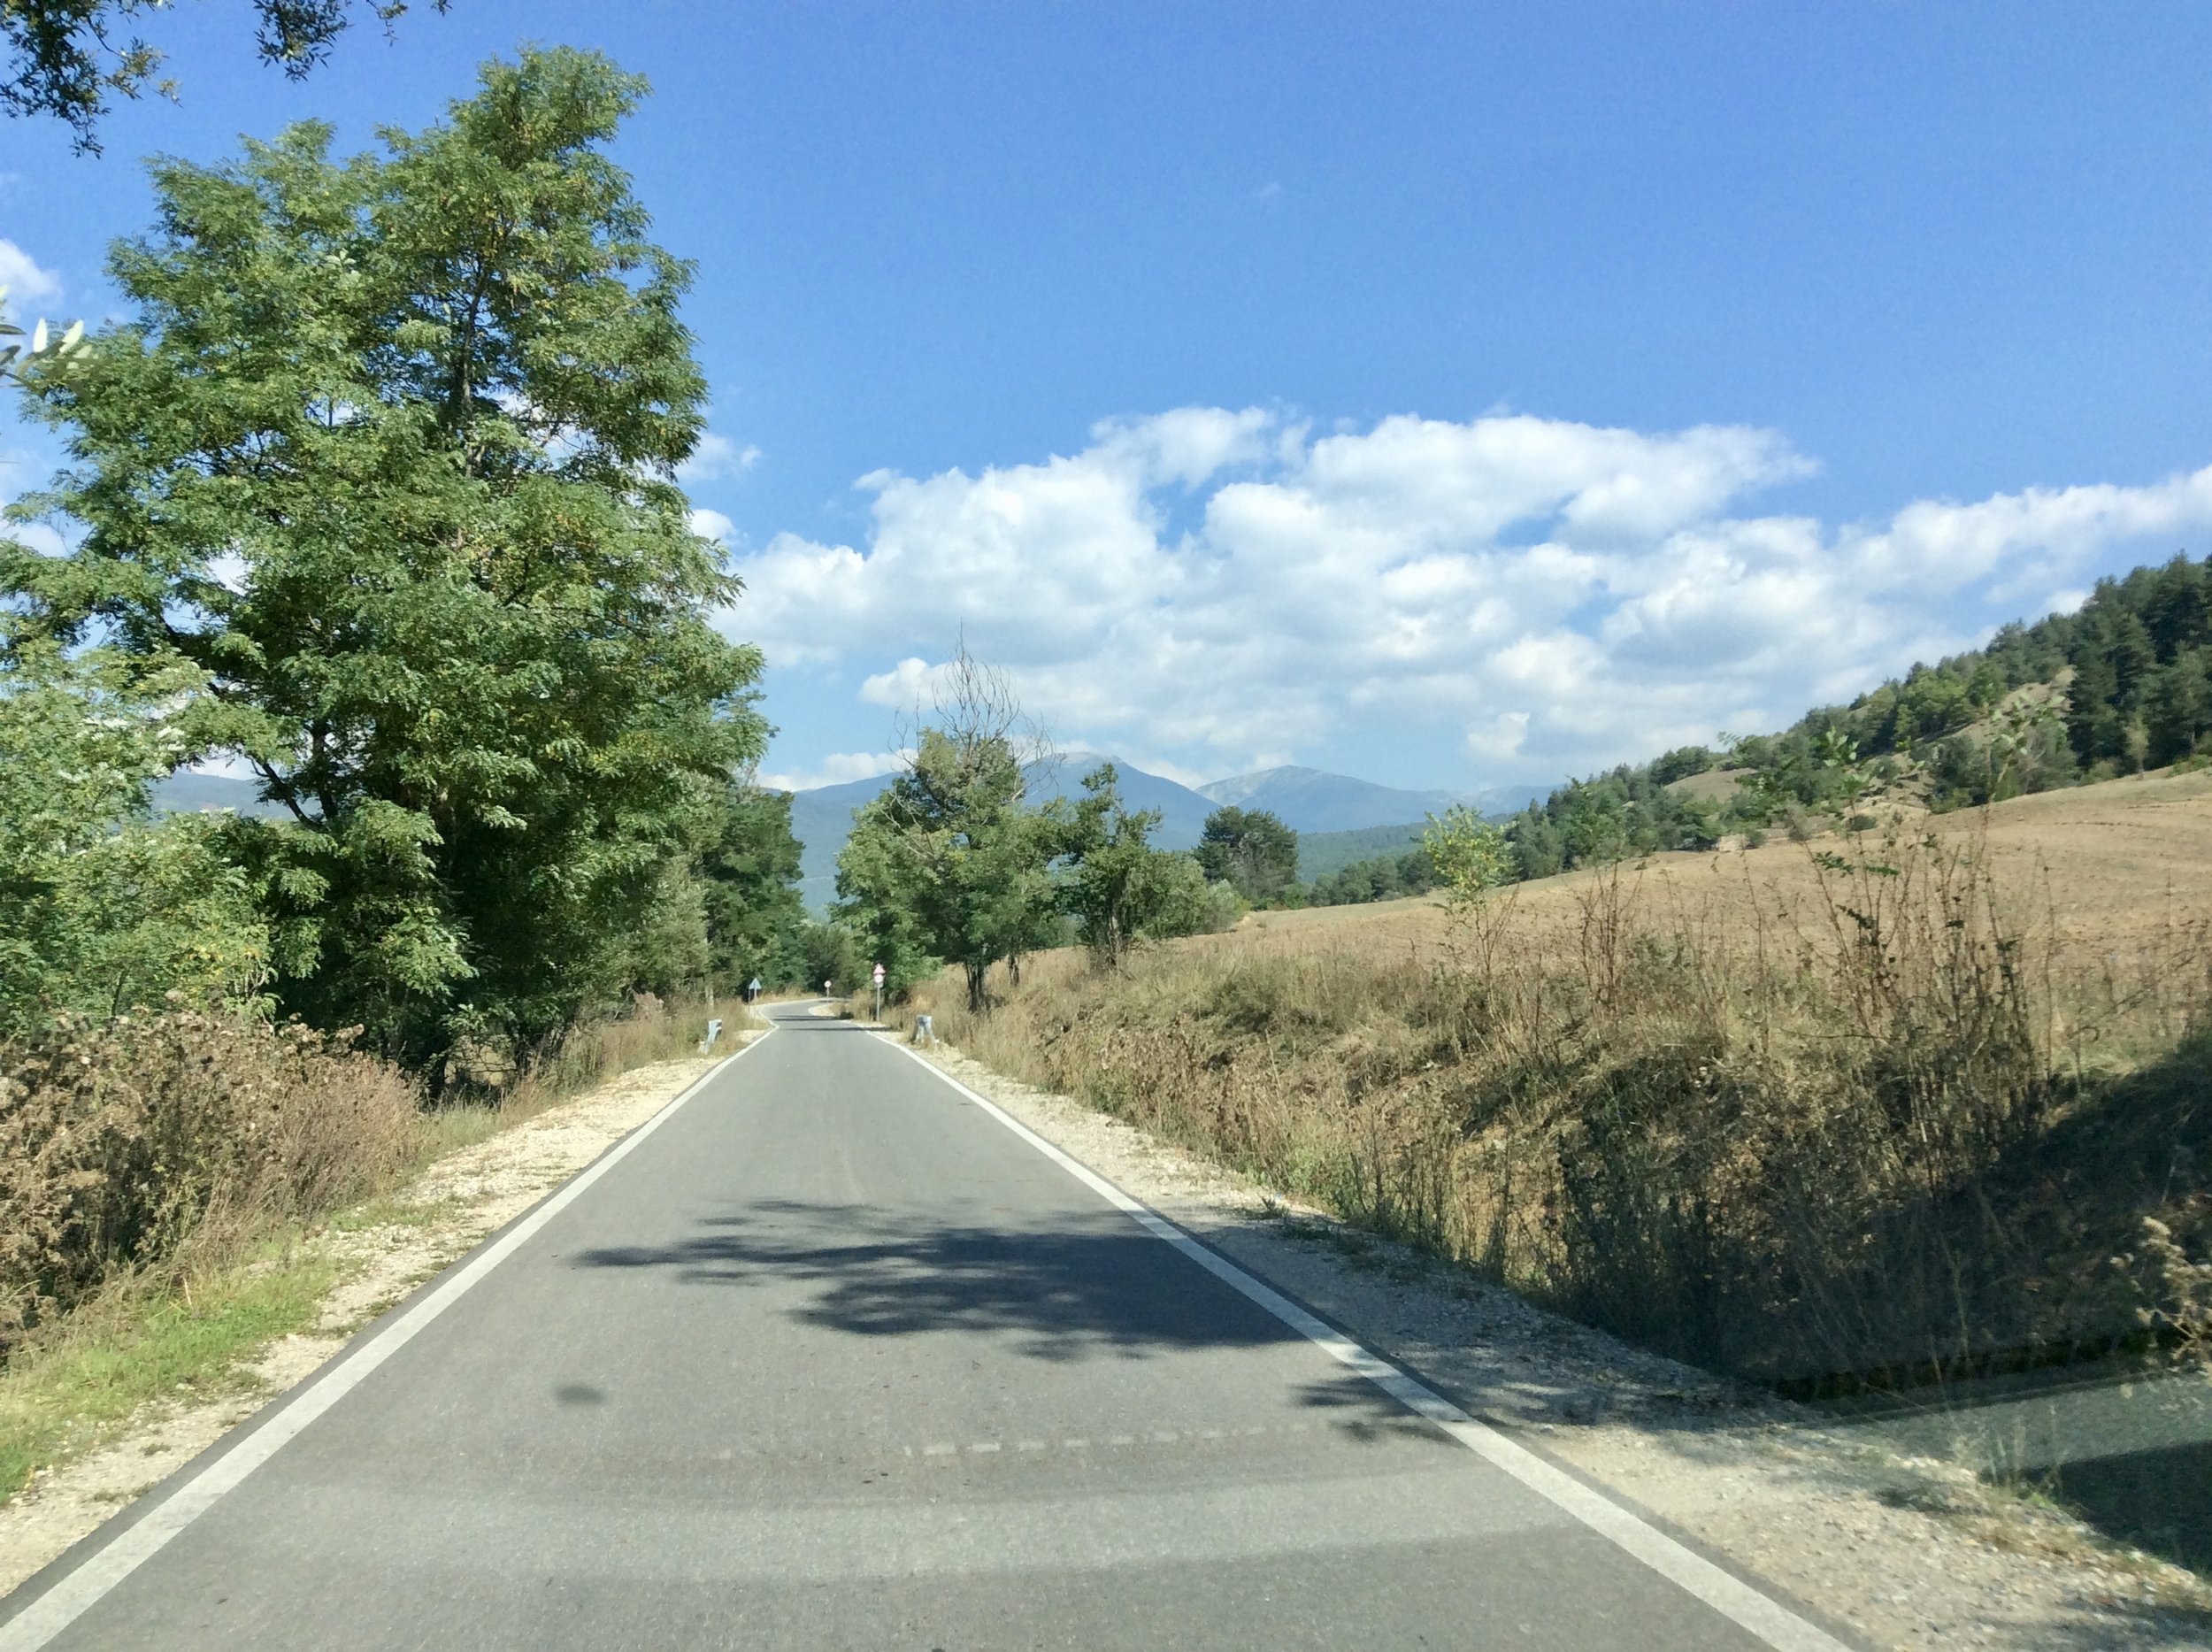
  2. Rent a car, rent a car, rent a car. The trails are quite spread out so it’s pretty much imperative that you have a car to get around.

  3. Speak French or at the very least, try to speak French. The locals will appreciate it.

IMG_4808.jpg
IMG_4807.jpg
IMG_4806.jpg
IMG_4818.jpg
IMG_4820.jpg

Font romeu trail network

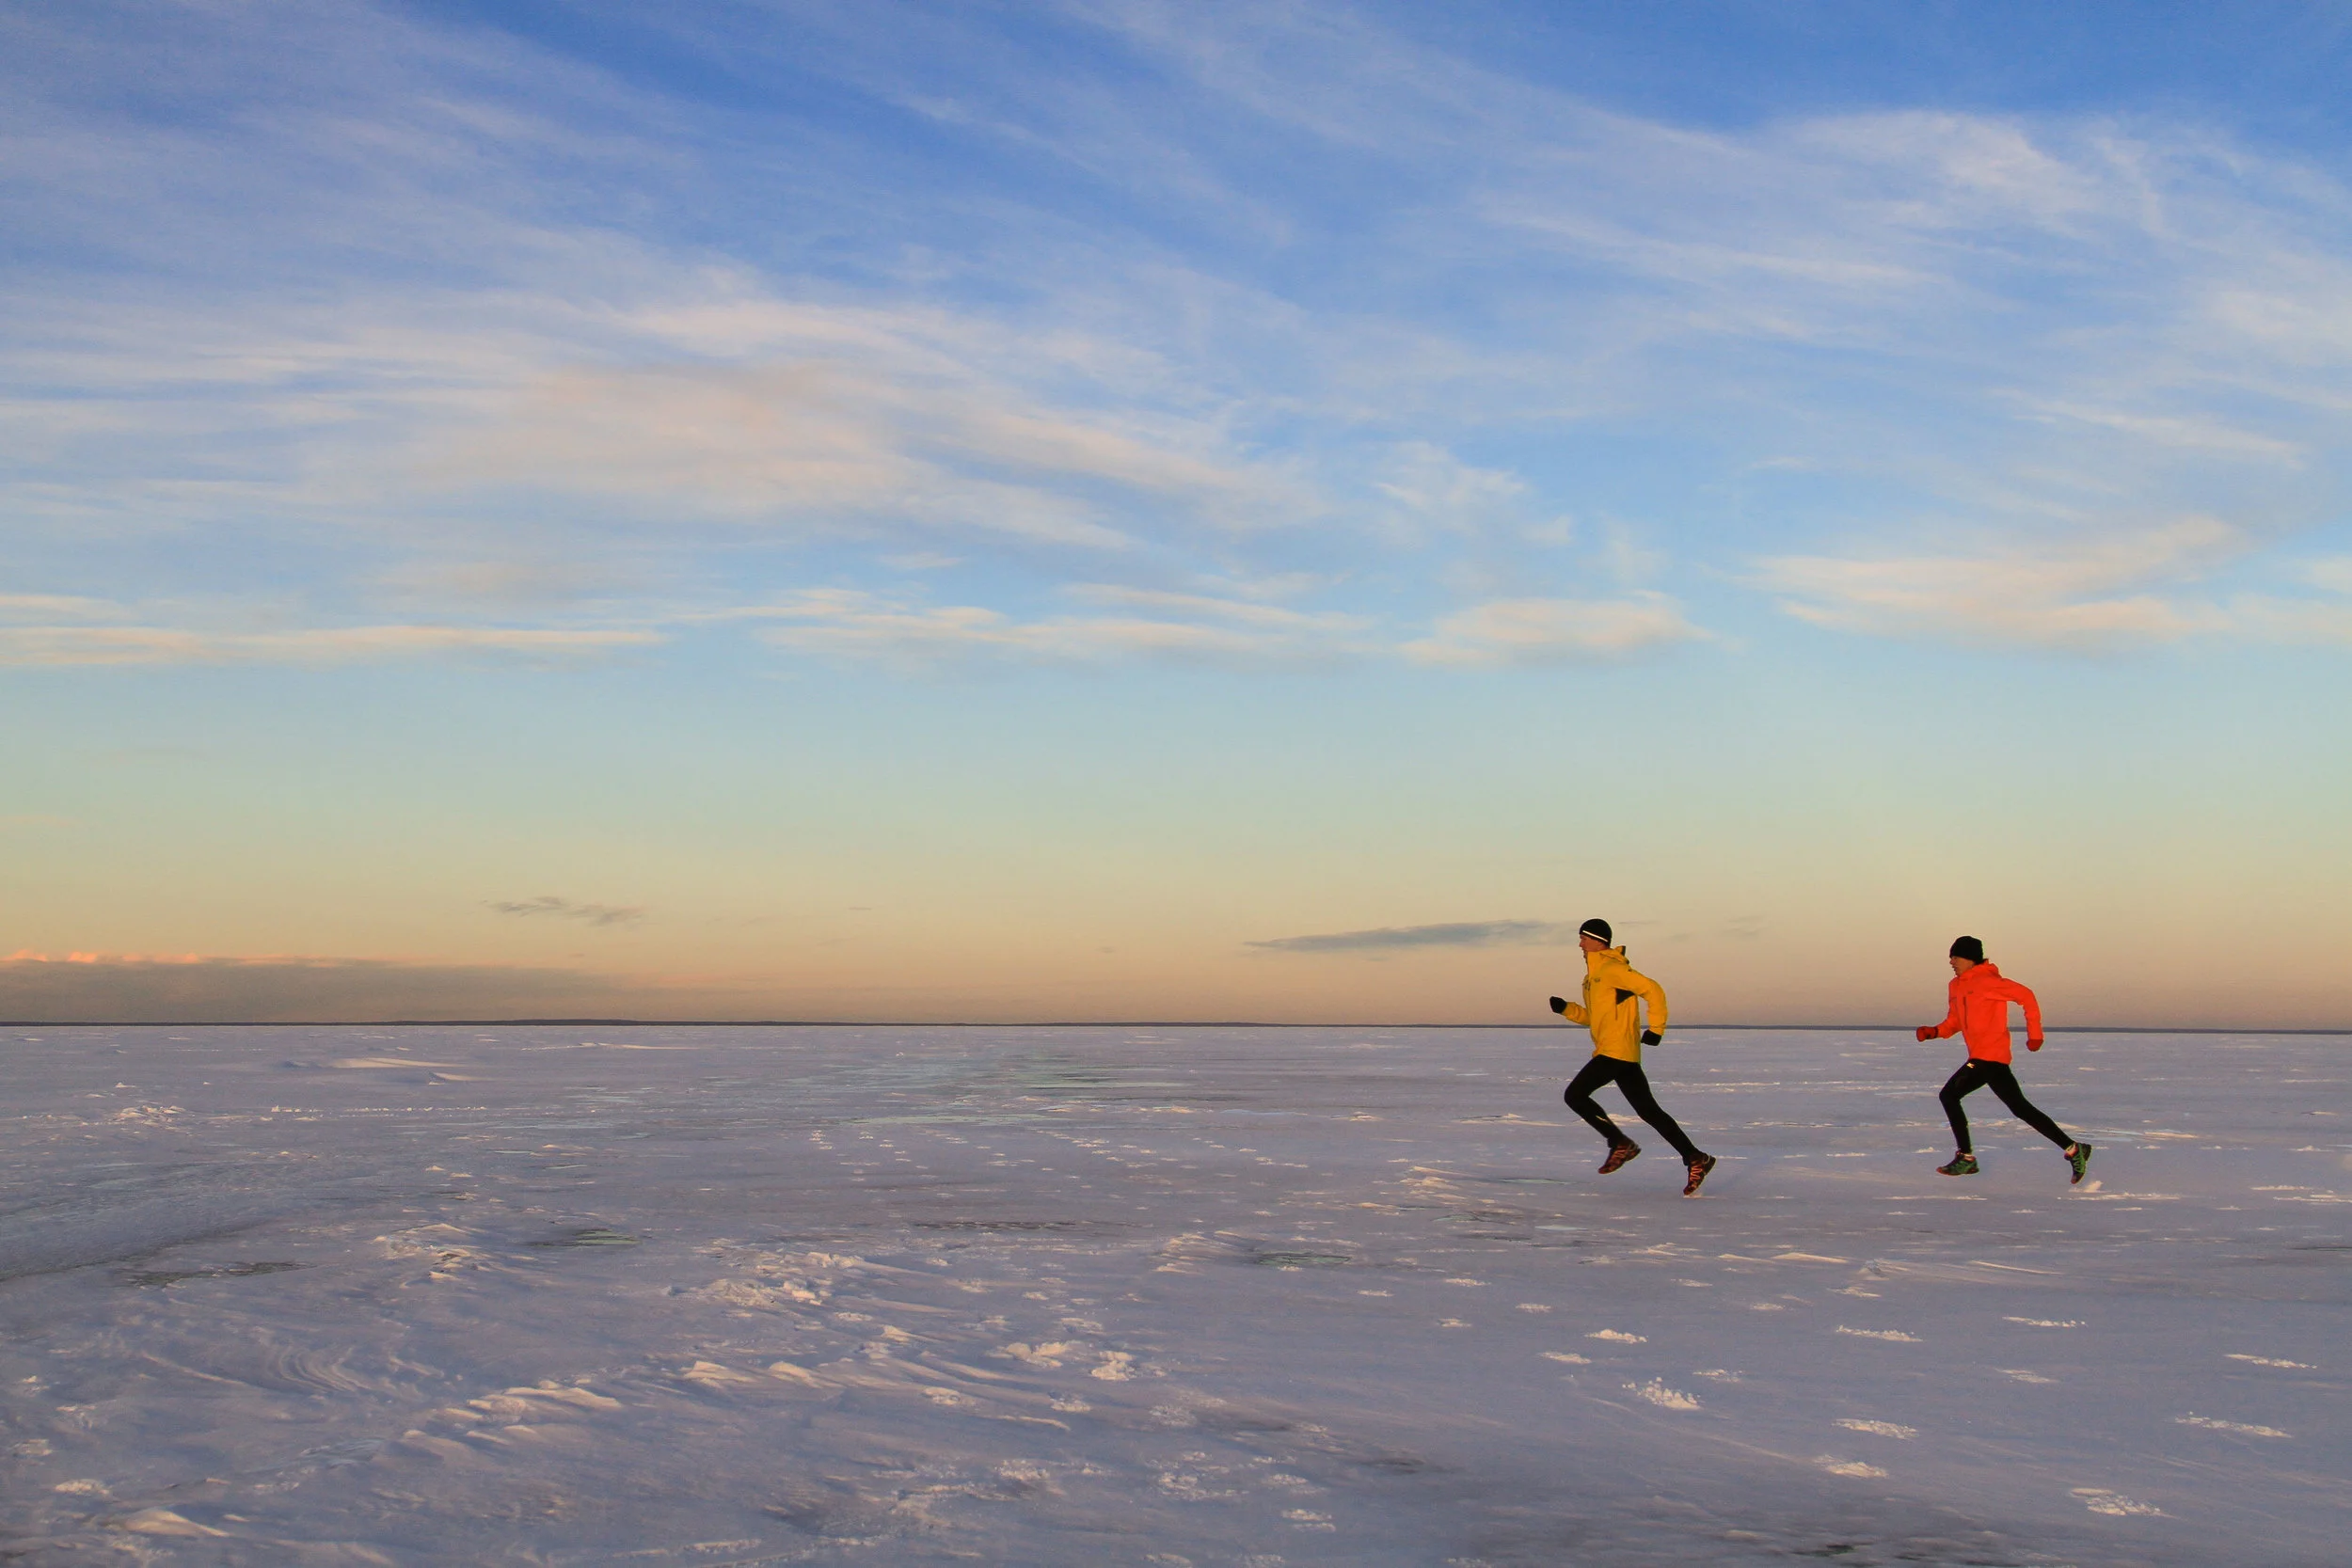
Font Romeu has the best trail network of anywhere I have ever seen in the world. Emily and I have run in over 27 different countries around the world and Font Romeu’s trail network is the best we have ever seen.

Here is why the Font Romeu Trail Network is so amazing:

  1. Extremely well maintained trails - we ran about 150 km on various trails and we came across only ONE downed tree across one trail.

  2. Trail Markers - Extremely well marked trails with a yellow horizontal line (approximately 10cm long and 2 cm tall).

  3. Trail Signage - yellow placards showing the way at pretty much every main intersection. I didn’t even have to carry a map!

  4. Universal and easy to understand by most nationalities - Each trail had a name and had a number (“PR 9 XXXXX”, for example). Although I can speak French, it was not necessary to find your way because there was a trail number.
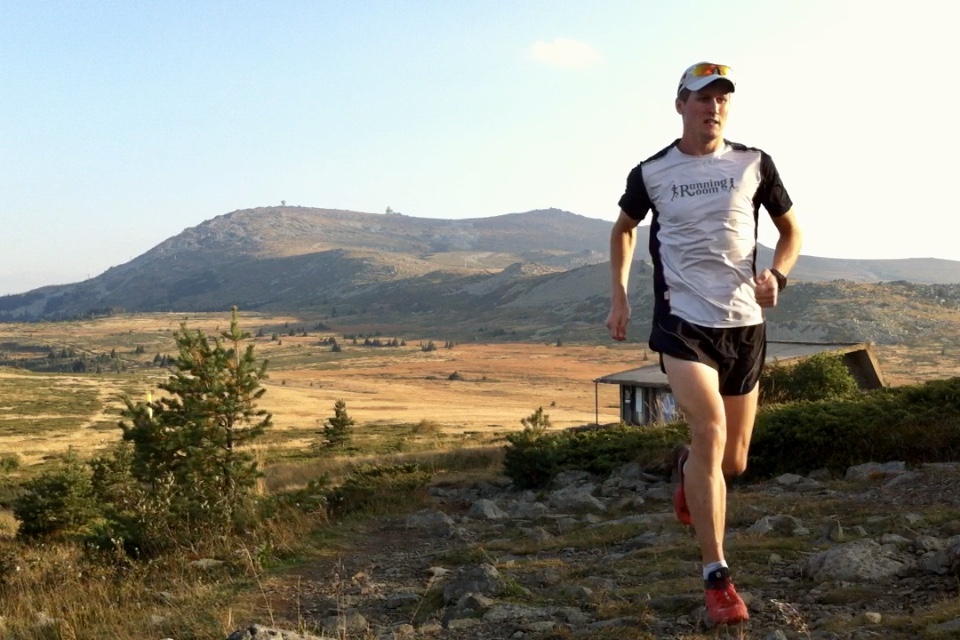
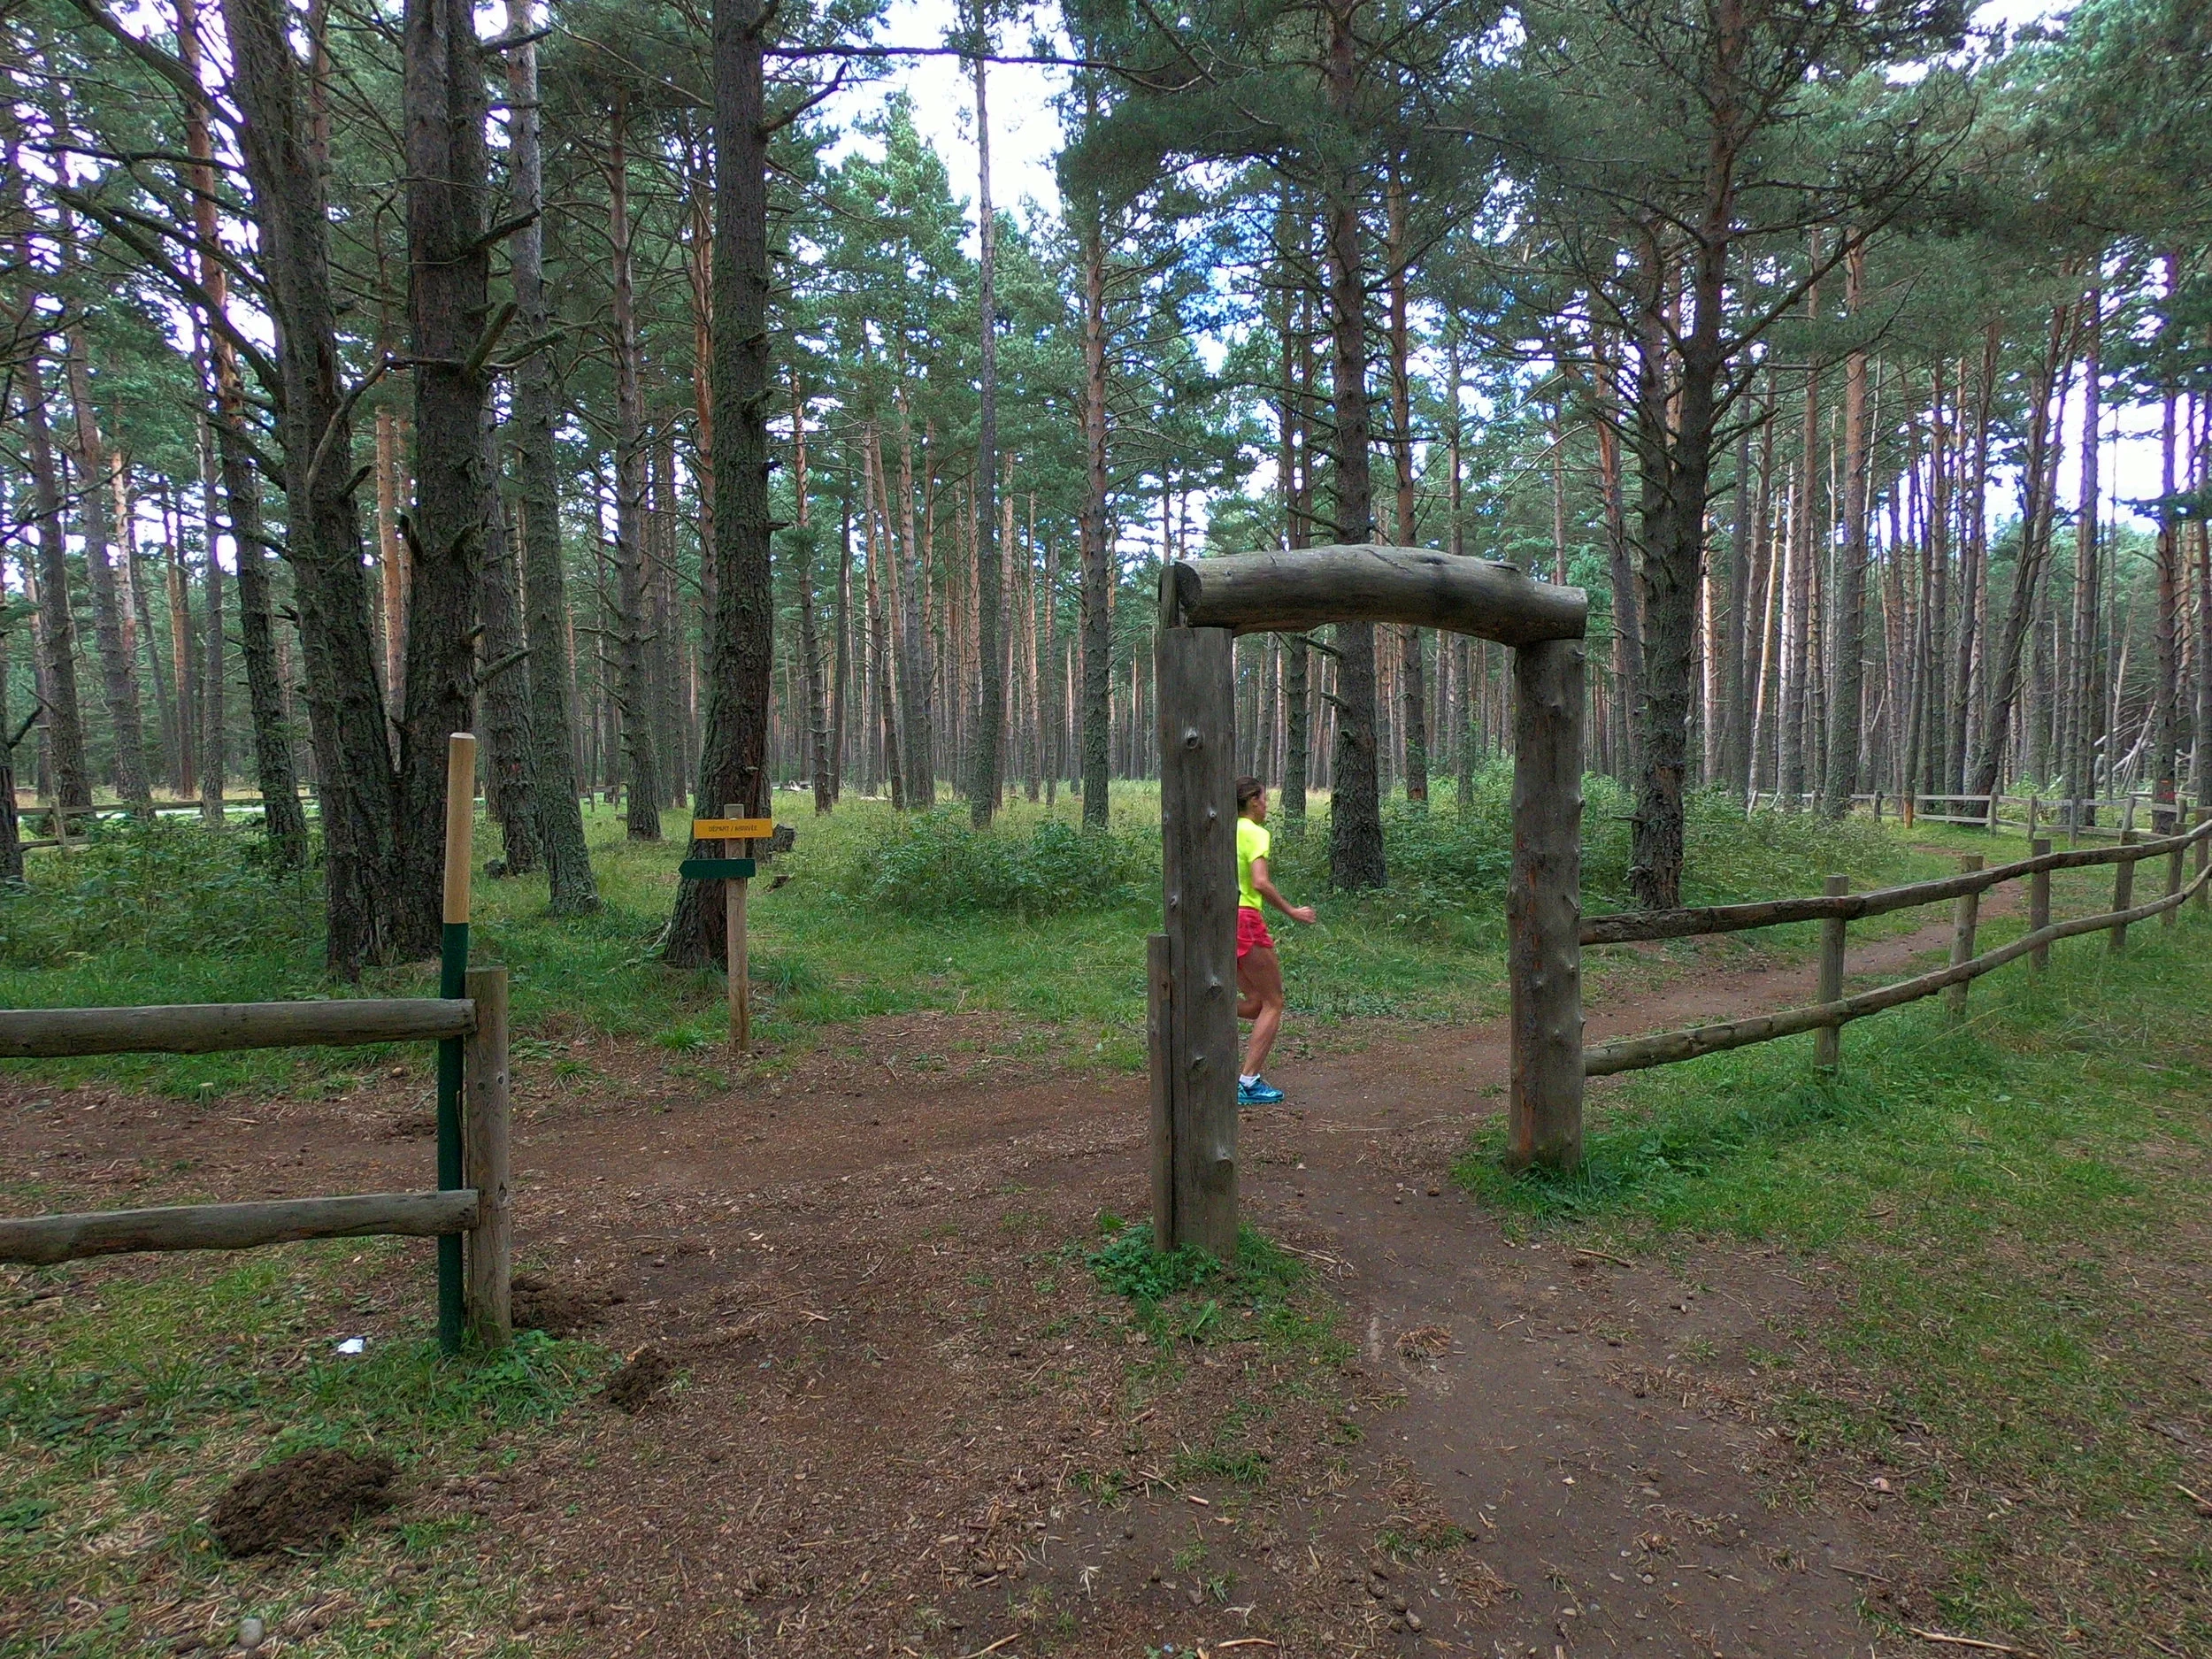
Trails we ran on

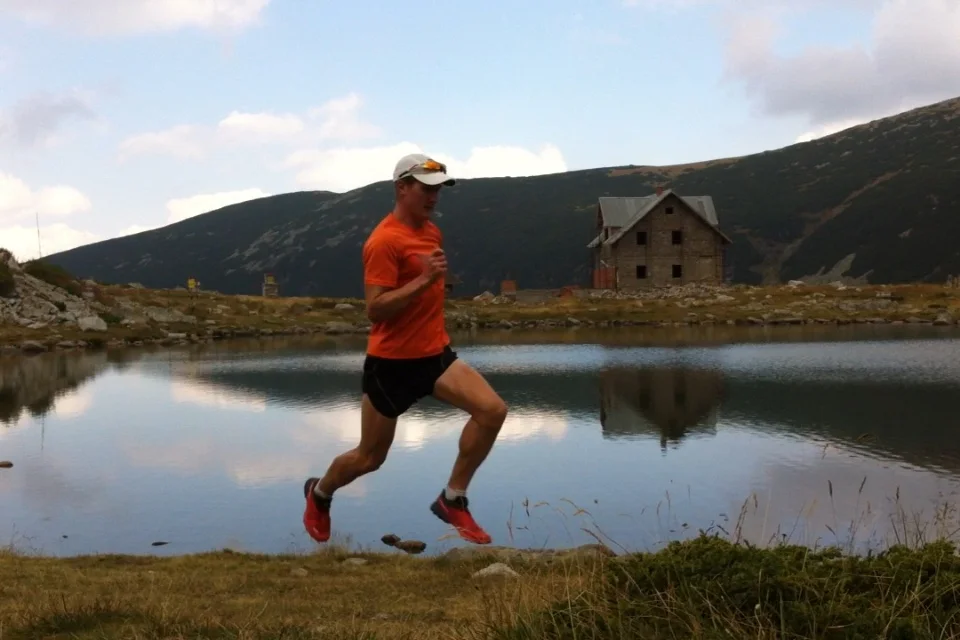
We ran twice per day while we were in Font Romeu (once at noon and once during golden hour in the evening). We ran on a different trail almost every single run. It was incredible!
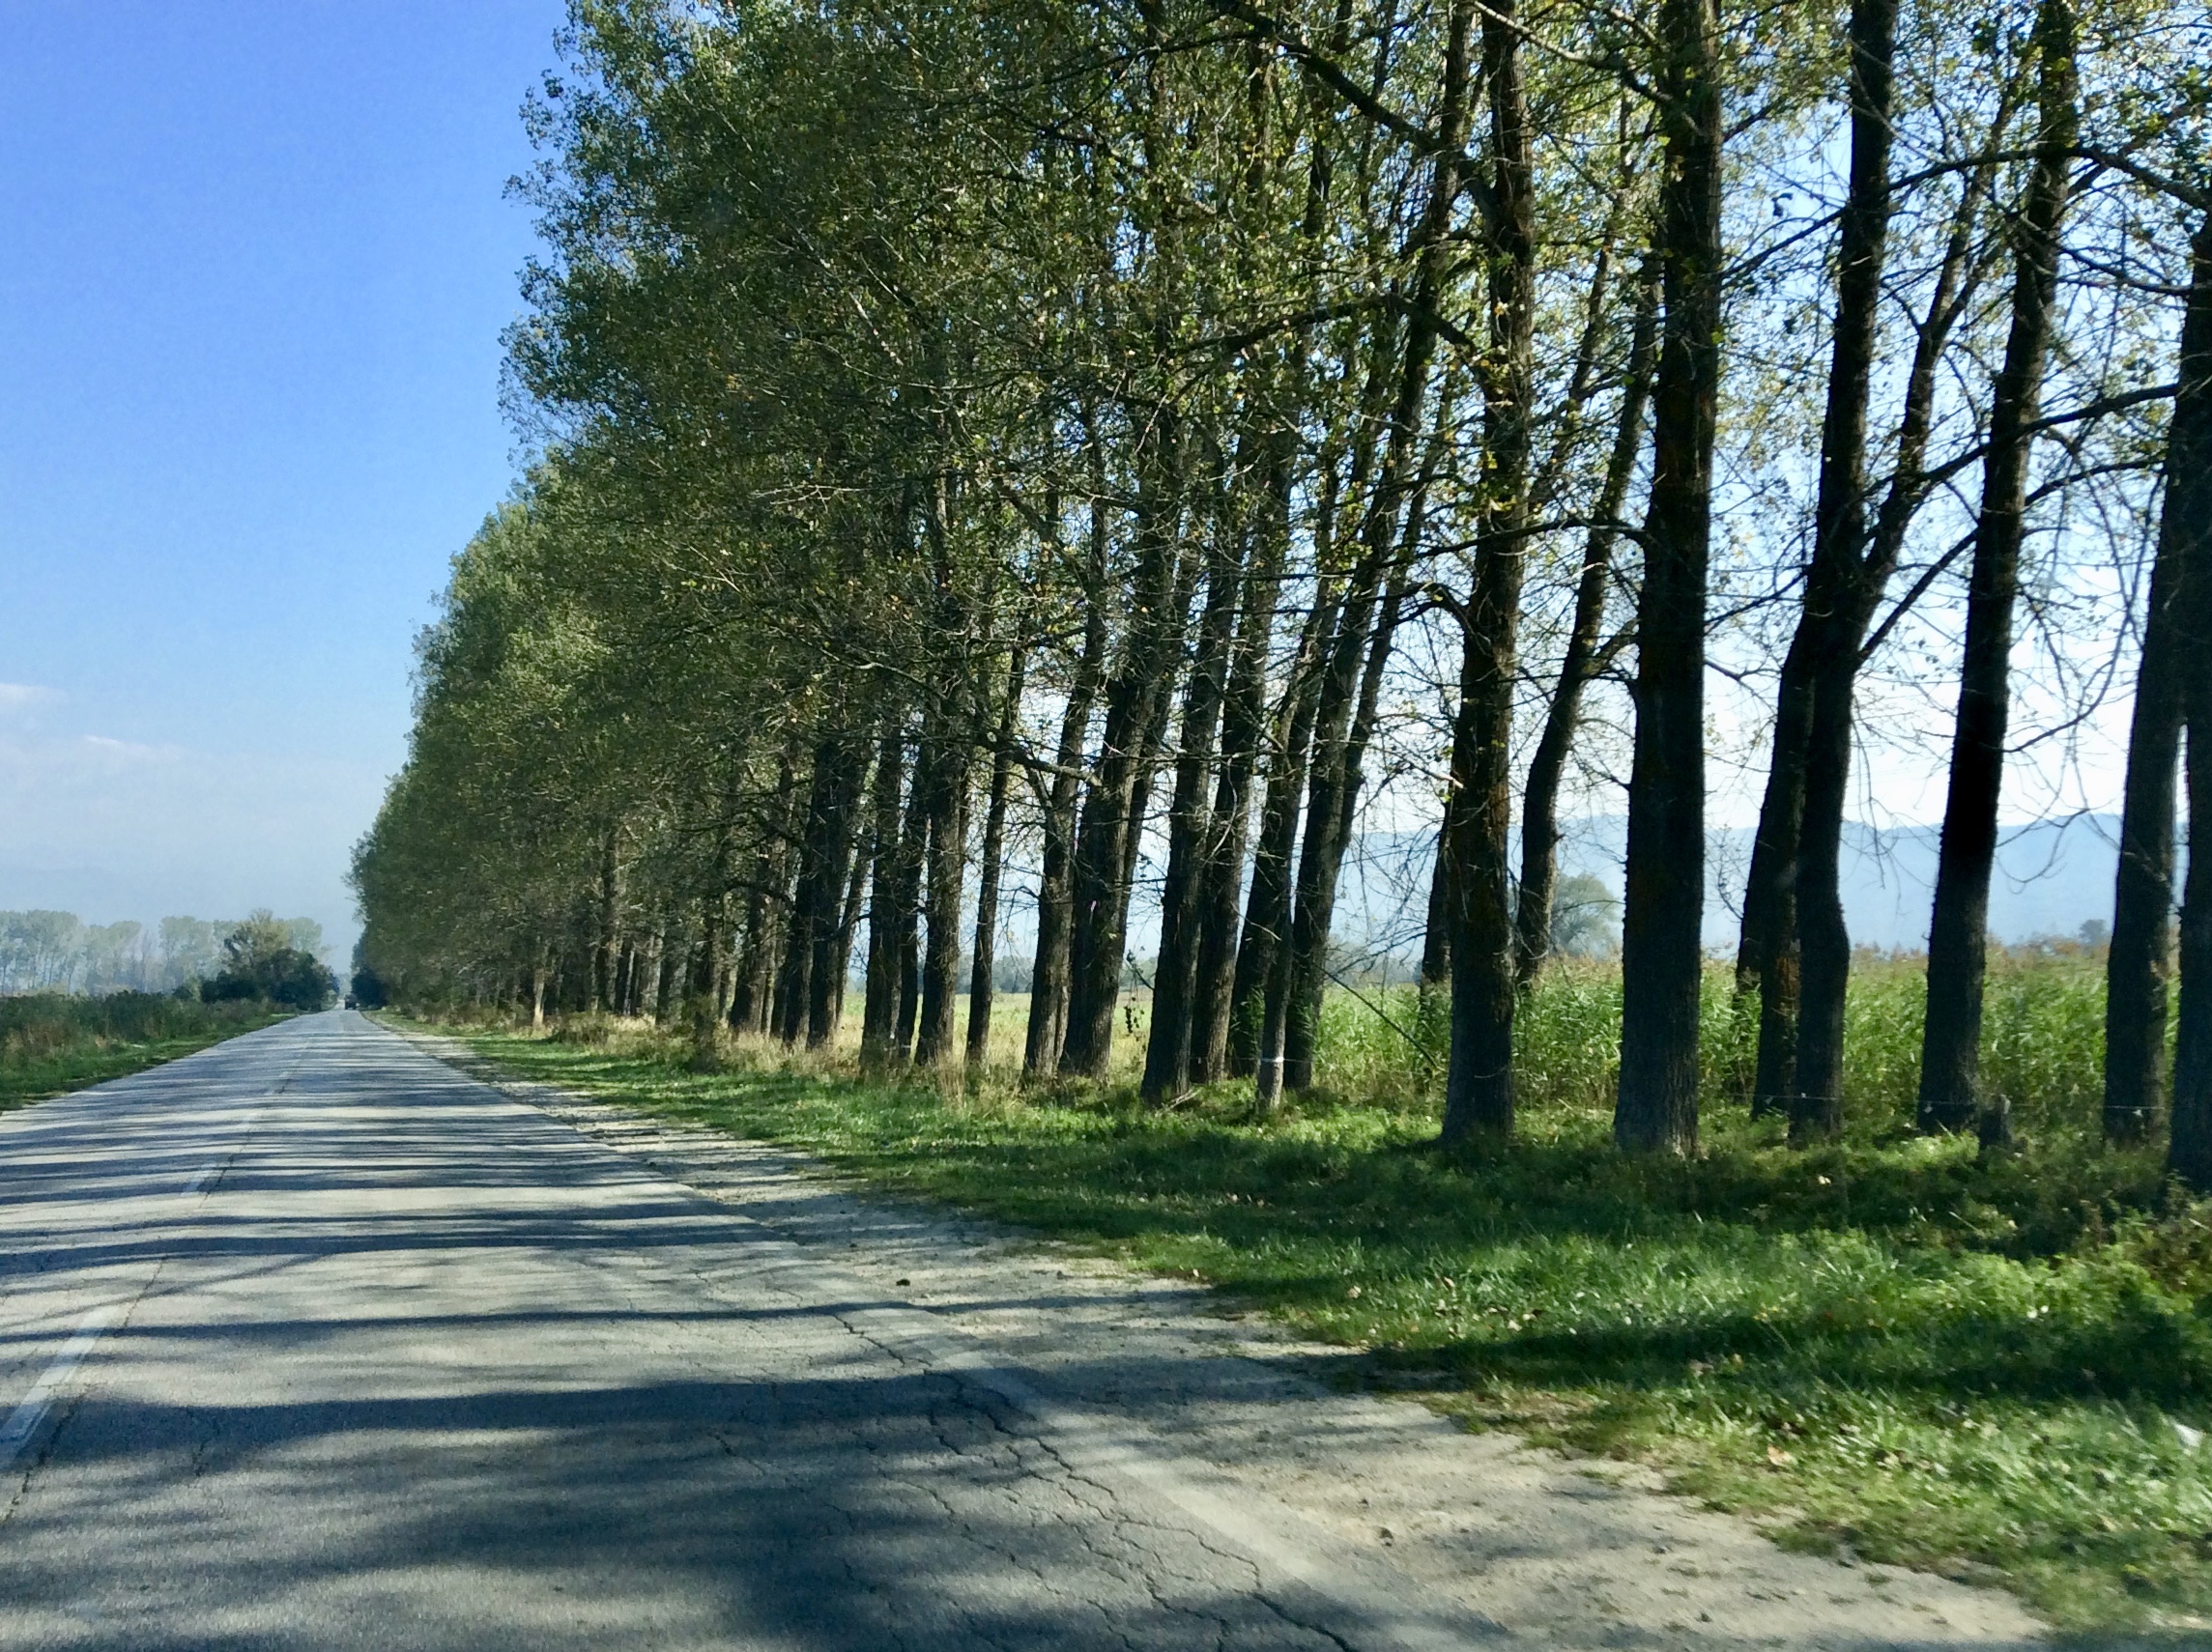
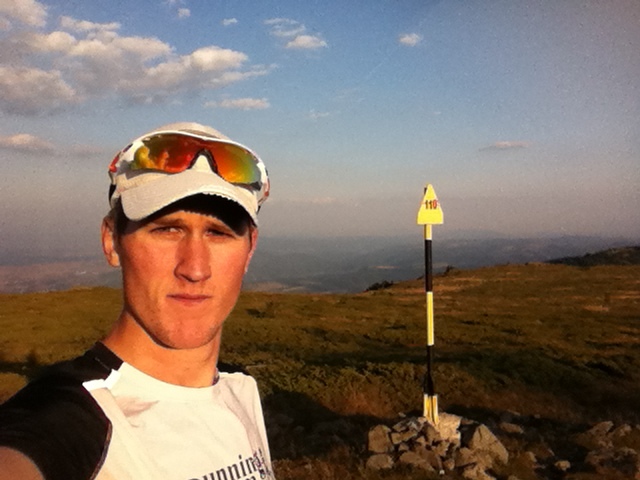
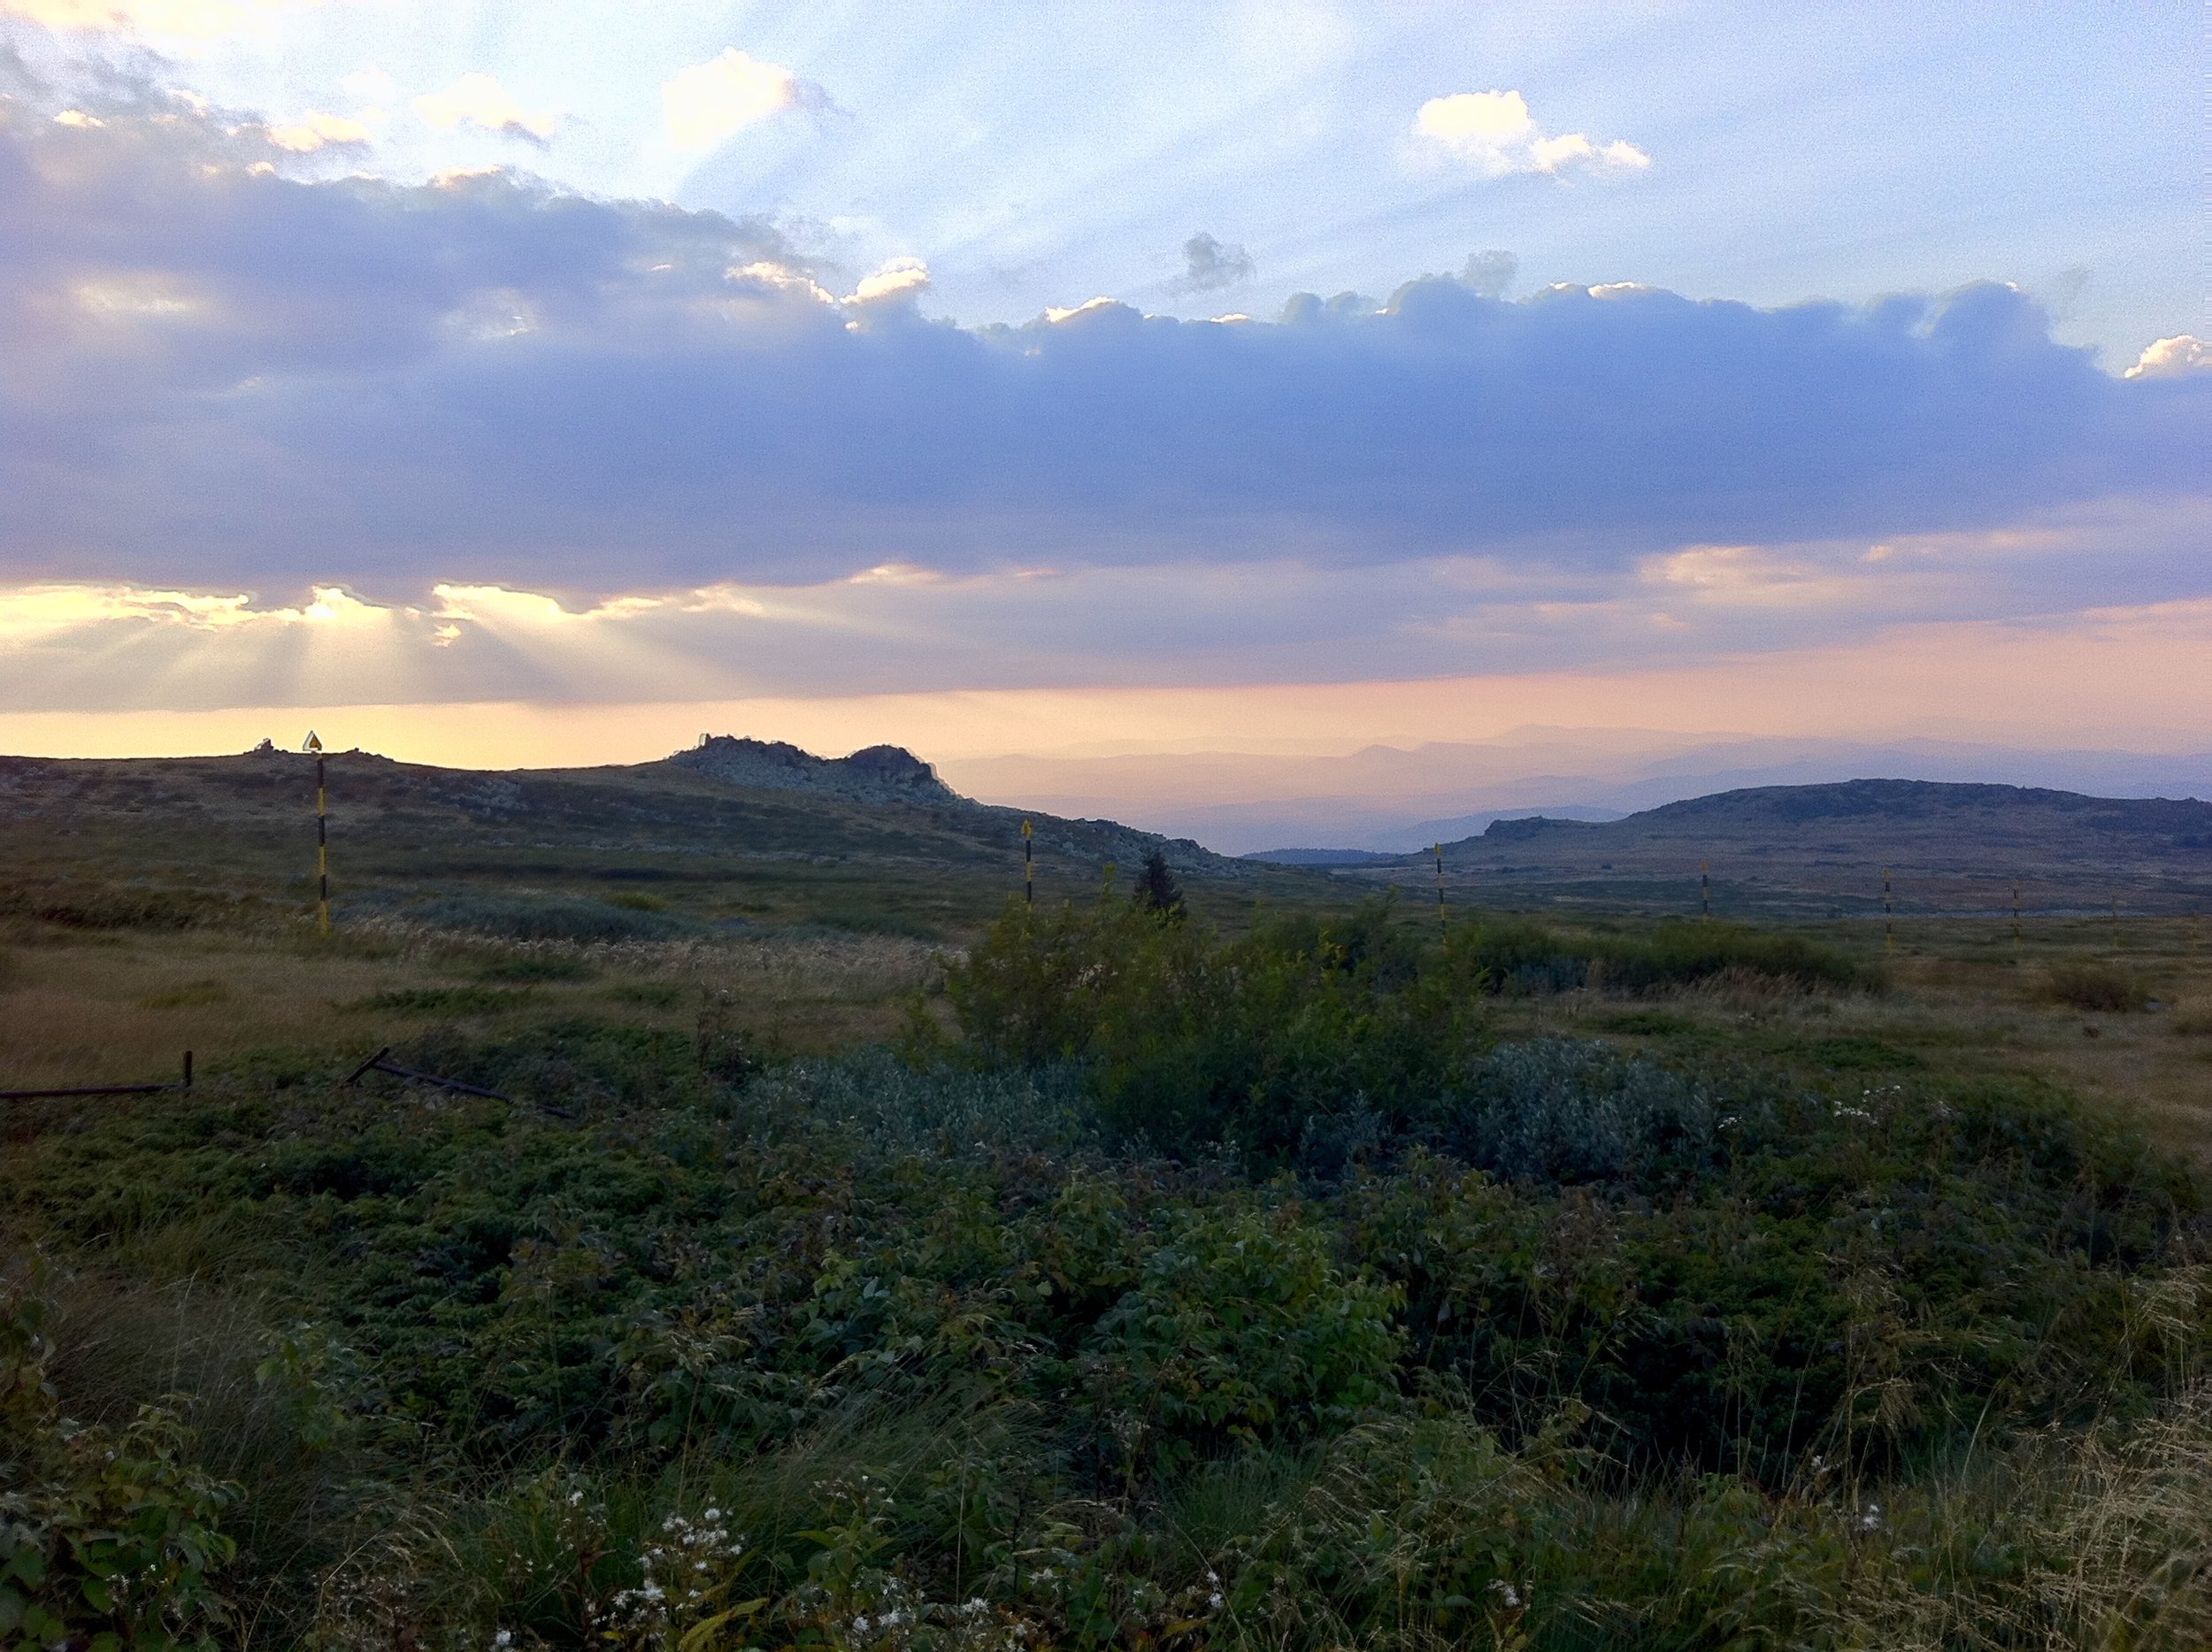
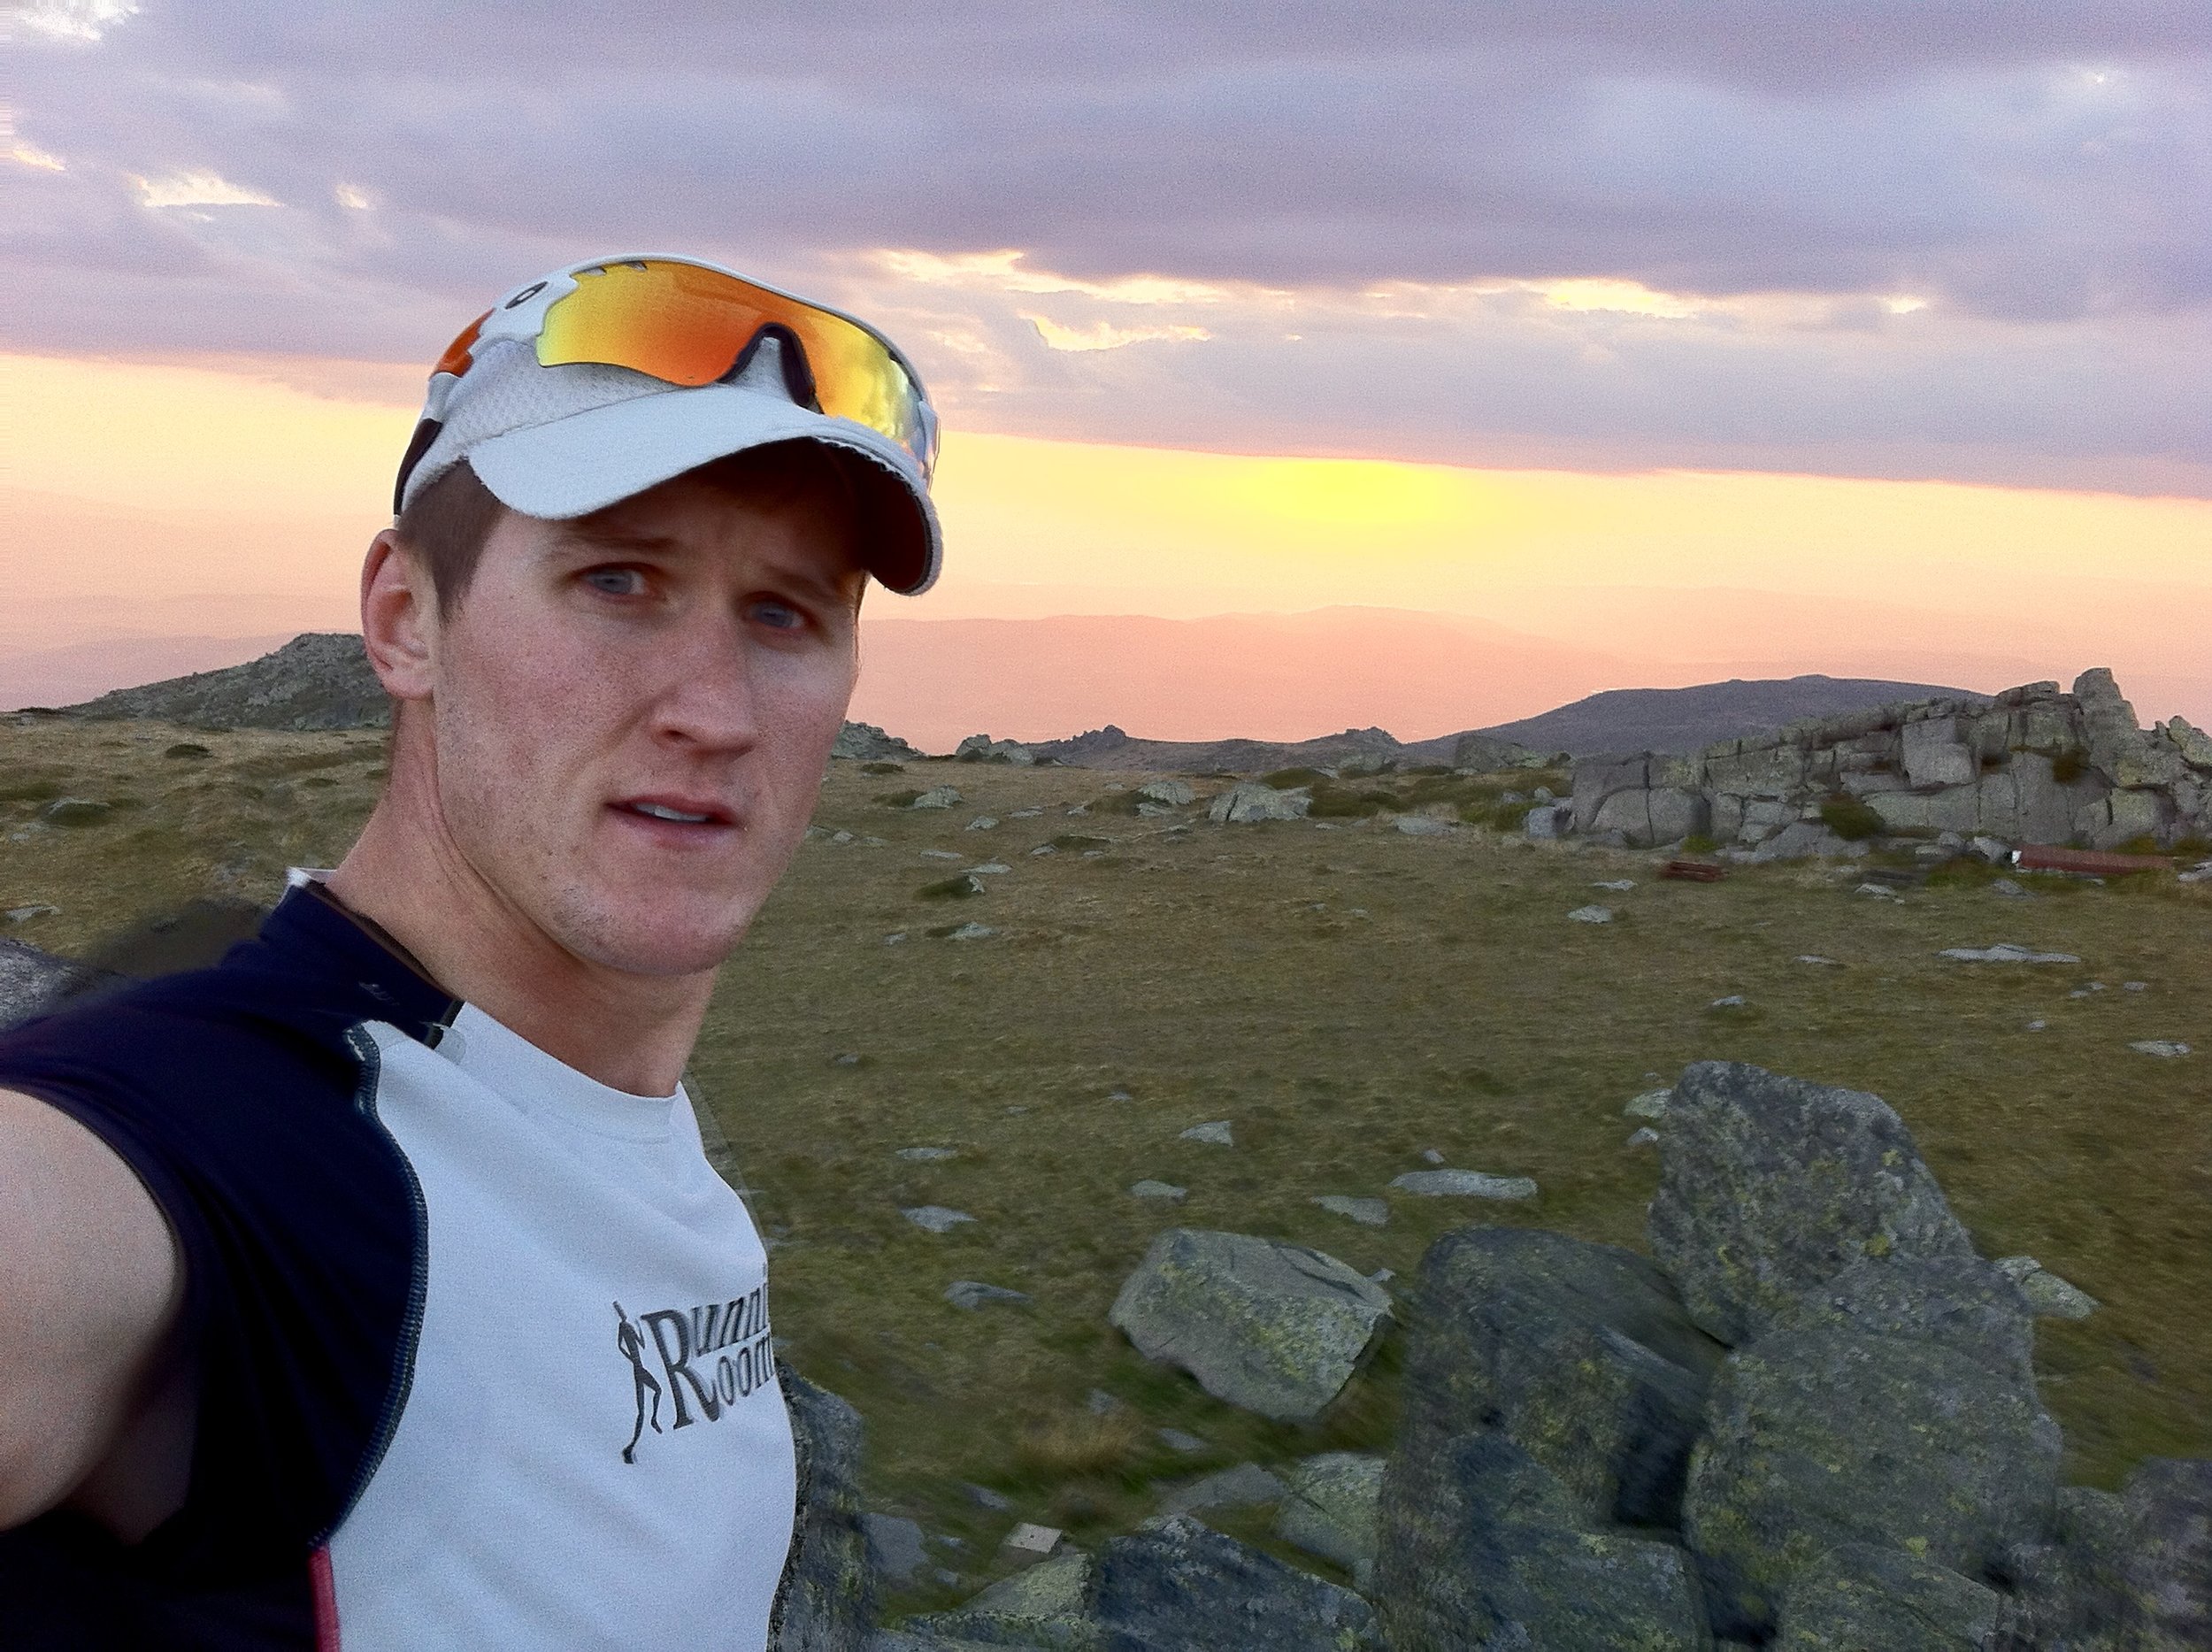
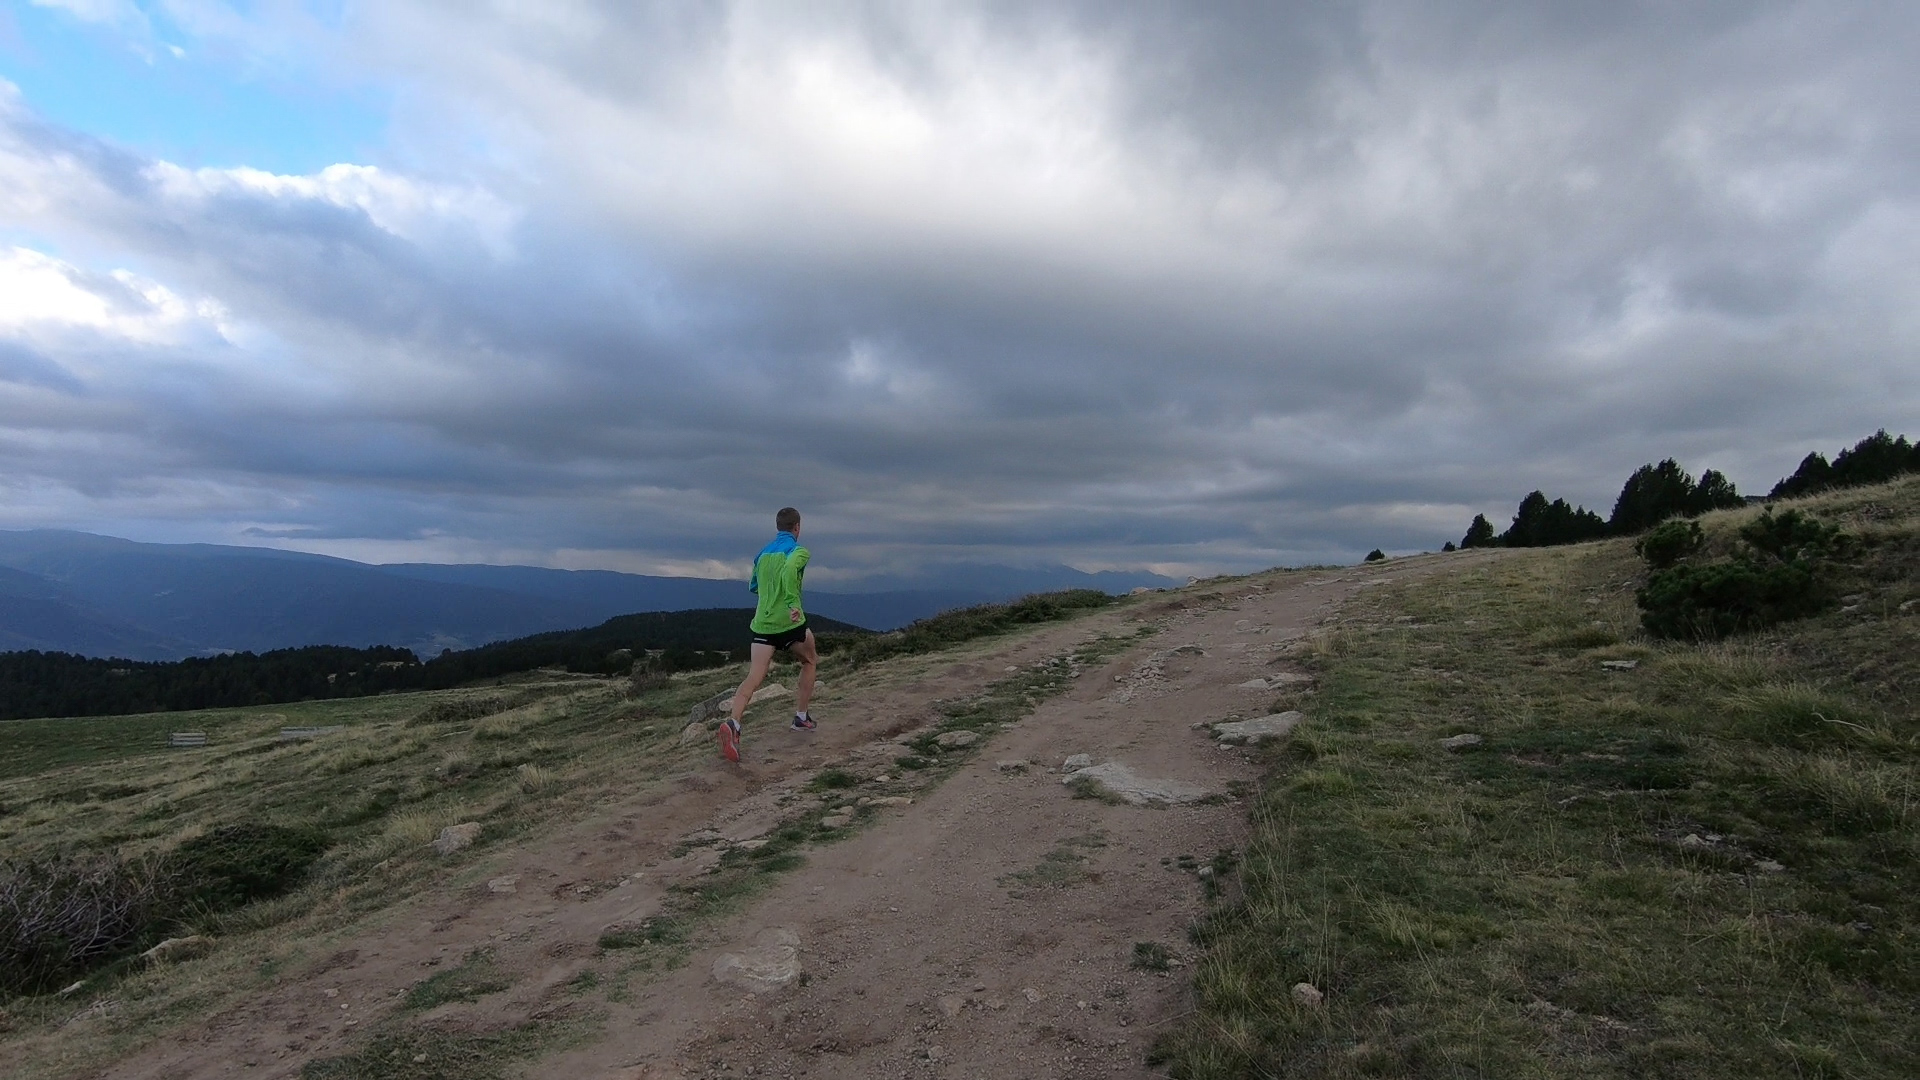
Soula de la Calme

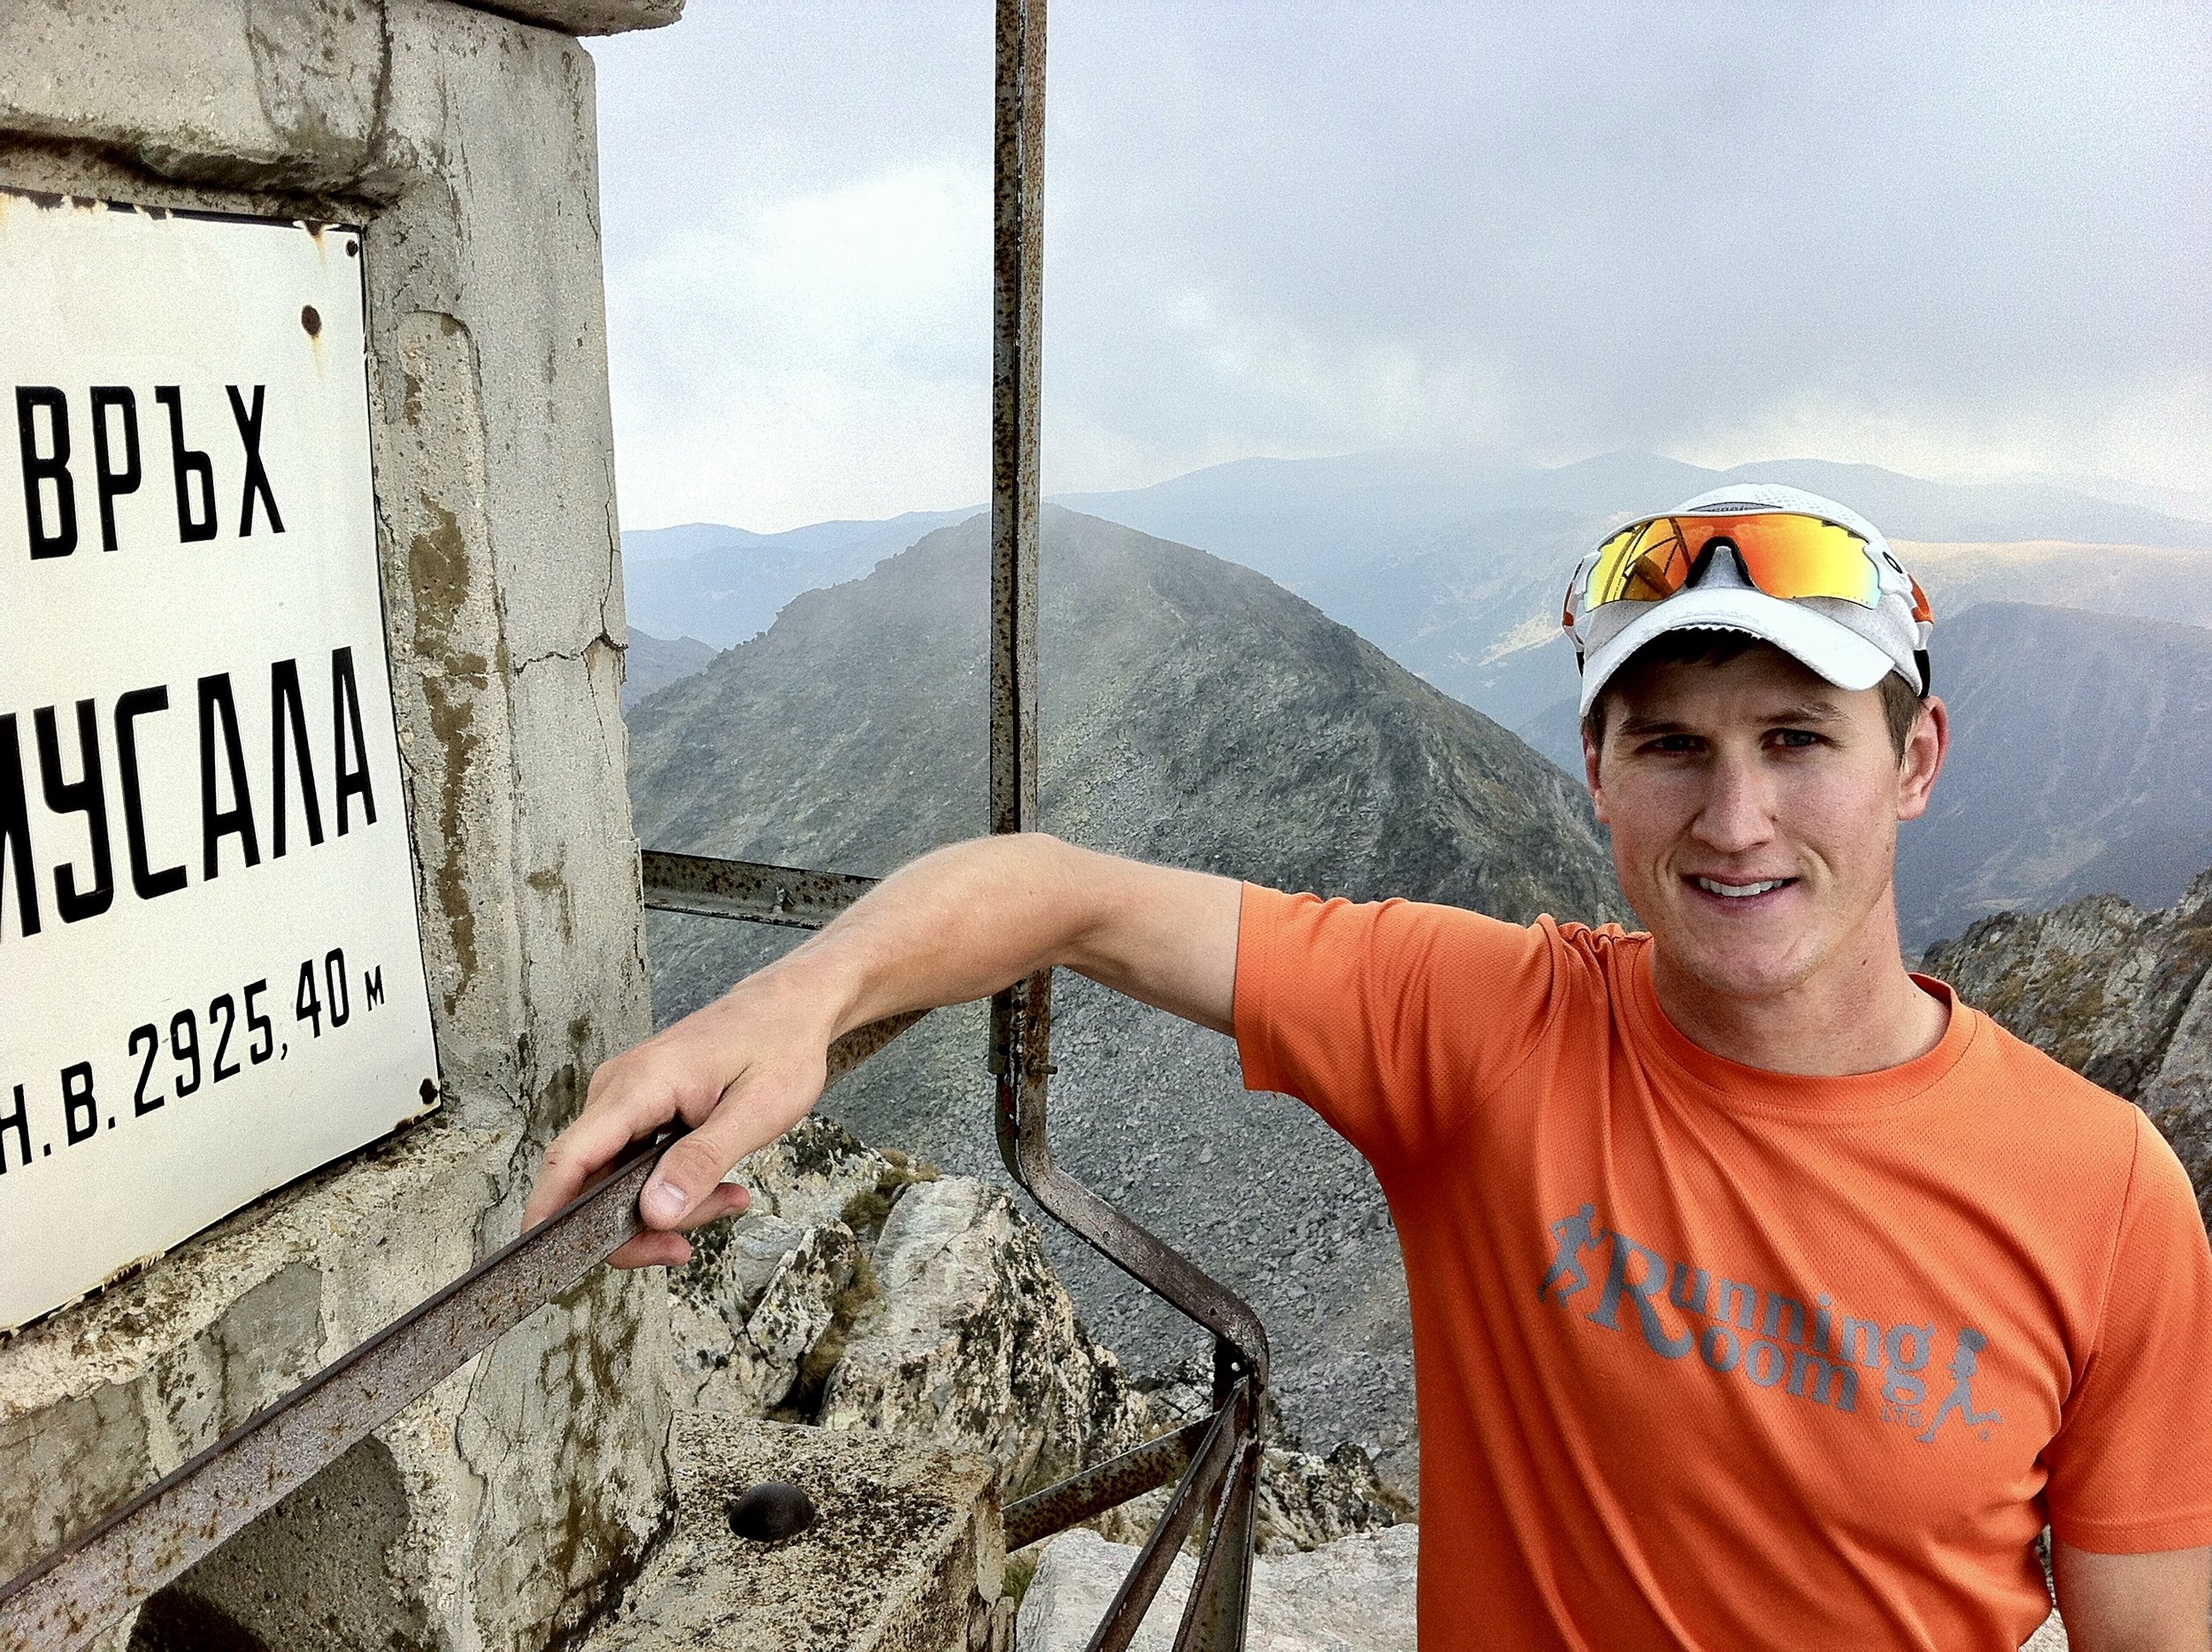
Definitely our favourite area to run. There were a few trails in this area including PR 40, 41, 42 and 48. Each of these trails is a loop but you can also combine trails to make a longer loop. We usually combined PR 40 and 41. The elevation of this area is around 2,000m ASL.

The three photos immediately below are from PR 40.

Soula de la Calme Matt.jpg
Soula de la Calme Em.jpg
Soula de la Calme Matt 1.jpg

PR 9

This trail is a little closer to Font Romeu. Most of it is on wider trails like the one shown immediately below.

Em on PR 9.jpg
Matt on PR 9.jpg
Em near PR 9.jpg

PR 9

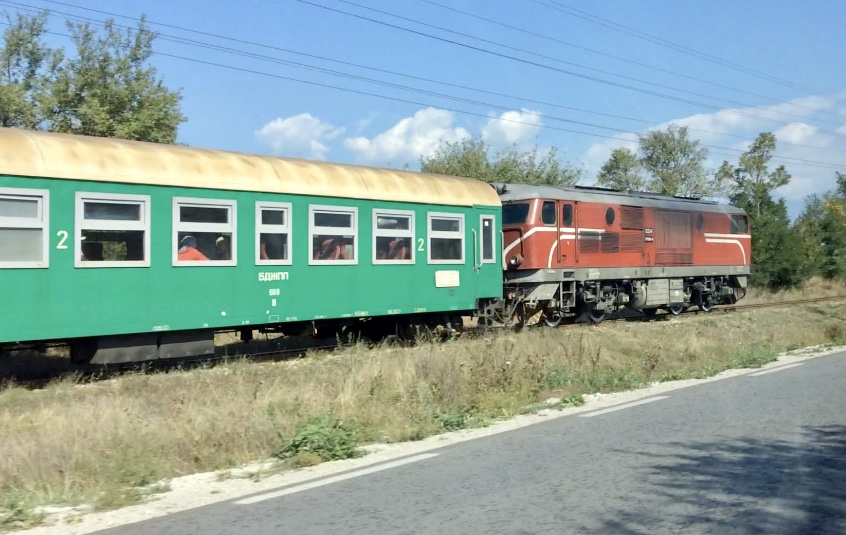
I loved running this trail. It was one of my favourite trails in the entire area. I ran it in a counter-clockwise direction. At the start, I ran alongside a steep valley and pass beneath an arched train bridge (the yellow train, I believe). You will also pass by waterfalls and then run through several small villages. Highly recommended!

PR 19

One of our top 5 favourite runs. We started at la Llagonne, France and ran the trail in the counter-clockwise direction. Trail signs were plentiful and this trail was super runnable. Halfway through the loop we passed near a lake with a wooden boardwalk. Highly recommended!
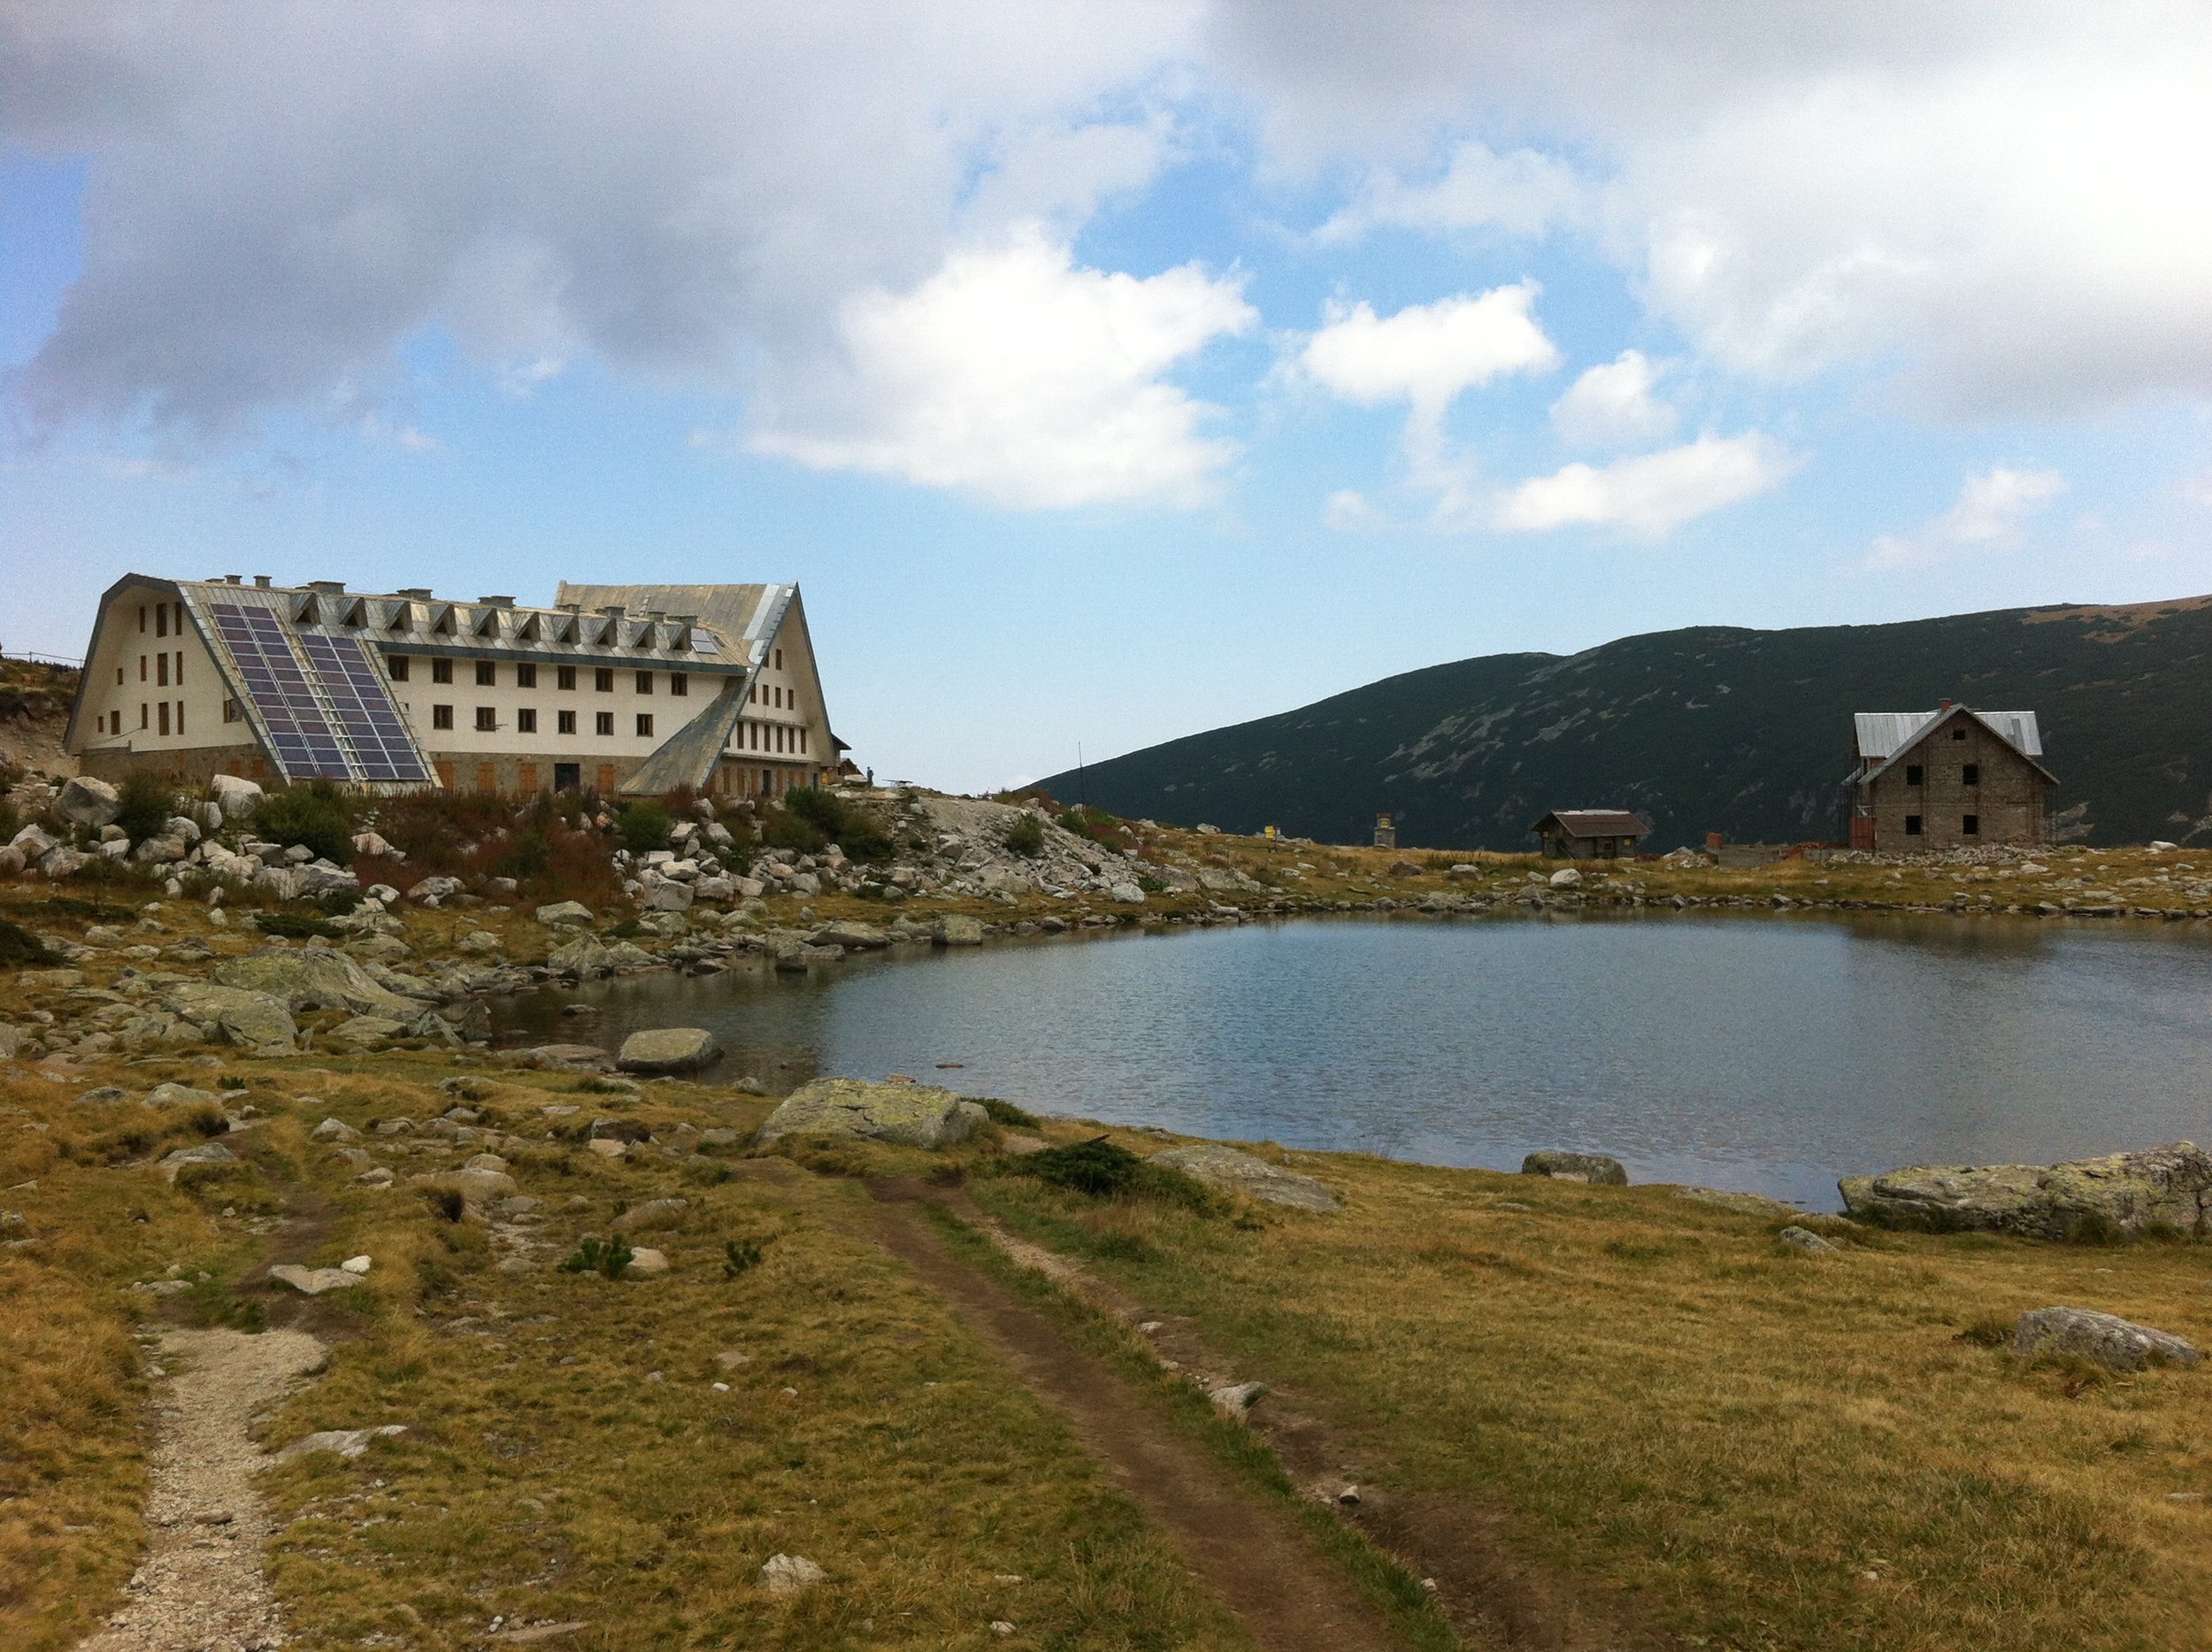
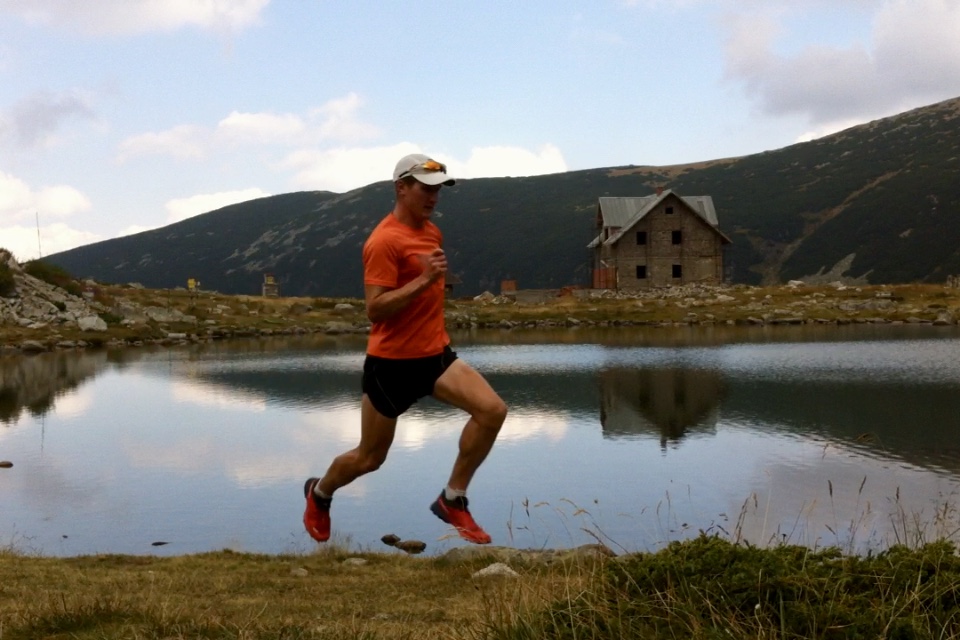
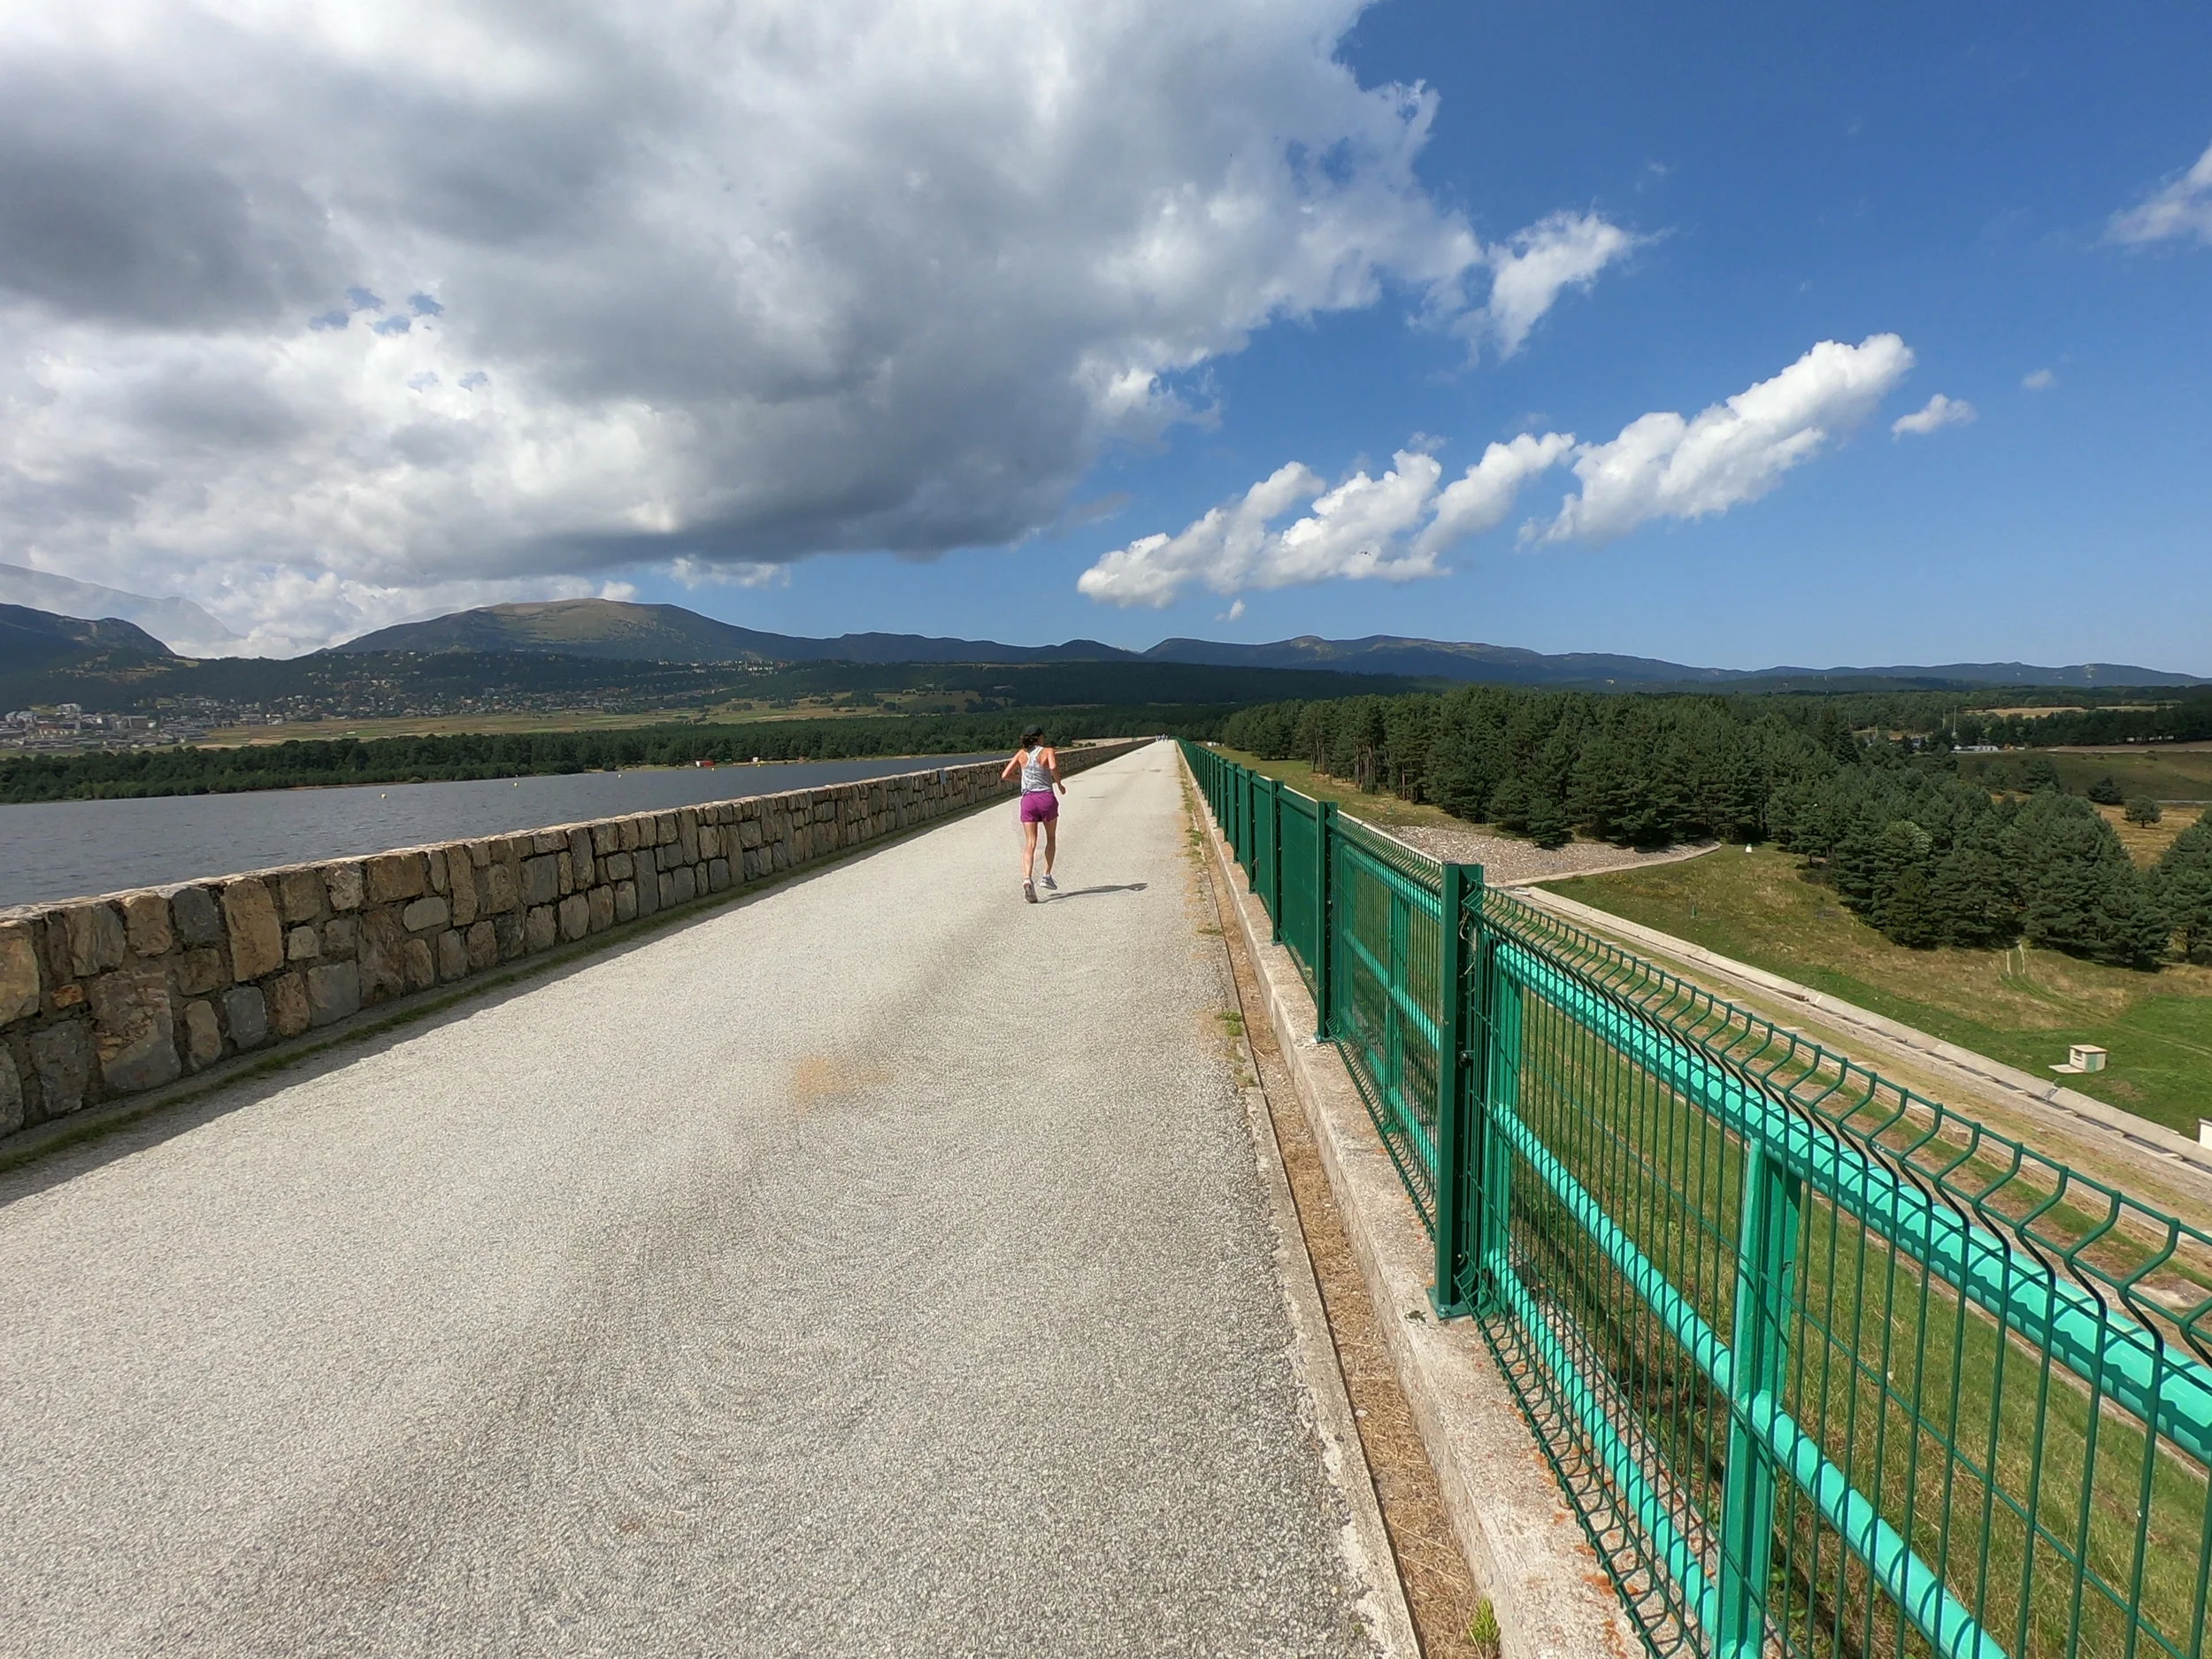
Lac de matemale

This was the best place for faster sessions. The elevation of the lake is 1,537m ASL, which is lower than where we were staying in Font Romeu at around 1,750m ASL. There were free parking lots on the north-west side of the lake near the campground. There is a fitness facility (Salle de musculation (weight room) and swimming pool) in between Lac de Matemale and the town of Matemale.

One lap around the lake is about 9 km or so. About half the loop is a gravel path/road and half is pavement. If you are doing a longer session (90 minutes hard, for example), I would recommend changing directions occasionally (i.e. start running around the lake clockwise then switch so you are running around the lake counter-clockwise).

Matt Setlack Running at Lac de Matemale.jpg
Matt running around Lac de Matemale.jpg
Em on Lac de Matemale bridge.jpg

PR 54

The PR 54 trail loop takes about 30 minutes per loop. It’s relatively flat with a few cattle crossings. There will likely be cattle around. I found this loop to be decent but nothing too special.

PR 66

We ran half of PR 66. It was fairly good but we did it in a downpour so was nothing to write home about.

PR 57

We ran half of PR 57. It is a loop and we started running it in the counter-clockwise direction. It was decent from the trailhead to Coll del Pam but after that the trail turned into a steep single track that was quite rugged and barely runnable (it was more of a hiking trail at that point).

PR 70

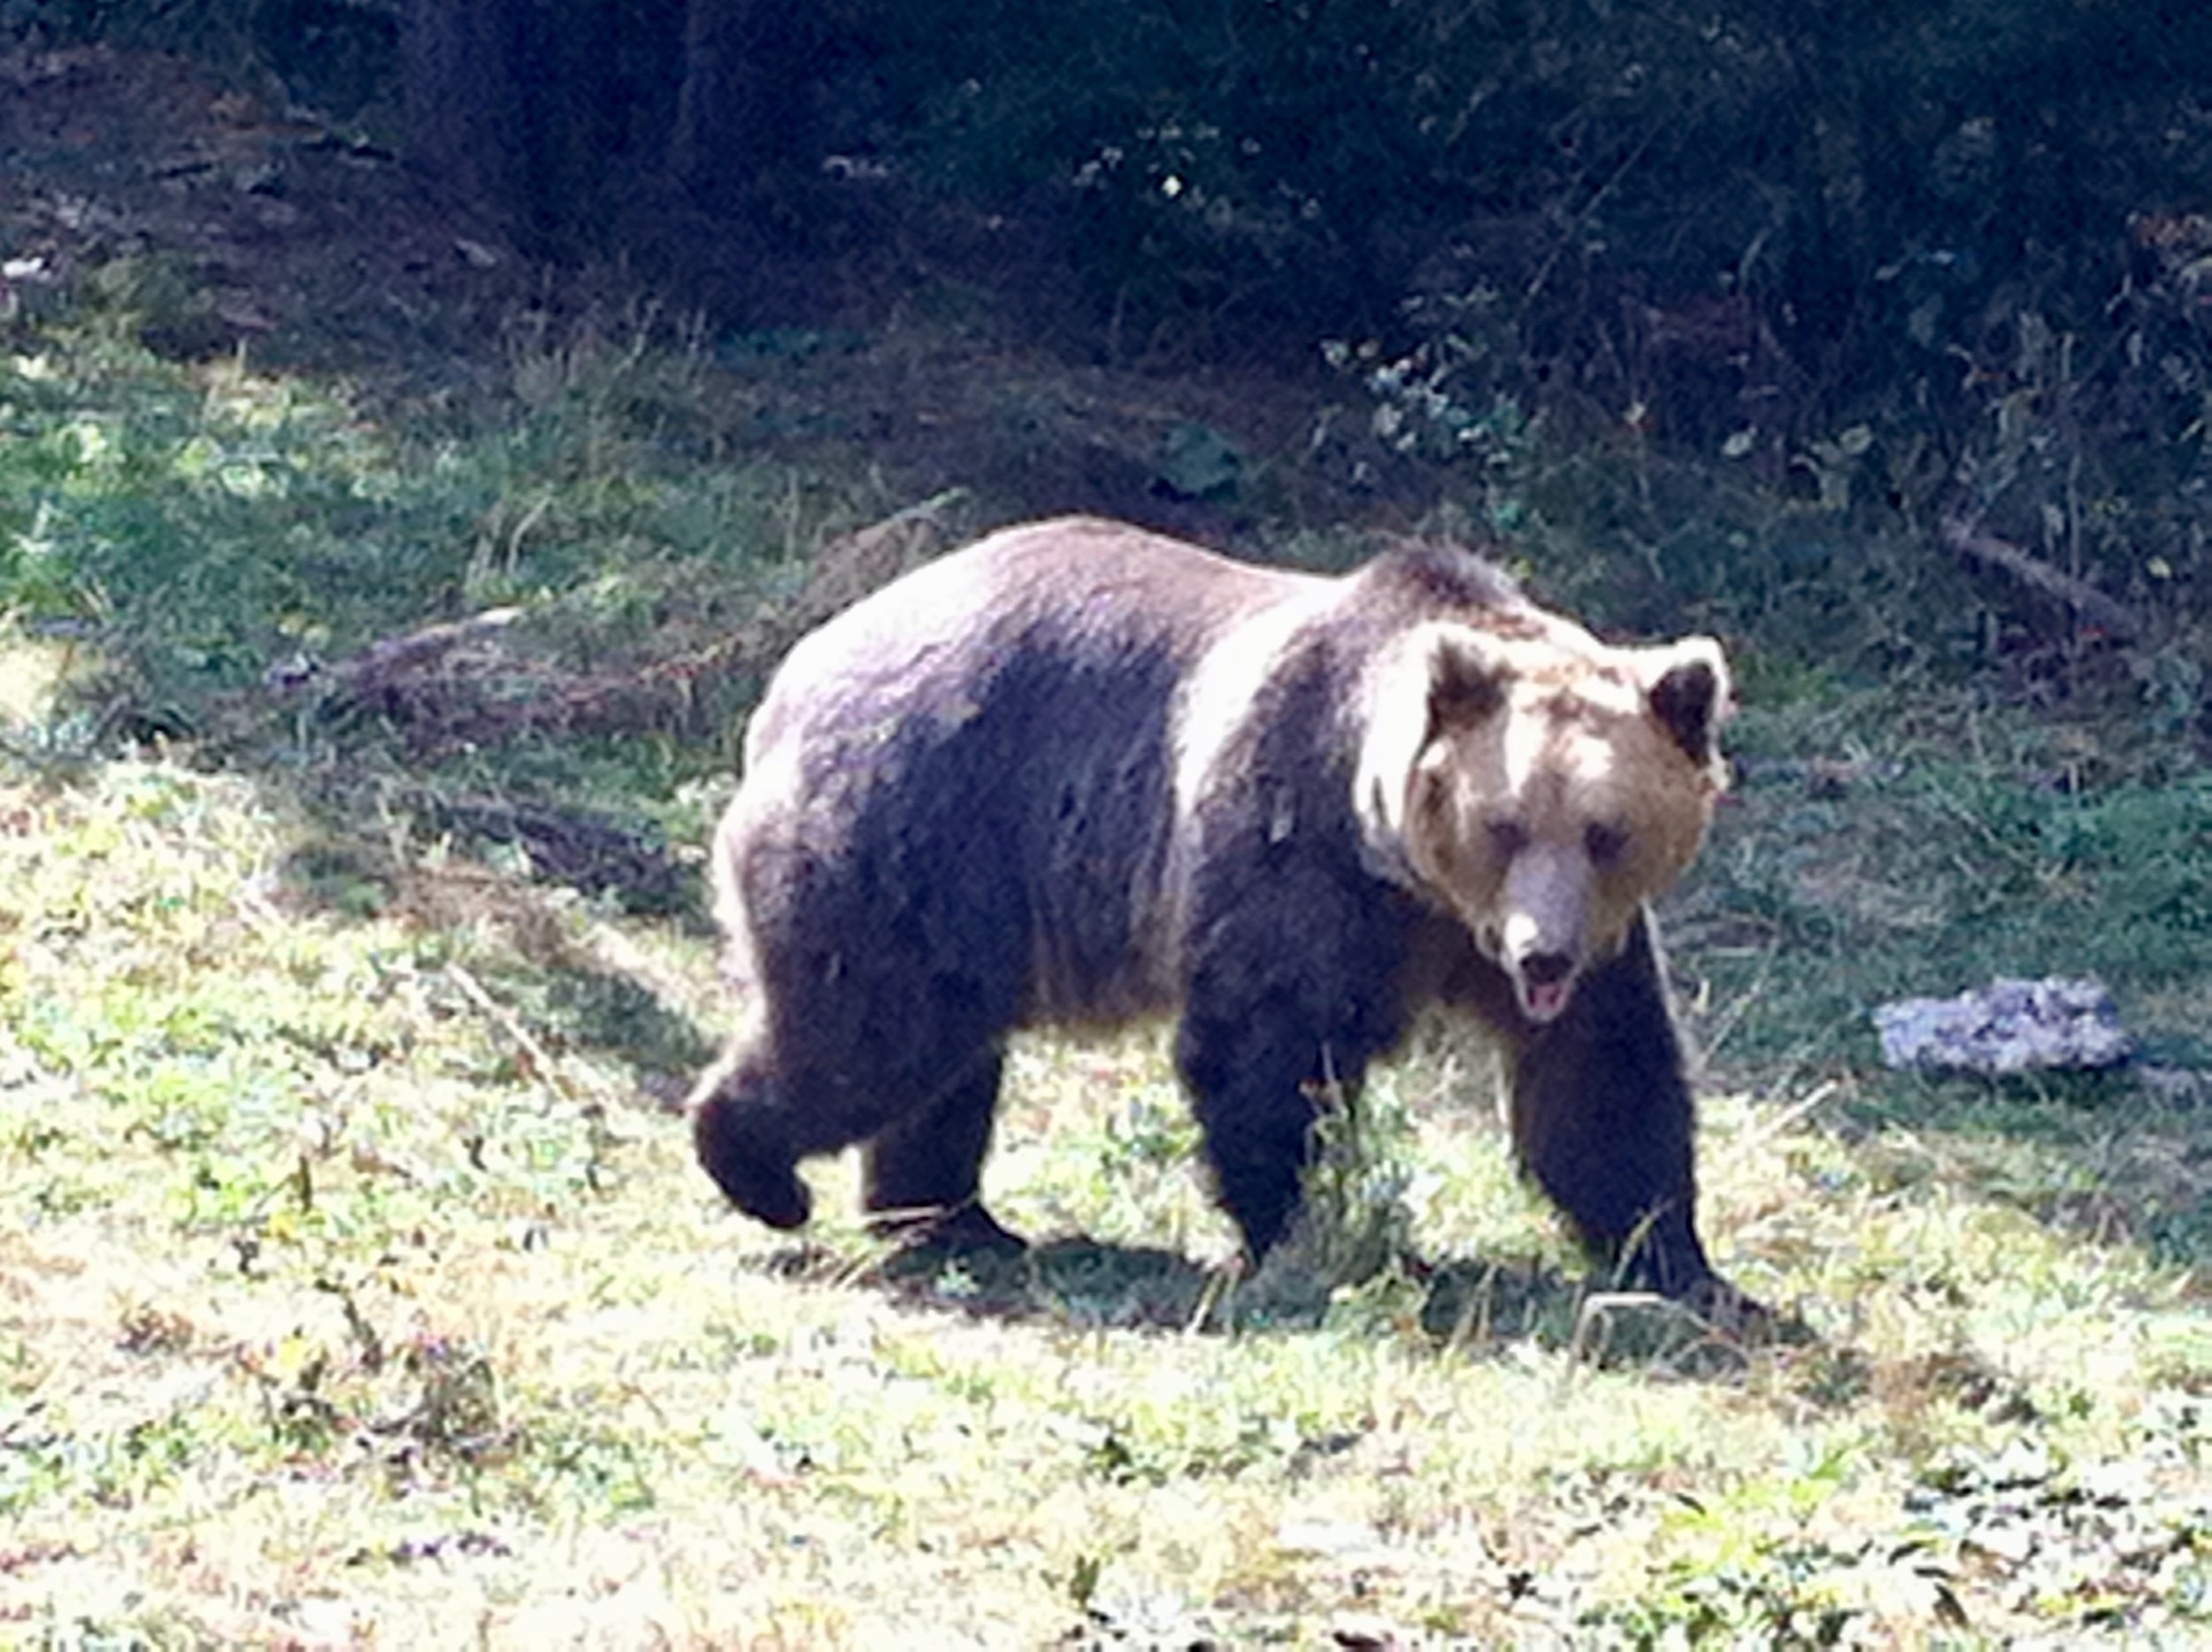
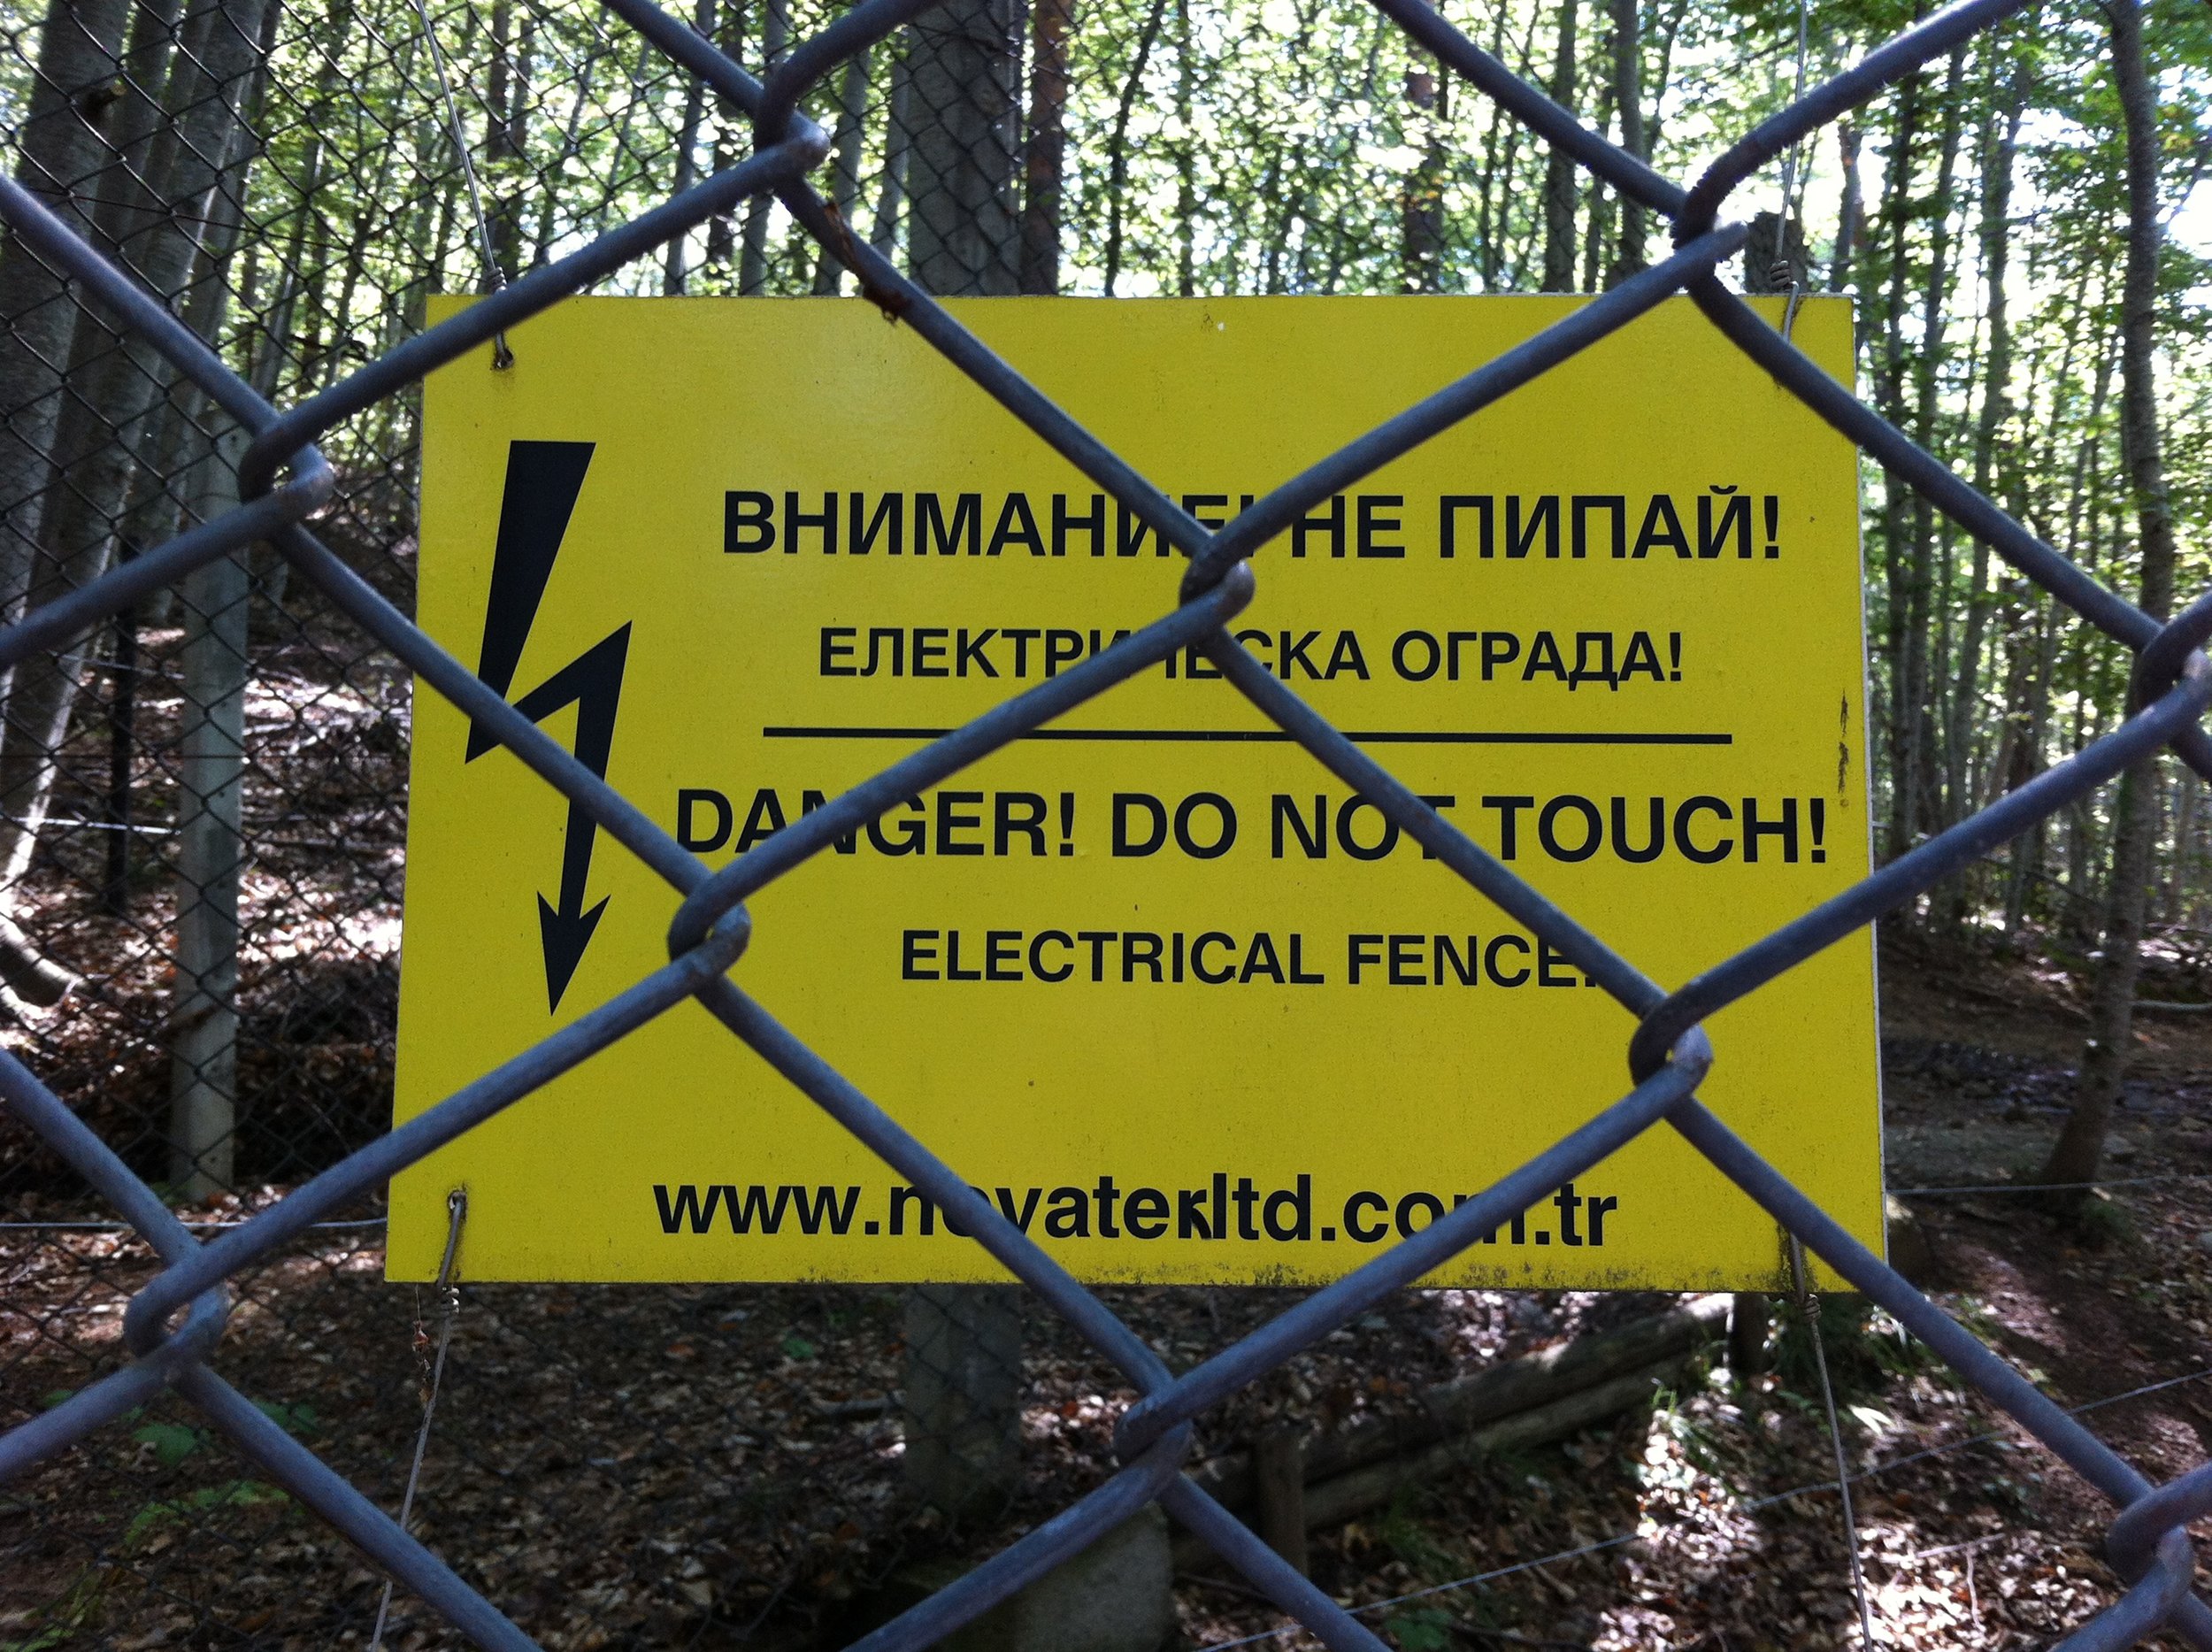
Quite a good trail although we ran half of it in a downpour. A few kilometres from the trailhead we ran into a herd of cattle blocking the trail. The cattle responded to our calls of “Allez! Allez!” and moved out of our way.

Em at start of PR 70.jpg
Matt on PR 70.jpg
Em on PR 70.jpg

Piste Finlandaise

There is a 1,000m trail running path in the forest just north of Lac de Matemale. It is at the intersection of road D 52 and PR 21.

Piste Finlandaise.jpg
Matt on Piste Finlandaise.jpg
Em on Piste Finlandaise.jpg

A few Other Altitude Training Locations

  1. Colorado Springs, Colorado, USA - I trained here for a couple weeks in Apr 2017. I really liked it although found Colorado Springs to be very sprawling and it took a long time to drive to the trails. I really enjoyed running up the Incline and continuing up Barr Trail to Barr Camp (the trail was closed higher up to get to Pike’s Peak because of snow). However, we did drive up Pike’s Peak (14,000 feet ASL) and did a short jog at the top. I did like running around 9,000 feet ASL at Rampart Reservoir but did not really fancy Garden of the Gods as it was extremely busy with tourists.

  2. Flagstaff, Arizona, USA - I trained here for three weeks in Dec 2017. I slept and trained at 7,000 feet ASL most of the time. I liked running up Humphrey’s Peak near Snowbowl. Lake Mary Road was perfect for longer sessions. There was a Whole Foods grocery store and Sprouts grocery store there, which are a couple of my favourite stores.

  3. Mammoth Lakes, California, USA - I have never run here but have heard the elevation there is about 8,000 feet ASL with trails going up to 10,000 feet ASL.

  4. Saint Moritz, Switzerland - I have never run here but a lot of Olympic marathoners getting ready for the 2010 London Olympic Marathon went here.

I hope this brief post has given you some ideas of where to run around Font Romeu, France. Overall, I would highly recommend training here. If you have any questions or would like more information about the area, please feel free to contact me at the “Contact” link above.

Merci beaucoup!

Mountain Running in the Italian Dolomites

Mountain Running in the Italian Dolomites

By: Matt Setlack

This article will describe the amazing week that I spent in Italy with Adrian Lambert and Matt Travaglini in between World Mountain Running Championships on 30 Jul 2017 and Long Course World Mountain Running Championships on 06 Aug 2017.

Mon 31 Jul 2017

This was the day right after World Mountain Running Championships (and the subsequent post-race party). I woke up early and didn't feel amazing after the incredible post-race party last night. It was so much fun. Like more fun than I have had in years. Amazing! So awesome hanging out with awesome people!

Typical countryside in area north of Milan

Typical countryside in area north of Milan

We took a bus back to Milan Malpensa (MXP) airport in the morning and rented a Fiat Panda rental car. We didn't really know where we were going as we had not made any plans. However, we did know that we wanted to head to the Dolomites in northern Italy so we drove in that general direction.

MattS and Adrian running through the forest near Nova Levante. Photo by MattT.

MattS and Adrian running through the forest near Nova Levante. Photo by MattT.

We drove east, on a toll highway where the speed limit was 130 kph, from Milan MXP for 200km (almost to Verona) then turned north towards Trento and then Bolzano (about 200km more). We arrived at our hotel in Nova Levante (SE of Bolzano in the mountains) around dinner time. Went for a short forest trail run in the mountains and then we had dinner at the hotel. This area of Italy is more Austrian/German than Italian. Most people seem to speak German and the beer is generally German beer, which is fine by me because my favourite beer is weissbier (wheat beer).

MattT and Adrian at the turnaround point in our run

MattT and Adrian at the turnaround point in our run

When we woke up each morning, we did not know where we would be sleeping that night. Our typical daily schedule was, wake up, find a place to do an amazing trail run, find a place to stay, and then go and do it. Very little planning went into it. We just went with the flow and were totally relaxed. 

Tues 01 Aug 2017

We drove east to the Rosengarten, which are the traditional/proper Dolomites (the pointy mountains that you see in photos). Adrian, MattT and I started out for a run to the highest point we could find on the map (about 3,000m ASL). MattT was forced to turn around after 45 minutes due to a hamstring issue while Adrian and I pushed on. There were a lot of tourist buses that passed us and hoards of tourists between the first hut (Rifugio Gardeccia) and second hut (Rifugio Vajolet) but they thinned out towards the third hut later on in the day. We ran to the third hut (Grasleitenpasshutte at 2,601m ASL) in about 2:15 then I carried on to the summit of the Kesselkogel at 3,002m ASL. The last 30 mins were via ferrata and I think you were technically supposed to have a harness and two lanyards to clip into the thick cable in case you slipped, then you would not die. I would definitely use that (if I had the kit) if the weather was poor, slippery or snowy but the conditions for me were perfect (dry, sunny, warm, +25C) and it was an easy scramble (easier than Lady Macdonald). Maybe like the top of Grotto Mountain but with fixed hardware/cables. The via ferrata hardware made it feel mentally harder than it actually was. After about 2:45, I arrived at the Kesselkogel, the highest mountain of the Rosengarten group in the Dolomites in South Tyrol, Italy. It is 3,004m ASL. I passed 1 person on the way up and then 5 people near the summit who were going down. I passed the 5 again on the way down. They were all wearing harnesses but I didn't see a single person actually clipped into the cables. Strange.

Outside Rifugio Vajolet

Outside Rifugio Vajolet

Via ferrata on the way up the Kesselkogel

Via ferrata on the way up the Kesselkogel

I ran/aggressively hiked back down to the 3rd hut (Grasleitenpasshutte at 2,601m ASL) and had lunch with Adrian (dumpling soup, 2 coca-colas, 1 water, 1 chocolate) and the bill came to 26 euro. Really expensive but also really nice to have the full service huts!

Running near Grasleitenpasshutte

Running near Grasleitenpasshutte

This day we ended up running about 28km with 1,700m of elevation gain in about 4 hours of running (5 hours total). We then drove to Canazei and stayed in a hotel there. We went out for dinner at an Italian/German restaurant and I ate pizza this time. Italian food is probably my favourite food in the world.

MattS, Adrian and MattT

MattS, Adrian and MattT

Wed 02 Aug 2017

Today we decided to run up to the highest peak in the area that we could find on a map. Adrian, MattT and I started at the base of a lift in the town of Delba Alba and ran up to top of Col Ombert at 2,670m ASL via the Val de Contrin. The elevation gain was about 1,200m and distance was around 19km total. Really enjoyable run. Super runnable for almost all of it.

MattT, Adrian and MattS at the top of Col Ombert (2,670m ASL)

MattT, Adrian and MattS at the top of Col Ombert (2,670m ASL)

Around dinner time we drove to the Bolzano central train station to drop MattT off so he could take a train back to Milan MXP because he was flying out the next morning. Adrian and I were going back to the Long Course race (Giir di Mont) on 06 Aug 2017. Adrian and I then drove to this beautiful postcard-like Italian hill side town called Coredo. The B&B where we stayed was amazing. There were vineyards everywhere.

Near Coredo, Italy

Near Coredo, Italy

Thurs 03 Aug 2017

Adrian and I had an amazing breakfast at our B&B and then drove to a lake called Lago di Molveno relatively close to Trento, Italy.

Typical Italian breakfast

Typical Italian breakfast

Lago di Molveno was really nice place but also really touristy. Adrian did a mountain run up to a hut with an elevation gain of about 500m and I deliberately ran along the lake shore as it was relatively flat, since I had a world championship long course race coming up in three days, while Adrian did not. The temperature was around +35C but in the shade and low ground, it was considerably cooler.

Lago di Molveno

Lago di Molveno

After the run, we drove back to a hotel near Milan MXP. The temperature on the way there was +38.5C and near Milan it was +40.0C. We were very glad that we had air conditioning in the car. Sticking your hand out the car window felt like sticking your hand in the oven.

The temperature near Milan was +40.0C

The temperature near Milan was +40.0C

Overall, running in the Italian Dolomites with MattT and Adrian was incredible. According to my Strava account, we ended up running 4,466m of elevation gain in the 4 days we were in northern Italy. Trail running in the mountains with friends is one of my favourite things to do and I'm so happy that the trip worked out so well.

"Of all the paths you take in life, make sure a few of them are dirt." 

- John Muir

Running the Stubai Hohenweg in Austria

Running the Stubai Hohenweg in Austria

By: Matt Setlack

Date:  10 - 13 Sep 2012 and 02 - 03 Sep 2013

Distance:  approximately 100km

Terrain:  mixed, some ladders, fixed ropes, small portions with exposure

Elevation:  8000m difference in altitude (this is from one of the guide books and I believe they calculated it by the total number of meters that you go up AND the total number of meters you go down)

Suggested Time:  4-5 days if you are experienced and in decent shape

Em and I did the Stubai Hohenweg (Stubai High Trail) for the first time in September 2012 but were unsuccessful in finishing the complete loop as we had very poor weather (snow) at the end. In September 2013, we returned and ran the complete loop in two days. Both times we started in Neustift, which is approximately 30 minutes SW of Innsbruck, Austria. 

Stubai Hohenweg Map of Route

2012 Stubai Hohenweg

From 10 - 13 Sep 2012, Em and I flew to the Austrian Alps and had one of the best running vacations of our lives. The Austrians are a clever bunch, they have an absolutely amazing network of trails with mountain huts perched in remote and beautiful breathtaking locations...on top of mountains!  Hear, water rushing rapidly; Smell, cool crisp air that makes asthmatics airways open up and the fresh smell of dumplings in the most amazing soup imaginable and taste a well deserved pint of beer after a very long hard day of pounding the skyline trails of the Austrian Alps. At the time, we were living in the United Kingdom so flights to get to Austria were super cheap and there was only an hour of time change. For the 2012 Stubai Hohenweg, Em and I ran the route in the counter-clockwise direction. 

The snacks that we brought. The Edelweiss was for after we completed the loop. The mountain huts had food and beer.

The snacks that we brought. The Edelweiss was for after we completed the loop. The mountain huts had food and beer.

Day 1 - Mon 10 Sep 2012

  • Neder - Starkenburger Hut:  1:40
  • Starkenburger Hut - Franz Senn Hut:  3:15
  • Day 1 Total Time:  4:55

Notes on Day 1:  Excellent path. A continual and gradual incline from Neder to Starkenburger but from Starkenburger Hut I remember it being a bit undulating and you are quite high up. You can make very good time on this leg of the journey. We left Neder in the early afternoon and arrived at Franz Senn Hut before dinner, with plenty of sunlight left. We considered pushing on to Neue Regensburger Hut but didn't. In retrospect, we should have pushed on; this decision to not push on, I believe, cost us the complete Stubai Hohenweg loop.

Ascending out of Neustift on our way to Starkenburger Hut

Ascending out of Neustift on our way to Starkenburger Hut

Franz Senn Hut is a massive hut and I personally would not stay there again, if I could help it. There is nothing wrong with it but lacks the cozy personal touch of some of the smaller huts like Neue Regensburger Hut and Sulzenau Hut. To us, it felt like a small hotel/hostel. It cost us 17 euro total for a mattress bed, 9 euro for hot water, 1 beer, and 1 soda water, and 4 euro for 1 additional beer.

Day 2 - Tues 11 Sep 2012

  • Franz Senn Hut - Neue Regensburger Hut:  2:45
  • Neue Regensburger Hut - Dresdner Hut:  4:30
  • Dresdner Hut - Sulzenau Hut:  1:45
  • Day 2 Total Time:  9:00
The boot drying room inside Dresdner Hut, I believe.

The boot drying room inside Dresdner Hut, I believe.

Notes on Day 2:  The first bit from Franz Senn Hut to Neue Regensburger Hut was noticeably uphill and I believe it was one of the least easy portions of the entire journey. The guidebook stated that this portion was supposed to be easy, which was completely incorrect. We were very impressed with the Sulzenau Hut and its owners. We slept on a big mattress in the attic and there were very few people there when we stayed especially since it was so late in the season. We paid 2 euro for two showers, 22 euro for the mountain dinner and two beer, 17 euro total for both of us for one night in the hut, and 58 euro total for an Austrian Alpine Club membership for each of us (it was half price since it was so late in the season...check the fine print).

Day 3 - Wed 12 Sep 2012

  • Sulzenau Hut - Nurnberger Hut:  1:30
  • Nurnberger Hut - Bremer Hut:  2:30
  • Day 3 Total Time:  4:00

Notes on Day 3:  The first segment from Sulzenau Hut to Nurnberger Hut was a little foggy but excellent. The conditions deteriorated rapidly as soon as we passed Nurnberger Hut. It was raining at first at the lower elevations, which soaked us and then as we climbed up higher, the temperature dropped and the rain turned to hail and snow. We were at the lowest point mentally as we passed an old Police Customs locked cabin on the top of a hill just before Bremer Hut. I believe this was one of the last days that Bremer Hut was open for the summer season. It snowed a lot and was quite cold. We had to move as fast as possible to keep warm but not too fast so that we slipped on some of the more unstable ground. Holding onto steel cables in near freezing local temperatures is not fun...I would consider bringing goretex overmitts or at least a vapour barrier of sorts for over the hands in the future.

We arrived at Sulzenau Hut before lunch around 11:30. The folks who owned/worked at the hut were very hospitable and kind. While we were there we ate dumpling soup (amazing!), which cost 6.50 euro per bowl, 1 coffee cost 3 euro, each beer was 3.70 euro for 500 mL...we ate a lot of dumpling soup after our subzero run that morning. When we arrived at Bremer Hut, we were quite cold and wet so we hung our clothes in a warm furnace room for them to dry. We wanted to go on but the conditions continued to get worse and we didn't think we had enough time to get to Innsbrucker Hut before nightfall. We had the entire hut to ourselves and played Monopoly (German version) while drinking Austrian beer and eating dumpling soup the entire afternoon.

Day 4 - Wed 13 Sep 2012

  • Bremer Hut - Trins:  ?
  • Bus from Trins - Neder

Notes on Day 4:  Our plan was to go Bremer/Innsbrucker/Neder to finish the loop but due to the path being covered in snow and our very limited ultralight running gear (and the fact that we could not see the trail), we thought it would be wise to go to lower ground in the adjacent valley...we will be back to finish it though :) Big shoutout to Duncan and his partner for guiding us down the mountain. One of the things that allowed Em and I to travel the speed/distance that we did was the fact that we were carried only one small bag each. Em's bag weighed 5 - 10 lbs and my bag was 10 - 15 lbs fully loaded. I would highly highly recommend NOT bringing too much gear if you want to do it light and somewhat fast like we did. I thoroughly believe that bringing less lets you enjoy the mountains more and cover more ground with less effort.

2013 Stubaier Hohenweg

Em and I returned to the Austrian Alps in September 2013 to repeat (and hopefully finish) the Stubai Hohenweg. This time we were a little more aggressive with the daily distance knowing that if the weather turned, then we might be forced to retreat like we did last year. We did not want this to happen so we pushed pretty hard. Weather conditions were ideal. We stayed at Dresdner Hut for one night and finished the

Emily dividing up the sports drink the day before we left.

Emily dividing up the sports drink the day before we left.

Day 1 - MON 02 Sep 2013

  • Neustift (Hotel) - Innsbrucker Hut:  2:15
  • Innsbrucker Hut - Bremer Hut:  3:30
  • Bremer Hut - Nurnberger Hut:  2:20
  • Nurnberger Hut - Sulzenau Hut:  1:50
  • Sulzenau Hut - Dresdner Hut:  2:00
  • Day 1 Total: 11:55
1st Mountain Hut we came across (Innsbrucker Hut) on Day 1 of 2013 Stubaier Hohenweg

1st Mountain Hut we came across (Innsbrucker Hut) on Day 1 of 2013 Stubaier Hohenweg

Notes on Day 1:  Em and I left Neustift at 7:10 am and ran up a gravel road almost until Innsbrucker Hut (taxi route). There was a low cloud/mist in the air (see photos below). Innsbrucker Hut looked like an amazing hut to stay at. We almost went the wrong way and ran 300m in the wrong direction before realizing it. It was a very easy route between Innsbrucker Hut and Bremer Hut.

Matt on Day 1 of 2013 Stubaier Hohenweg

Matt on Day 1 of 2013 Stubaier Hohenweg

Helicopter outside Bremer Hut.

Helicopter outside Bremer Hut.

Bremer Hut to Nurnberger Hut was quite good; definitely better than last year with respect to perfect weather. This year was slower than last year but we were carrying extra weight this year. Good run up to Sulzenau Hut. We were mentally quite low at Sulzenau Hut and it was getting quite dark as well. Once we got to the pass with rock statues/cairns, it was dark. We had to use our torches to get down to Dresdner Hut. For dinner we had spaghetti at Dresdner Hut and went to bed at 10:30-11:00 pm. I don't think the heat was on as it was quite cool in the room.

Day 2 - TUES 03 Sep 2013

  • Dresdner Hut - Neue Regensburger Hut:  3:50
  • Neue Regensburger Hut - Franz Senn Hut: 2:50
  • Franz Senn Hut - Starkenburger Hut:  4:10
  • Starkenburger Hut - Neustift (Hotel):  2:30
  • Day 2 Total:  13:20
Inside our Dresdner Hut room where we spent one night.

Inside our Dresdner Hut room where we spent one night.

Notes on Day 2:  We slept in until 6:00 am at the Dresdner Hut and left at 7:50 am after a little breakfast. It took way too long for breakfast. The segment between Dresdner Hut and Neue Regensburger Hut was a very good running trail. Just before Neue Regensburger Hut, we came across A LOT of people on the trail which slowed us down a lot in the steeper portion. When we got to Regensburger Hut, we had a snack (wafers, water, bread) and kept going. It was very steep to get over the pass on the way to Franz Senn Hut.

Matt running in between Dresdner Hut and Neue Regensburger Hut.

Matt running in between Dresdner Hut and Neue Regensburger Hut.

Our least favourite section of the trail was between Neue Regensburger Hut and Franz Senn Hut. There were a lot of boulder fields and it was very slow going. We were at quite a lot point mentally about an hour before Starkenburger Hut. We ran down to Neustift using a gravel road and it took twice as long as expected. It was dark when we arrived at the hotel in Neustift. We thought it might be too late to check in so we ran the last 5km or so using a torch as we ran. Thankfully, we made it back in one piece.

The least runnable portion of the Stubai Hohenweg.

The least runnable portion of the Stubai Hohenweg.

Overall Thoughts on 2013 Stubai Hohenweg

It was demanding both physically and mentally. Probably one of the most physically and mentally demanding things we have done so far. You really have to be smart about the timing of your eating and drinking. The scenery was beautiful. The trails and infrastructure were amazing.

We took a photo at each mountain hut that we passed along the way. Stubaier Hohenweg | 02 - 03 Sep 2013 | Tyrol, Austria.

Lessons Learned

Note: this represents an athlete's point of view and not the general majority of the people who do this trip.

  1. Planning is very important. Drink lots of water and eat many powerbars. Take lunch breaks at the huts and take advantage of good weather.
  2. Pack Light!
  3. Look at the weather forecast and wait for good weather, if possible.
  4. Bring a Goretex coat or at least a rain jacket. Garbage bags don't last very long in Gail force winds.
  5. Hiking boots are not essential. You could easily do it in Salomon Speedcross trail running shoes.
  6. Make notes on each segment before you do it (i.e. number of mountain passes, distance, elevation change, etc.).
  7. Start early in the morning (even before sunrise)!
Passing a glacier on the way to Dresdner Hut

Passing a glacier on the way to Dresdner Hut

Recommended references:

The best advice I could give someone regarding books/maps/etc would be to maybe buy one good waterproof map before going so you have an idea of the lay of the land and then as soon as you arrive, go to a Tourist Information Center and get more maps for free. Usually the people who work there will also be able to tell you what the conditions are like on the trail. I bought too many books and it ended up weighing more than I would like to admit. Of course, I physically cut out only the sections that I would need to save A LOT of weight. Be careful when cutting maps that you don't cut too much away since you might just need those sections in case of an unforeseen event (i.e. snow storm).

Any areas that might have been sketch had cables to hold onto.

Any areas that might have been sketch had cables to hold onto.

What to Bring:

Pack light, you will be thankful. Besides, what do you need when you are staying in a hut with meals provided!?

  • Gortex Paclite Jacket, pants
  • tights, shorts
  • ultralight down jacket
  • sturdy shoes, we wore the Salomon Speedcross 3′s   Hiking boots are a luxury but not a necessity, they’re pretty heavy to lug around if you’re travelling light.
  • 3-5 pairs of socks, tough it out and bring less- you’ll survive with stinky feet for a few days
  • mittens, hat
  • 2 coolmax shirts
  • one long sleeve
  • sleeping liner, if you can’t find one in the store, you can make your own out of a standard bedsheet
  • don’t bring a towel, you can use a drifit shirt to dry off….that is if you’re lucky enough to get a shower
  • pillow- use a drybag and put your down jacket in it, makes a great pillow!

Again, whatever you do- do not over pack, we saw so many people with ENORMOUS packs and it really isn't needed. Em used a small Salomon running pack and it was perfect.

September 01, 2013-8275.JPG

Cost: 

Staying in the huts in a steal, the accommodations are very reasonable and will cost you as a little as 15 Euro’s per person, per night.  You’re best to buy a-la-carte and I would recommend calling ahead of time, we made the mistake of just “showing up” and after 16km of hiking up a MOUNTAIN discovered both huts were Closed for the season (early September) even though the hut guide said they were open until the end of September.

Summary

The trip in 2012 was done in the counter-clockwise direction while the trip in 2013 was done in the clockwise direction. The 2013 trip, including sleeping time, took a total of 37 hours and 40 minutes. We left our hotel in Neustift at 7:10 am on Mon 02 Sep 2013 and returned to the hotel at 8:50 pm on Tues 03 Sep 2013. The superscript "1", "2" and "3" in the table below indicate the huts where we spent the night in 2012 (1st night, 2nd night and 3rd night, respectively).

Summary of Matt and Emily's Stubai Hohenweg Times
Day 1 Ascent (m) Descent (m) 2012 2013
Neustift (Hotel) - Innsbrucker Hut 1376 0 N/A 2:15
Innsbrucker Hut - Bremer Hut3 800 850 N/A 3:30
Bremer Hut3 - Nurnberger Hut 600 450 2:30 2:20
Nurnberger Hut - Sulzenau Hut2 650 550 1:30 1:50
Sulzenau Hut2 - Dresdner Hut 400 500 1:45 2:00
Day 1 Total 3826 2350 5:45 + ? 11:55
Day 2 Ascent (m) Descent (m) 2012 2013
Dresdner Hut - Neue Regensburger Hut 900 850 4:30 3:50
Neue Regensburger Hut - Franz Senn Hut1 650 500 2:45 2:50
Franz Senn Hut1 - Starkenburger Hut 440 530 3:15 4:10
Starkenburger Hut - Neustift 0 1244 1:40 2:30
Day 2 Total 1990 3124 12:10 13:20
Grand Total (Day 1 + Day 2) 5816 5474 17:55 + ? 25:15

If you have any questions or would like more information, please let me know.

"May your trails be crooked, winding, lonesome and dangerous, leading to the most amazing view. May your mountains rise into and above the clouds." - Edward Abbey

Epic Run Across Cold Lake and Back (Attempt #1)

Epic Run Across Cold Lake and Back (Attempt #1)

By: Matt Setlack

Living in a small town in northern Alberta, Canada has taught me to be creative with training. This morning, Sunday 15 January 2017, I decided to make an attempt to run across Cold Lake. This is not a small lake by any means; it about 25km across! In order to appreciate the size of this lake, you really need to cross it under your own power; then you will understand. This article will briefly describe the journey. 

Matt and Emily during a dry run on Cold Lake to check the ice conditions

Matt and Emily during a dry run on Cold Lake to check the ice conditions

The narrow black strip of land is 20km away; that's where we are heading. Try to run in a straight line.

The narrow black strip of land is 20km away; that's where we are heading. Try to run in a straight line.

Conditions

Before I attempted this run, I talked to as many locals as possible about the ice conditions including two Griffon search and rescue pilots, a fighter pilot, a fish and wildlife officer and I checked the ice conditions online. I made sure a told numerous responsible people exactly where I was going and what time I expected to be back. I was even lucky enough to have my friend, Scott a Ski Patroller on speed dial and my friend, Josh up in the air in a light airplane checking up on me. I believe that in an emergency situation, he could have landed on the ice, if required. However, an ounce of prevention is worth a pound of cure - not getting into a bad situation in the first place is the best thing to do. There is potential for this to be a very dangerous journey and it it definitely not something to take lightly.

Typical ice conditions. Average ice thickness was around 12 inches.

Typical ice conditions. Average ice thickness was around 12 inches.

Recon: In preparation for this epic run, I XC skied with Josh and Scott out onto the ice for 28km on Thursday 12 January 2017. I also ran 14km on the ice with Dominik and Emily on Saturday 14 January 2017.

Matt running on Cold Lake during a dry run.

Matt running on Cold Lake during a dry run.

I left the Cold Lake Marina at approximately 9:16 am after the sun had risen. The temperature was around 0C and the wind was about 15kph from the west. These are unseasonably warm temperatures since a few days ago I ran to work in -43C. Conditions were nearly ideal for a crossing attempt.  

IMG_8121.JPG
Matt.JPG

What I Brought With Me

What I wore (bottom to top):  Running Room (RR) mono skin thin socks, RR lightweight summer spans, black RR wool blend long sleeve top, orange buff, RonHill tuque, simple thin fleece mitts, polarized glacier glasses (so I could see through the ice without the glare and check ice thickness). I have put a lot of effort and thought into every piece of running gear I wear. All of these items worked extremely well and I fully endorse and highly recommend them. 

What I brought in my backpack: A complete set of dry clothing (in a dry bag) in the event that I broke through the ice including spare RR spans, spare socks, spare long sleeve, wind shell, lightweight down parka, spare tuque, spare face mask and spare mitts. Although this may have been a little excessive, I would rather have it and not need it than not have it and need it. I also brought 1.5L of warm water, many energy bars, several chocolate bars, mini eggs, vapour barrier socks, fire starting kit, compass, map, mobile phone in a ziplock bag, sharpened tent stakes tied together with a string and draped over my neck (in the event that I was to break through the ice), whistle, headlamp, peanuts and 2 x $10 cash.  

Challenges/Hazards

Breaking Through the Ice - I was lucky that the temperature was warm today unlike the more typical -30C that we experienced during our dry ski run. If you break through the ice in these cold conditions, it is very likely that you will not survive. There is no fuel to burn on the ice to make a fire and warm up and you are literally 10km from shore in the middle of the lake (1-2 hours).

Getting Lost in a Whiteout - As odd as it may sound, it is very challenging to walk in a straight line when you're in the middle of a lake with few visual references. If you got lost in a whiteout, you could wander for days and eventually suffer from hypothermia. Keep in mind that on the lake there are no building materials to make a shelter (not enough snow)

My Recommendations

Run with a friend. Let someone responsible know where you're going and what time you'll be back. Don't attempt a 45-50km run if you don't train for running on a regular basis. This is a substantial distance under potentially adverse conditions; it is not a walk in the park. You must respect the distance and be prepared to turn around in the conditions get bad. Always follow your trail back exactly the way you came; don't deviate at all. Don't rely on someone else to get you out of a bad situation; be prepared to get yourself out of it.

Matt and Emily during a dry run to check the ice conditions on Cold Lake.

Matt and Emily during a dry run to check the ice conditions on Cold Lake.

Cold Lake Crossing Route (Attempt #1). Total distance of 43km.

Cold Lake Crossing Route (Attempt #1). Total distance of 43km.

Unfortunately, I ended up running out about 20km and had to turn around due to a open water lead that I was unable to cross as the ice was much too thin to support my weight. I was approximately 3-4km from the NE shore. Due to the limited daylight, it was important that I turned around to ensure I returned before nightfall. 

According to Strava, the total distance ended up being 43.1km with a moving time of 4:29:16. Overall, it was a very enjoyable long run. I would recommend waiting until mid-February 2017 (depending on conditions) to try this run again.

An open water lead with ice that was much too thin to cross. The lead stretched for miles as far as the eye could see.

An open water lead with ice that was much too thin to cross. The lead stretched for miles as far as the eye could see.

Running in Bulgaria After Worlds

Running in Bulgaria After Worlds

By: Matt Setlack

This post describes the time I spent in Bulgaria from 12 to 17 Sep 2016 after the 32nd Mountain Running World Championships. Before taking the bus back to the Sofia airport on Mon 12 Sep, five guys (Dougal from NZ, Kris, Mark, Shaun, Matt) ran up to three of the seven lakes in the Rila Mountains above the race finish. Run time was 2 hrs but total time was 4 hrs. Very enjoyable and beautiful place (one of the must-see areas of Bulgaria). We were all pretty weak from the race.

Running in the Rila Mountains (PC: Dougal from NZ)

Running in the Rila Mountains (PC: Dougal from NZ)

Nesebar

At 2 pm, we boarded a bus destined for Sofia airport. I rented a car and Kris, Shaun and I drove to Nesebar on the Black Sea Coast. It took about 4 hrs and we arrived around 9:30 pm. I booked a place called Cherno More Apartment (top 2 floors of building). It cost only 117 BGN ($90 CAD) for two nights! Really nice fully furnished place. We were all super impressed. 

We ran, swam in the Black Sea twice, and checked out Old Nesebar. The sand on the beach was incredible. It was fine white sand that was so hot you could barely walk on it (almost like putting your feet in the oven). The water felt as warm as a swimming pool and tasted very salty. It was quiet, sunny and peaceful. No rushing, just chill. Staying in the same apartment two nights was a good idea.

Burgas

Around noon Wed 14 Sep, we drove to Burgas and walked out onto a long pier. Really nice place. We then drove to Sofia, which took about 3.5 hrs (400km). Speed limit on interstate/"Trans-Bulgaria" highway is 140kph in the left lane but most ppl drive around 120 to 130 kph. Great idea to have a speed limit of 140 kph. Roads were amazing; probably the best roads I have ever driven on! 

Roads in Bulgaria

A number of athletes I talked to and everything I read said that the roads in Bulgaria were horrendous and that you absolutely do not want to rent a car. They said not to drive at night because there are purportedly open manhole covers with no signage that you might drive over and damage your vehicle. I was a little psyched out and considered just staying in Sofia for the final week. Based on my limited experience (6 days and 1,000+ km of driving), these claims are completely false and I am EXTREMELY GLAD that I did not follow their advice. In my experience driving in Bulgaria, the roads were amazing (the best roads I have ever driven on) and the drivers were just as good if not better than Canadian drivers. I highly highly highly recommend renting a car even though it can be quite expensive, it will allow you to see 100x more and go where everyone does not go and see the true character of Bulgaria.

I dropped Kris and Shaun off at the Sofia airport on Wed evening and then drove to Borovets, which is close to the start of the highest mountain in Bulgaria (Musala Peak). I drove through the pitch black night countryside (no street lamps and not much reflective paint or road decals) relying 100% on the car GPS. It was A LOT of fun driving down winding narrow roads.

Musala Peak

On Thurs 15 Sep, I ran 1,575m up Musala Peak (2,925m ASL), the highest mountain in Bulgaria (and also the highest mountain in the entire Balkan Peninsula). It took 1:40 to get up and 2:47 total run time. Extremely good run! Euphoric. Perfect weather and trail conditions. The trail was well used and very runnable. I think I may prefer Bulgaria over Austria, Switzerland, and Germany; Bulgaria has the Black Sea AND mountains (albeit not as high) AND Bulgaria is much less expensive. In the late afternoon, I drove to Bansko because I wanted to see the Dancing Bear sanctuary. While I was in Bansko, I happened to find out about a nearby peak called Vihren Peak, which is the second highest mountain in Bulgaria.

Vihren Peak

On Fri 16 Sep am, I woke up at 6:30 am and drove to Vihren Hut (kind of cheating but I didn't want the run to take too long as the bear sanctuary opened at 10 am and I also wanted to run up Vitosha Mountain near Sofia on Fri pm/evening). Elevation gain was 964m up from Vihren Hit to Vihren Peak (2,914m ASL, second highest mountain in Bulgaria). It took 0:53 and 1:21 was the total run time. Beautiful mountain and run conditions. I said “dobre dain” (good day) to everyone I passed. Often, people would start talking to me in Bulgaria and then my cover was blown as I only know about two words of Bulgarian. I met a gentleman on the way down who told me that when he was younger he would run up Vihren like me (he was hiking up that day). He was 80 years old and said this would be the last time that he was going to hike up Vihren. Respect!

Near the top of Vihren Peak (2,914m ASL) - second highest mountain in Bulgaria

Near the top of Vihren Peak (2,914m ASL) - second highest mountain in Bulgaria

Bear Sanctuary

On Fri 16 Sep pm, I took a drive “back in time” on the way to Belitsa (near where bear sanctuary is). There were horse drawn wagons, horses were pulling farm tools in the fields, and there was horse droppings on the amazingly paved single track road.  There were also people smoothing logs with hand tools and the locals were wearing traditional clothing (like you would see for a festival) for their everyday lives. It was a beautiful drive through the Bulgarian countryside on a winding road (super smooth with trees that bent over the road to form a natural tree arch) and didn’t see a single other vehicle. There was some construction going on in Belitsa so I had to take a few detours over very rough short sections of road and through very narrow alleyways (roads). When I arrived at the Bear Sanctuary there was only one other car in the parking lot. 

The Bear Sanctuary was very good and entry only cost 6 lev ($4.50 CAD) including a guided tour (in Bulgarian and English). There were 26 brown bears there. A couple bears were blind (they said it was from their cruel owners giving them alcohol) and one had only three legs because it got in a fight with another bear and it had to be amputated. Since the young bears were taken from their parents at a young age and kept in captivity their entire lives, they would not know how to survive in the wild. Many of the bears also had they claws cut off. The guide said there are 600-700 bears in the wild in Bulgaria (thankfully I didn’t see any bears on any mountain runs). The sanctuary was created in 2000. The guides who worked there were very friendly and their English was easy to understand.

Vitosha Mountain

On Fri 16 Sep evening, I drove 2 hours from Belitsa to Vitosha District in Sofia where the hotel was. It was a really nice area of town. The gentleman working at the hotel said it would take 5 hours one-way just to get to the top of Cherni Vrah on Vitosha Mountain. Being the competitive person that I am, I decided to challenge him on it. I started running at 5 pm and ran 1,800m up Vitosha Mountain (Cherni Vrah - Black Peak). On the way there I passed several deserted old communist looking huts/buildings (Call of Duty 3 style). It looked a bit like the set from a horror film “Wrong Turn”. The trail was beautiful and well maintained. I purchased a map of Vitosha Mountain and almost everything was in Bulgarian (signage and map) so matching up the symbols (Cyrillic text) seemed to make sense. Ran to the top in about 1:55 and the total run time was about 3:30. Distance was about 28km round trip.

On the way down, a random (fast) runner ran up behind me and we ran together for a couple of km. I think he was chasing the light like I was as the pace was pretty quick. There was an amazing line of striped yellow/black posts placed every 50m all the way up to the top from the edge of the trees with a trail right next to it. When I got to the forest, I noticed that it was so dark that I could not see my hand in front of my face (and the trail was very bouldery). Since I didn’t want to twist an ankle by myself (the other runner took a completely different path down Vitosha), I used the iPhone’s flashlight (37% battery). I was not sure how long the battery would last and how long it would take to run down the forest trail so I had to run as fast as I could with this dim light down a rubbly trail. Although this may seem trivial, it could have turned into a serious situation.

My suggestions to you:

1. The most important and useful piece of advice I can give you is to RENT A CAR, RENT A CAR, RENT A CAR! Although it is relatively expensive, you will see 100x the country and get a true feel of what the real country is actually like. Leave the busy city and experience the smaller mountain towns, coastal towns and countryside; this is where the true character of the country is. When someone tells me that they have visited Canada but have only gone to Toronto, they have not really seen Canada. The same is true for other countries. Having a car gives you flexibility and it gives you a secure location to store your baggage/valuables. Time is money. You will not waste your time waiting for buses or trains (trying to understand a schedule written in a foreign language). You just spent thousands of dollars getting to the other side of the world, don’t skimp out on a few hundred dollars now.

2. Travel with friends – it makes the trip much more enjoyable and cheaper because you can share the expenses ;)

3. Do some planning BEFORE you leave. You don’t want to be wasting time while you are there. Make a list of 10 things that you would like to see (you don’t have to see them all) but note the top three that you definitely want to see and the rest are extra. These are some of the things I wanted to do: swim in the Black Sea, Run Musala Peak, run Cherni Vrah (Black Peak) on Vitosha Mountain, go windsurfing on Black Sea (Extreme Windsurfing in Nessebar, didn’t happen as the winds were calm), see Old Town of Nesebar and see the Dancing Bear Sanctuary in Belitsa.

4. Bring only ONE small carry-on backpack total. I makes things A LOT easier, makes you more flexible, eliminates the possibility of the airline losing your luggage and makes the trip a lot smoother. You can wash your clothes half way through the trip. With a small bag, your trip in your destination country starts as soon as you get off the airplane and you don’t have to lug your heavy luggage back to your accommodation before starting your trip. It is also cheaper  as the airline does not rip you off on checked baggage fees.

What is different in Bulgaria (a few of many things):

1. Yield signs/Right of Way Signs (yellow diamond with a white border). Thanks to Adele Blais for explaining this sign to me. Instead of just having a standard yellow triangular yield sign like we have in North America, there are anti-yield/priority signs in Bulgaria that tell the drivers that have the right of way. I also like how many traffic lights in Bulgaria have countdown timers next to the traffic lights that tell drivers how long they have before the light turns red/green. I like the way the light goes from red->yellow->green (like in England), which I feel is more efficient than in North America where it goes straight from red->green.

2. Some places I visited in the countryside were very old-fashioned. On the way to the Bear Sanctuary near Belitsa, I saw horses plowing fields, people manually debranching logs (smoothing the sides) with hand tools, there was horse manure on the road from the horses, people were dressed in traditional clothing (and no, there was no special festival going on). It was as if I have stepped 50 years back in time.

3. I found Bulgaria to be generally inexpensive. It was quite expensive to get there but relatively cheap once you arrive. I paid $20-$50 CAD for a single room in a guest house/hotel but saw many hostels for 12 lev ($9 CAD) per night. Petrol was a similar price, the rental car was a similar price, eating out a restaurant was generally less than $10 CAD. It was late at night in Bansko (after running up Musala earlier that day) and the grocery stores were closed, so I decided to splurge and went to what I would consider a fancy restaurant, I ordered the standard spaghetti bolognaise and it cost about 4 lev ($3 CAD) so then I decided to really go wild and ordered a Coca-Cola and ice cream sundae (for anyone who knows me, I always order tap water and never dessert – classic Pavlovian conditioning from growing up in a family with four kids). The bill came out to be about 10 lev ($7.5 CAD)    

4. Currency is BGN (Bulgarian Lev) - 1 BGN = 0.75 CAD, 1 EUR = 1.95 BGN, 1 CAD = 1.33 BGN

5. Language and alphabet are different. I found it quite challenging to understand Bulgarian words and text although Benoit Gignac told me that it is easy to translate once you have the translation key. It was very challenging to communicate with middle age to older Bulgarians. Generally, they would get their sons/daughters who would then be able to speak to me in broken English. Most of the time it was like playing charades. Unlike French (or even German who share the same letters as English) where many of the words are the same, at times it was extremely challenging to understand a single word of what the other was saying.  

6. Speed limit in left lane on major highways is 140 kph but most people drive around 120 kph. Having this speed limit makes a lot of sense although fuel economy seems to suffer.

7. Showers – In most places, the shower and washroom are one so when you take a shower, the water sprays everywhere in the washroom (on the toilet, the sink the mirror, etc – put the toilet paper outside the washroom before you shower). Everything is tile including the floor and walls (no carpet in the washroom like some places in England). I did not see one shower curtain in Bulgaria. Can someone explain this, please? 

Common Shower in Bulgaria

Common Shower in Bulgaria

Uncommon Shower in Bulgaria

Uncommon Shower in Bulgaria

What I would do differently next time

1. Plan things a little more BEFORE getting there. Leading up to the Worlds I was/am very busy getting my private pilot licence so spent very little (if any) time planning the trip to Bulgaria figuring that I would do it once I got there. Internet turned out to be nearly non-existent so when we eventually got internet, we were planning instead of swimming in the Black Sea or running on the beach.

2. Car GPS - Very nice (important in a country where you don’t speak or read the language) but very expensive. In future, maybe buy a sim card with data and use the maps on the device.

3. Rental Car Insurance - Be careful with rental car insurance. In Canada, I use the insurance provided with my credit card. However, I was leary about using the credit card rental car insurance in Bulgaria even though I read through the fine print terms and conditions. I was apprehensive about not using the rental car insurance offered by the rental car company (because I was psyched out/told how horrible the roads and drivers apparently were in Bulgaria). If something was to happen, I had a feeling that the non-Bulgarian speaking foreigner might be the first one to be at fault. I wanted to avoid this (not that having insurance prevents anything from happening). I ended up renting the car on Expedia and checking the box to buy rental car insurance. Then I got an email from a third party insurance company (not even the actual rental car company like I was lead to believe) saying that I now have insurance. I arrived at Hertz and they told me that I don’t have car insurance with them but then I said that I do have insurance. That was a big waste of money and I would recommend confirming with your credit card company before you leave Canada. See this document about renting a car in Europe 2016. It is reasonably useful.

4. Pre-Race Course Inspection – I ran the upper half of the course twice but the lower half of the course zero times because that is what the team was doing and I wanted to run with the team. Next time I would make sure I ran over the entire course well in advance. This would have helped me although there are people who prefer not to always know what the course is going to do ahead of them (Shaun Stephens Whale). I would do this: run entire course bottom to top Wed, part of course Thurs and Fri, easy run Sat, race Sun. I know the Americans ran over the entire course and they ended up winning Worlds…just saying ;)

If you would like me to expand on anything or if you have any questions, please feel free to contact me via email or Facebook.

Bulgaria in Three Words – Beautiful, Inexpensive, Friendly